
Multi-media Workflows
tag : abstraction, app-straction, Apps, art apps, confidence, ipad art, lesson ideas, pedagogy, popular, teacher talk, teaching art
comment : 4
The concept of mixing media is certainly not a new idea in Visual Art, and I am always talking about the value of creative workflows that combine digital tools and traditional art-making products and processes.
If tasks and techniques are always separated and labelled ‘digital’ or ‘iPad Art’, this can lead to misconceptions about the place and purpose of mobile devices in the classroom and as a tool for creating.
In many classrooms it’s not until the desks are clean and the hands are washed that it’s time for ‘iPad activities’ to be rolled out under the banner of connecting technology and art. This separation is the product of a paradigm that does not acknowledge our connected kids use their devices everyday for creating.
Considered instructional design can produce seamless movement between ‘apps and anything else’, as technology permeates the art-making materials on offer. Engaging with complex and organic workflows empowers students to create across a variety of media, using apps, charcoal, photography, anything in combination, and in doing so, redefine their understanding of creativity. Learning in the Arts can be truly multi-disciplinary.
An introduction to iPad art-making
 Let’s get making using some mixed-media workflows that include the iPad.
The following three ‘workflows’ are progressively designed and do increase in complexity, but the midst and learning focus is the same – the creative process is not linear.
Students will have an opportunity to discover that as they construct imagery, ending points can become starting points and ‘finished’ work is a matter of decision making. I have found that highly original work evolves as students re-evaluate what they see in their work, and are empowered to reconsider what they make.
Deep engagement and understanding of the creative process is often the powerful result of working through rich tasks that challenge students to constantly reimagine and reconstruct work they produce.
Lesson ideas and workflows for mixing media
Below you’ll find a three part exploration for mixed-media creation that builds in complexity.
Start with the first, stop at any point, branch out anywhere, add complexity, simplify… It’s a flexible ‘way of working’ straight out of my classroom and a great entry point for engaging with digital art-making tools.
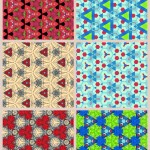
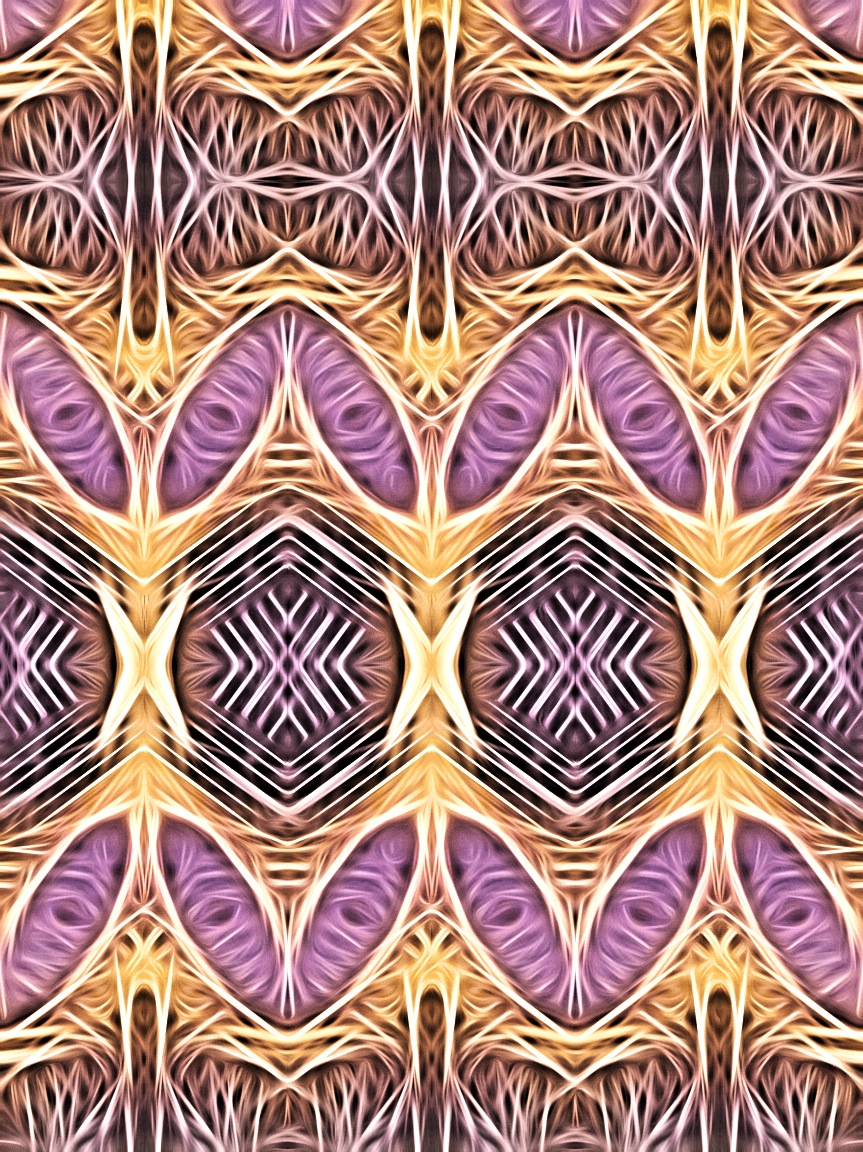
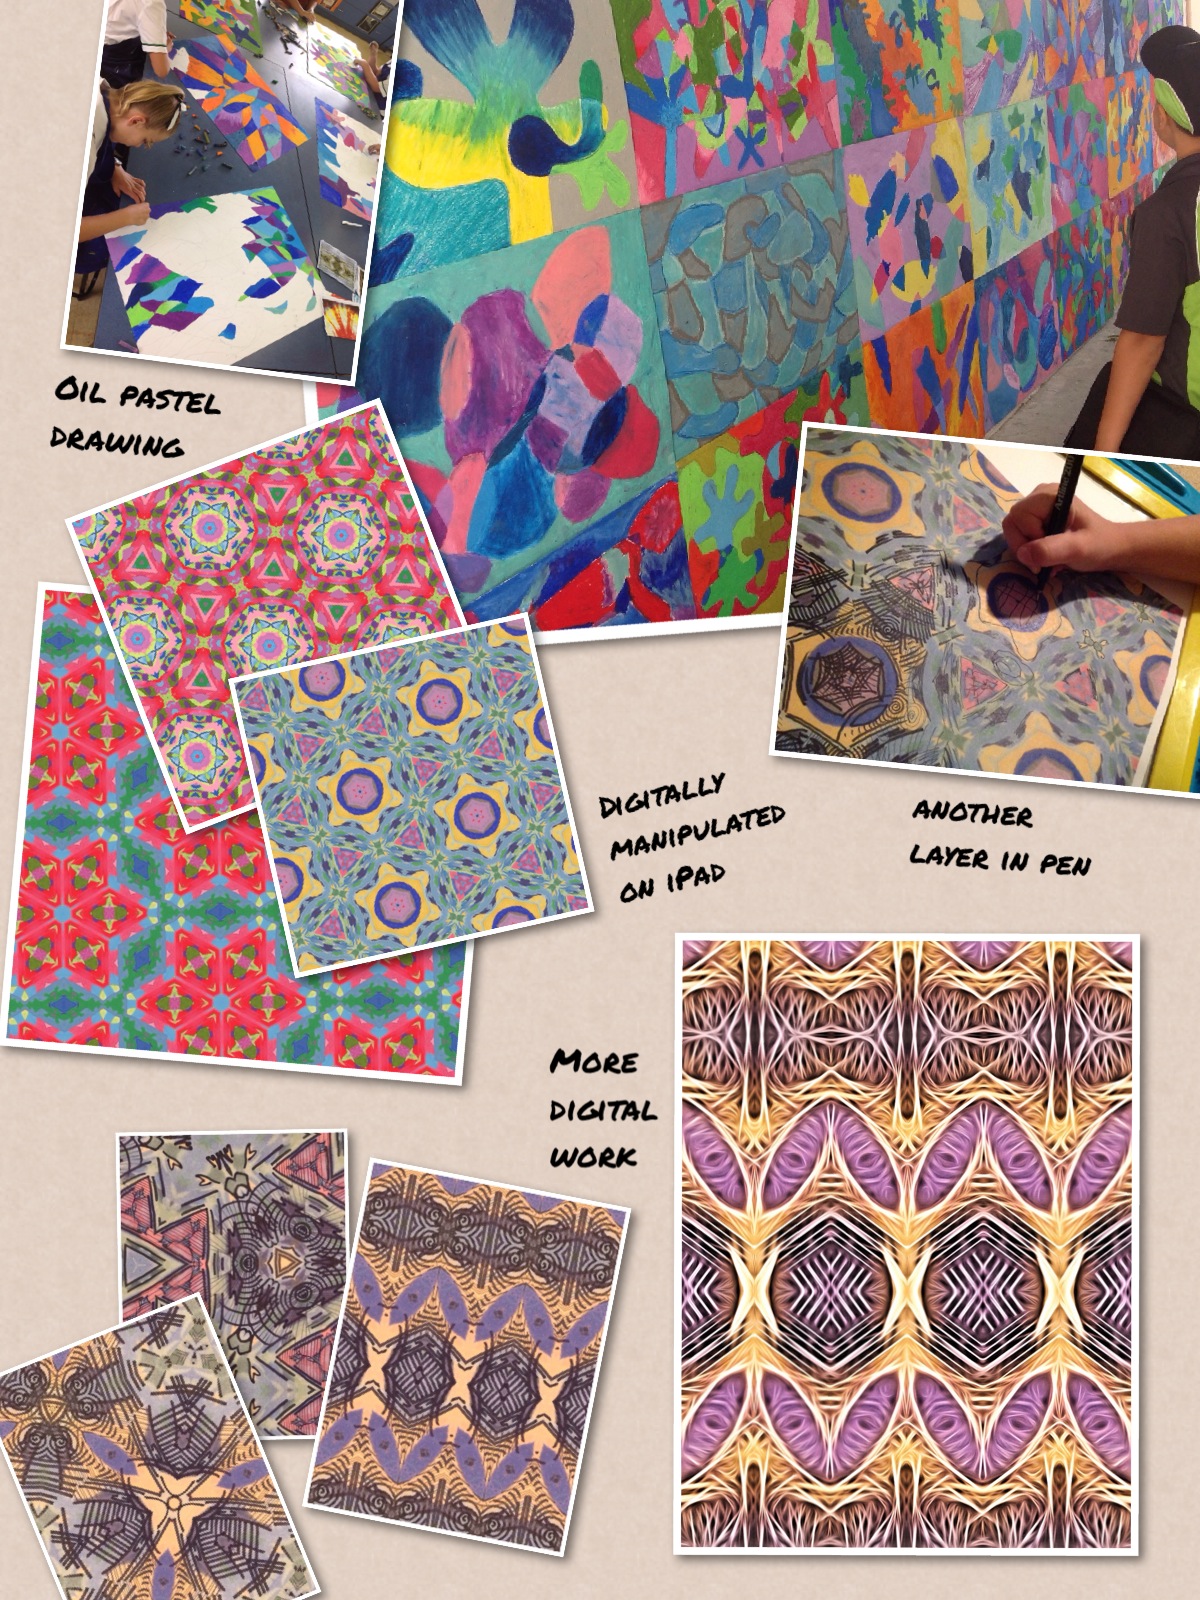
1. A simple workflow to create digital ‘app-stractions’
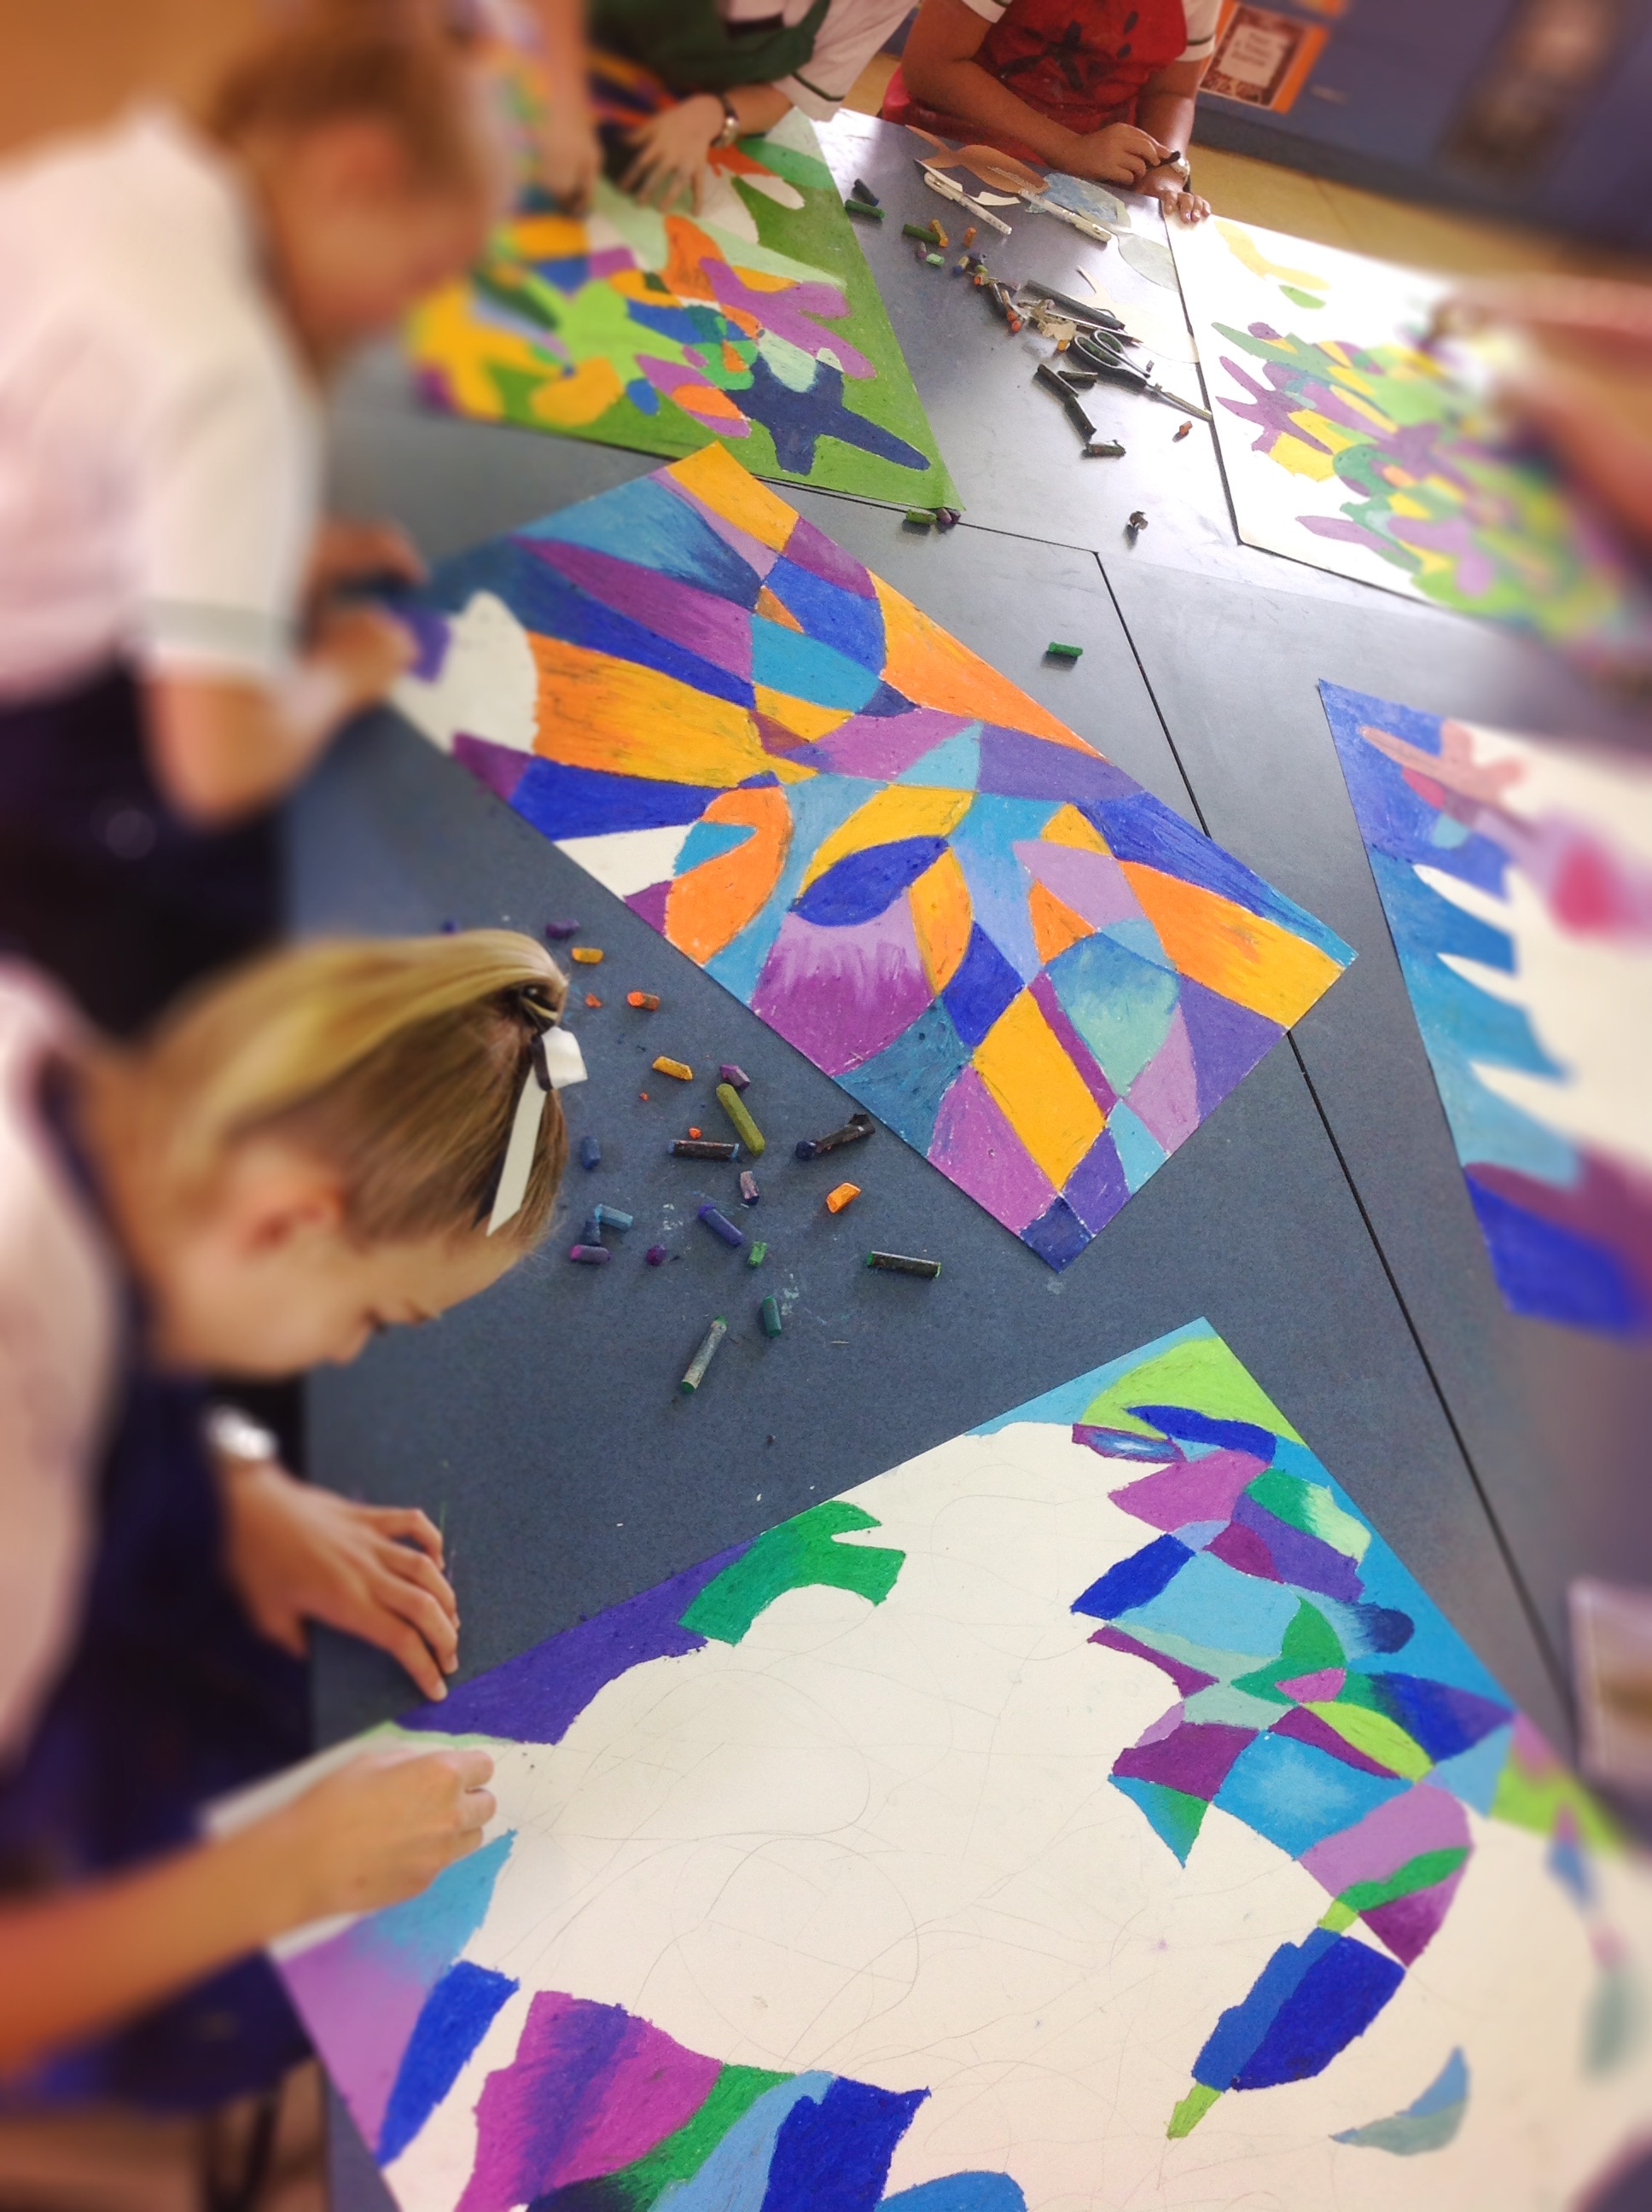
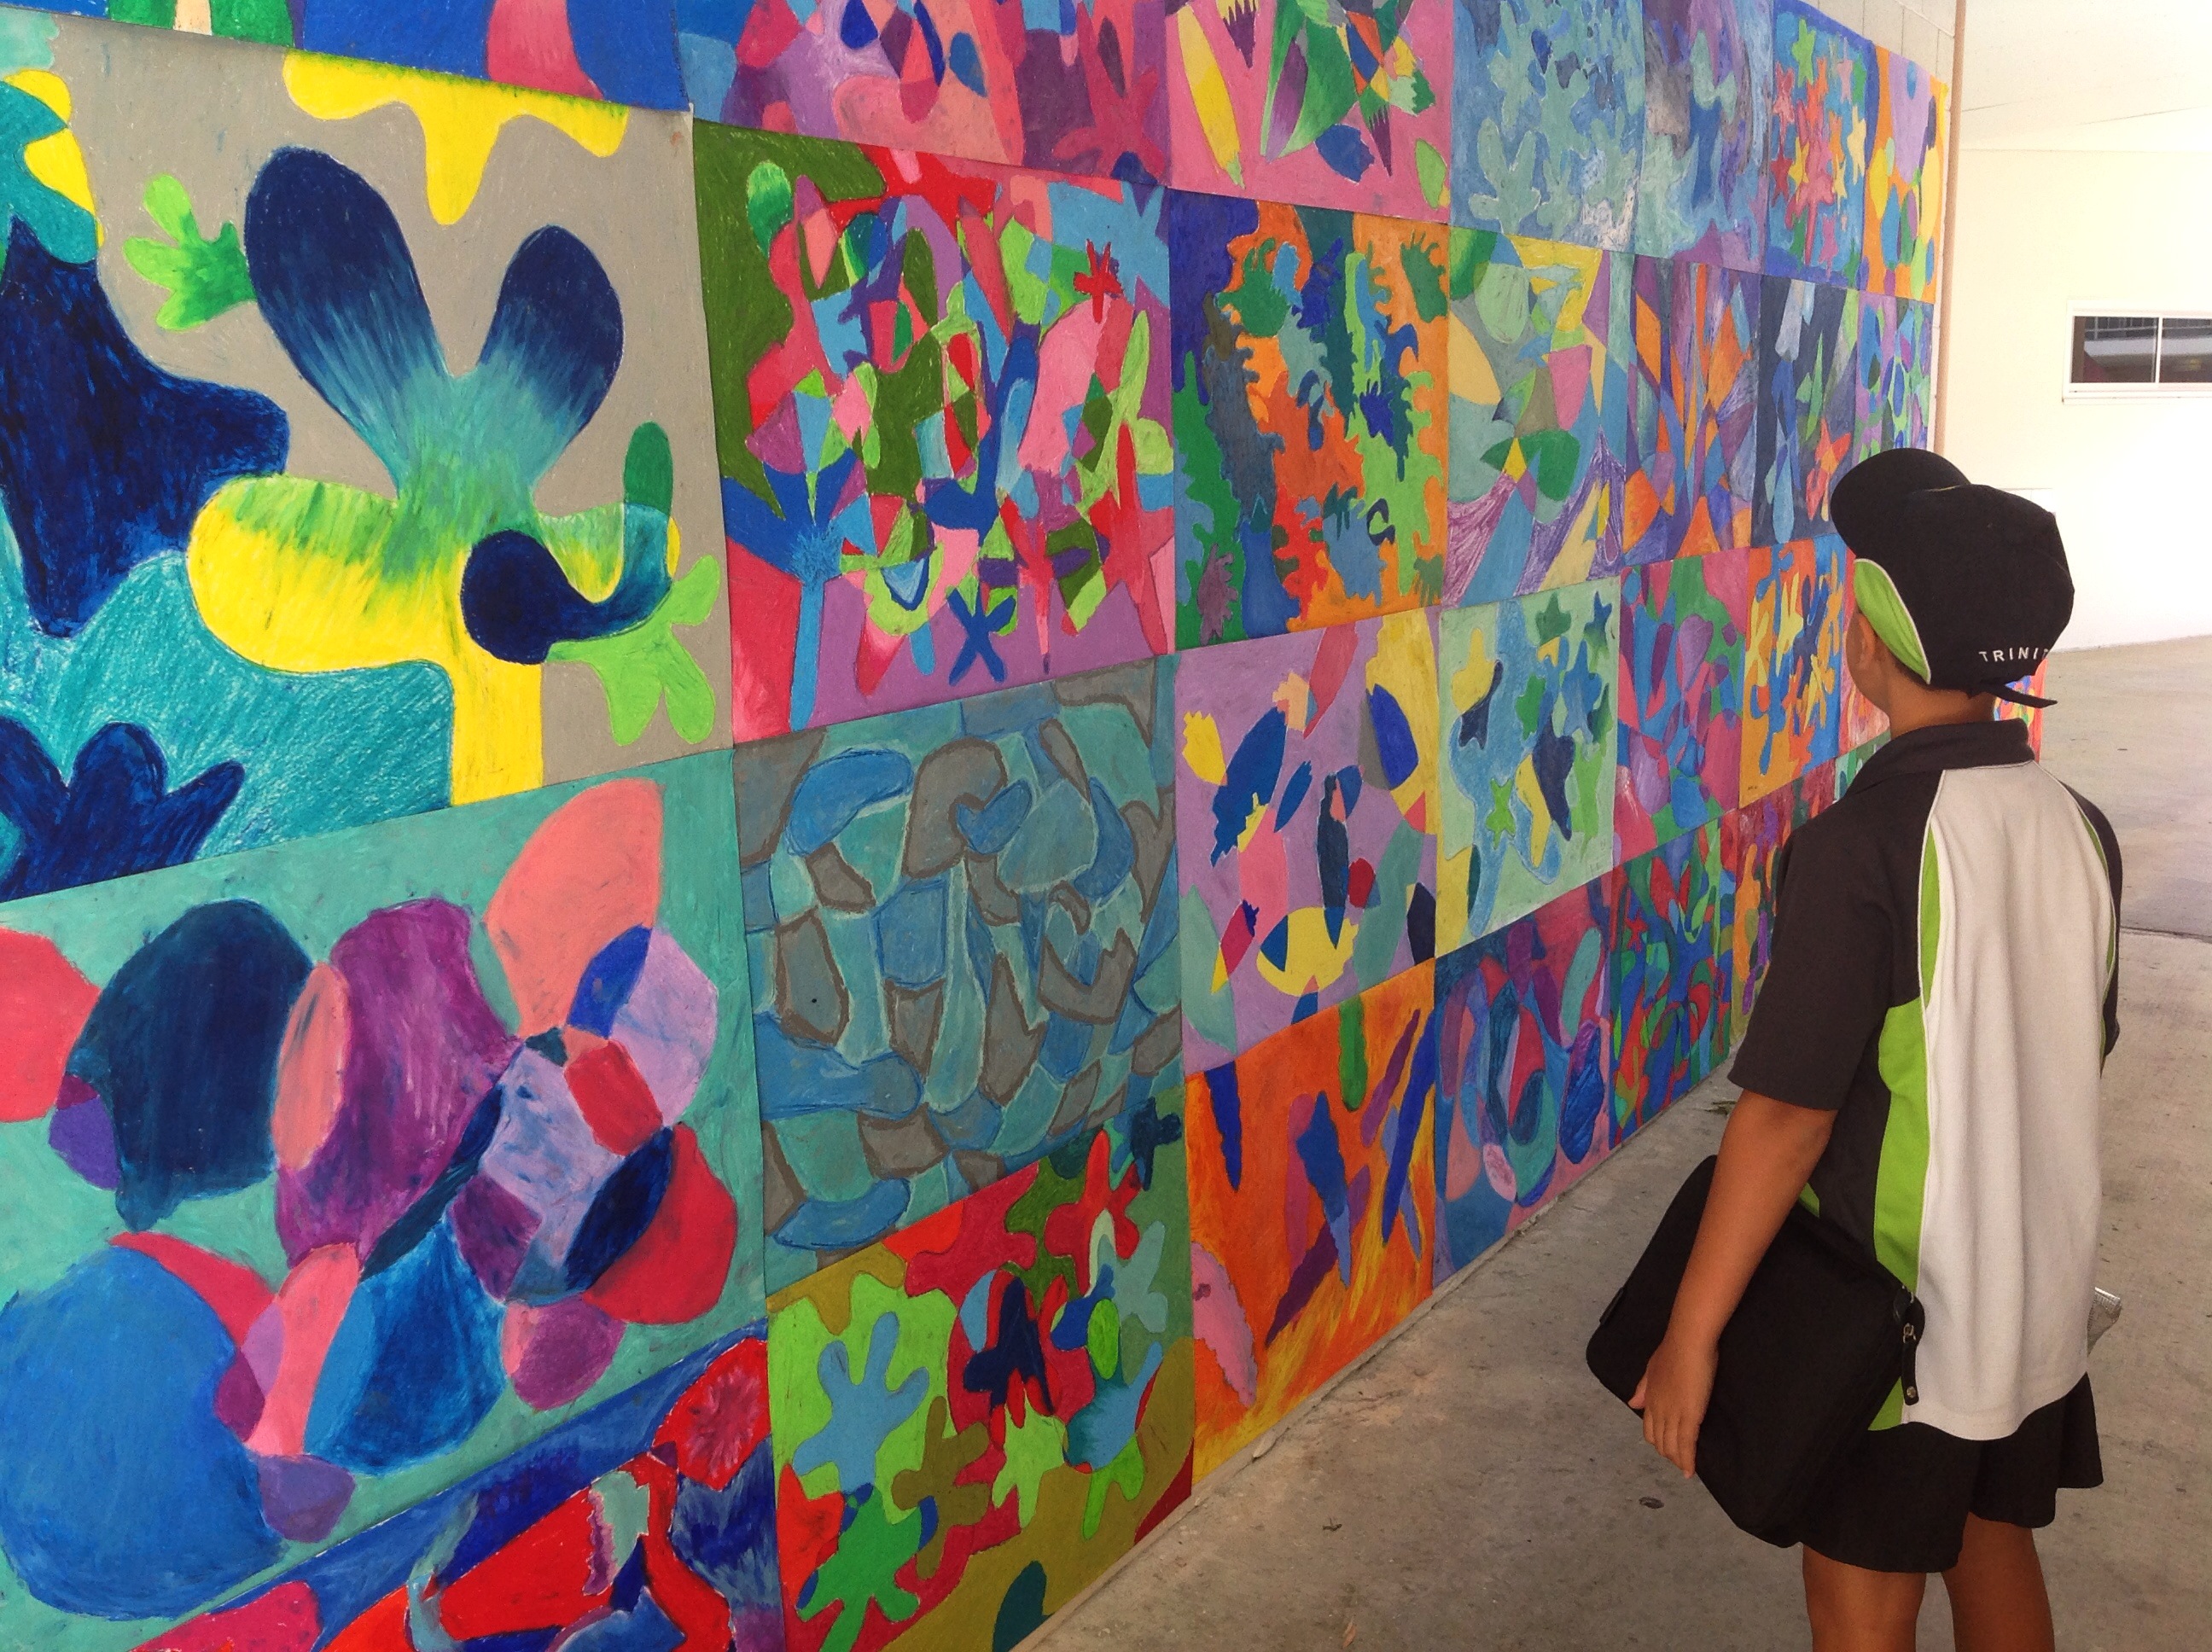
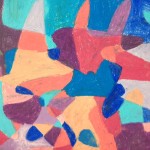
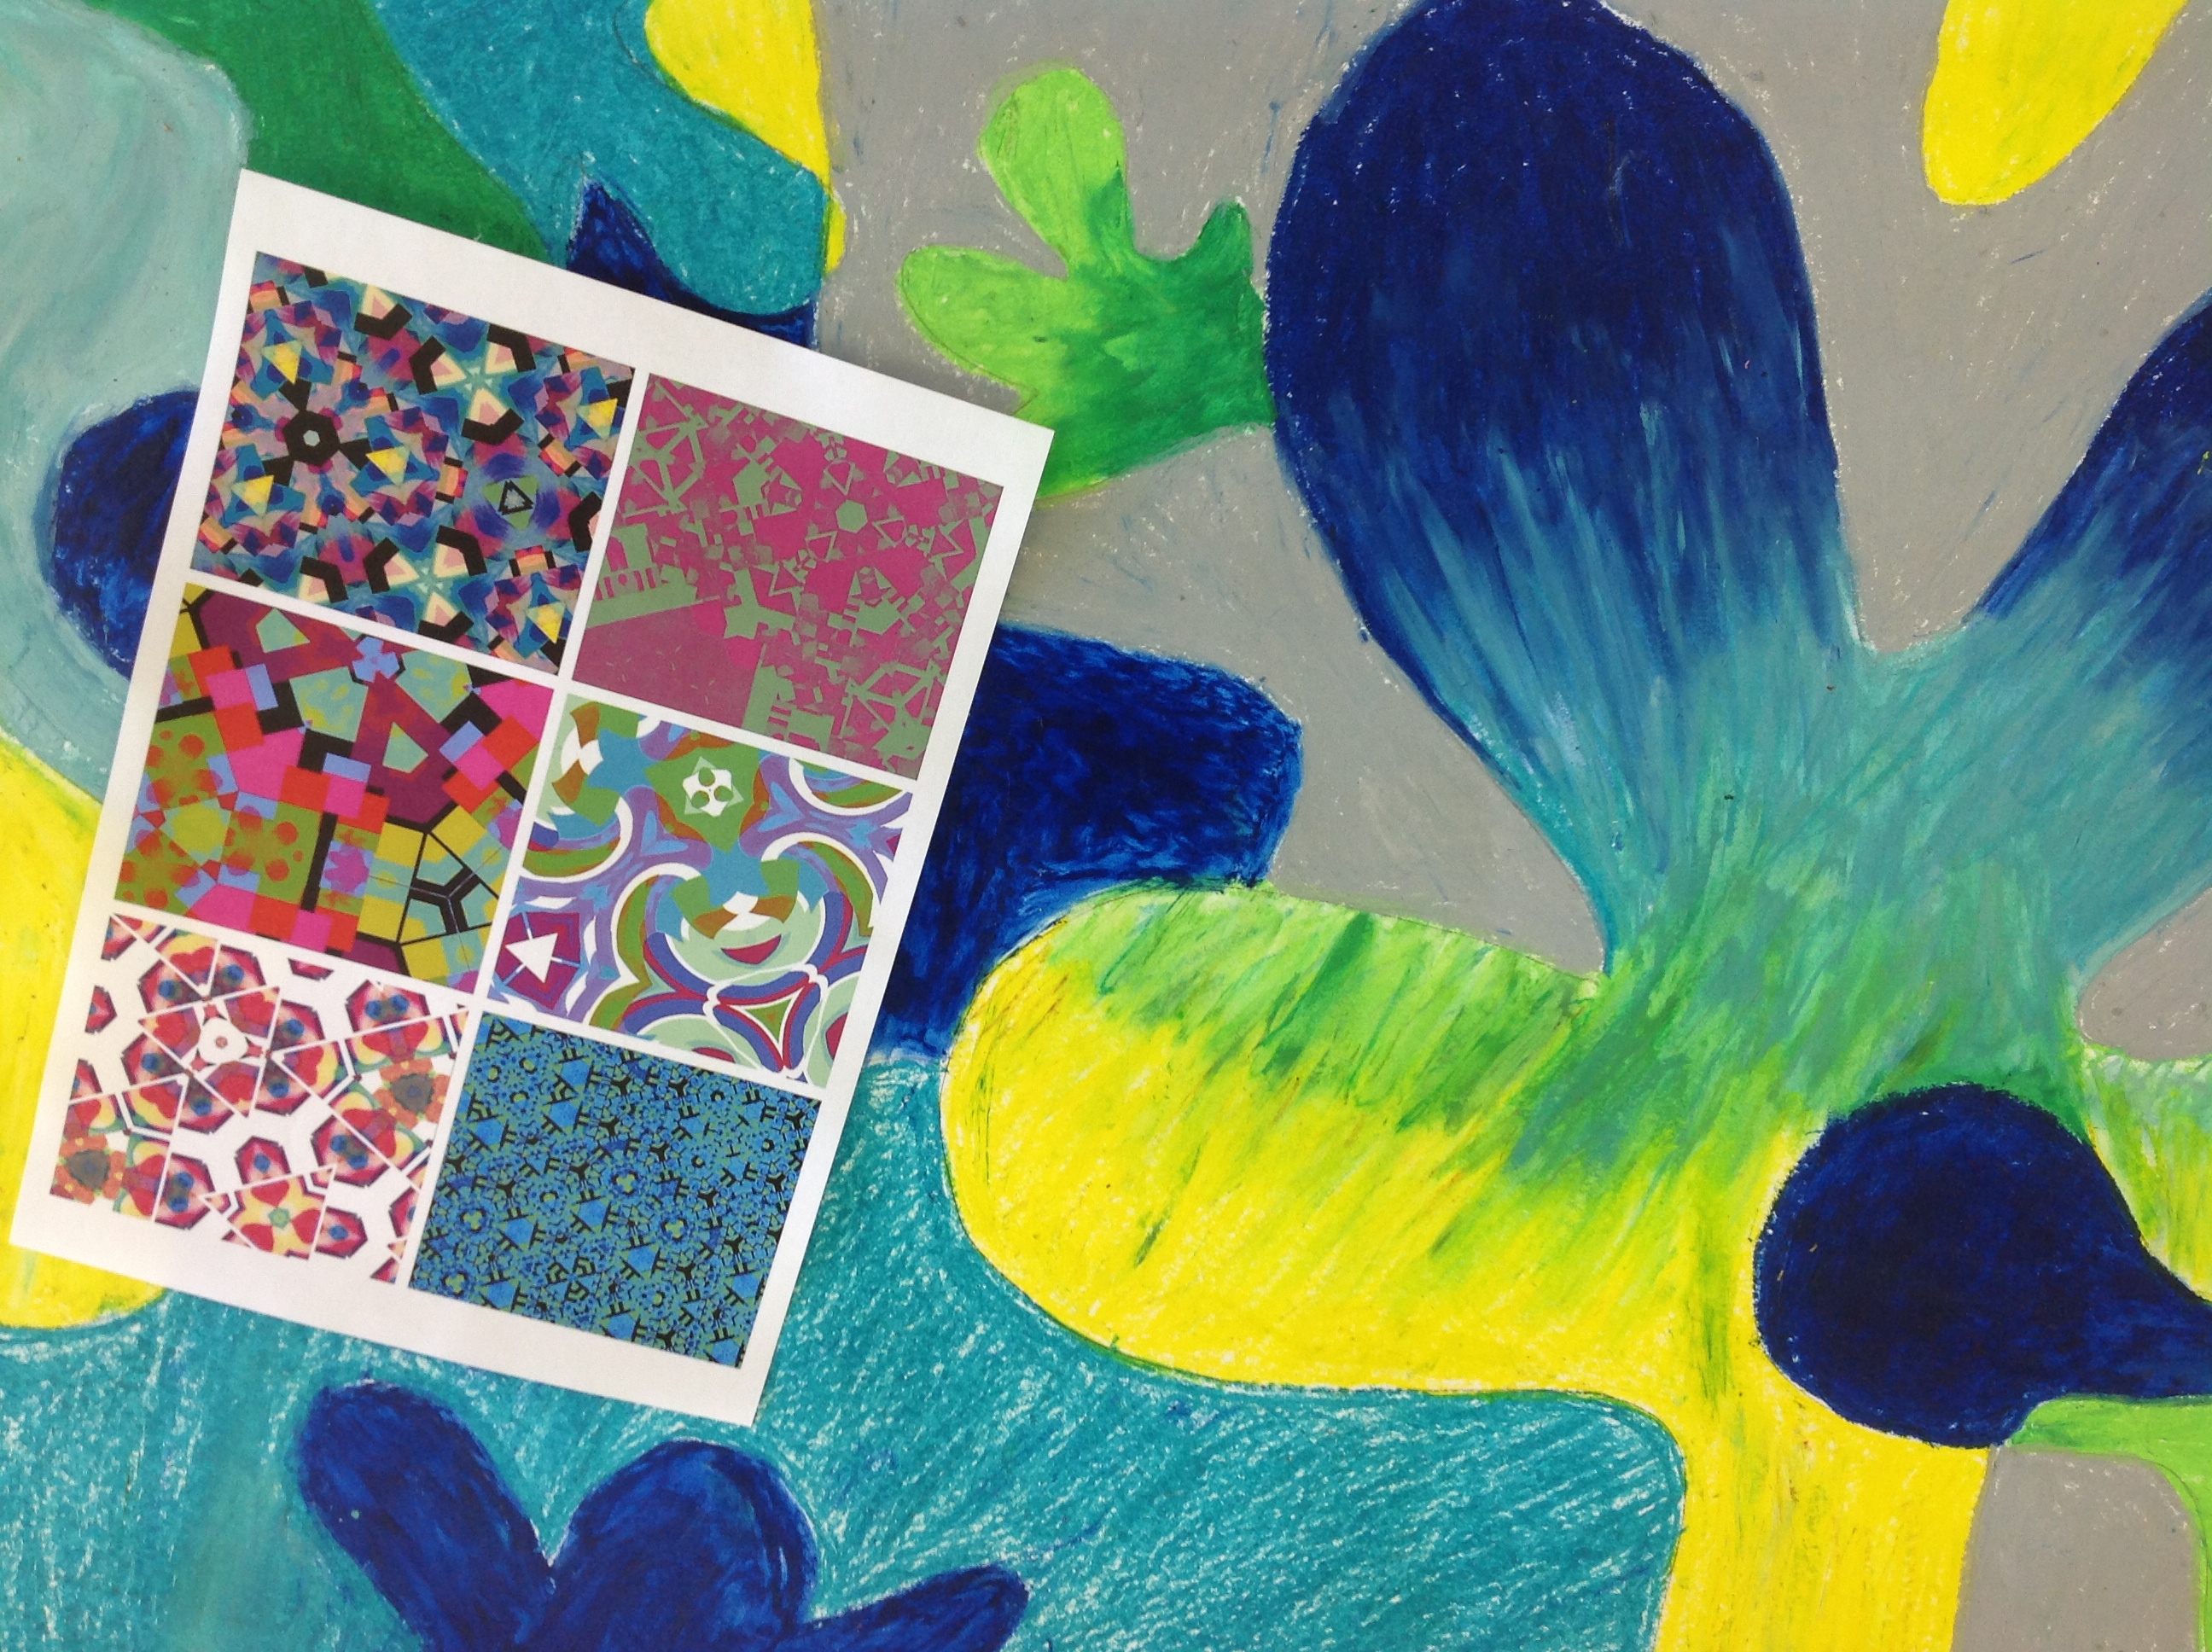
After grappling with the concept of abstraction, students began this workflow with the idea that what they thought was their ‘finished’ work, a large oil pastel drawing, could become the starting point for new ideas and investigations.
Firstly, their individual piece was exhibited as part of collaborative ‘wall of colour’ in the school. You can imagine the impact this striking ‘Pop-Up Gallery’ had on the student audience.
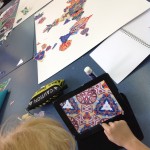
Students then photographed the wall as a single image on their iPads. Using apps with tools to manipulate shape, students explored symmetry, balance, repetition using tools to flip, rotate, skew, warp, etc.
Using their paintings to create new work was motivating for students who really liked their paintings as they viewed their image in a new way. Those students who found the medium challenging often engaged with the next steps as an opportunity to produce satisfying work – the quality of their original drawing did not determine the success of the abstract imagery produced in the second phase (using the iPad).
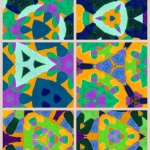
Here are four investigations created by one student:
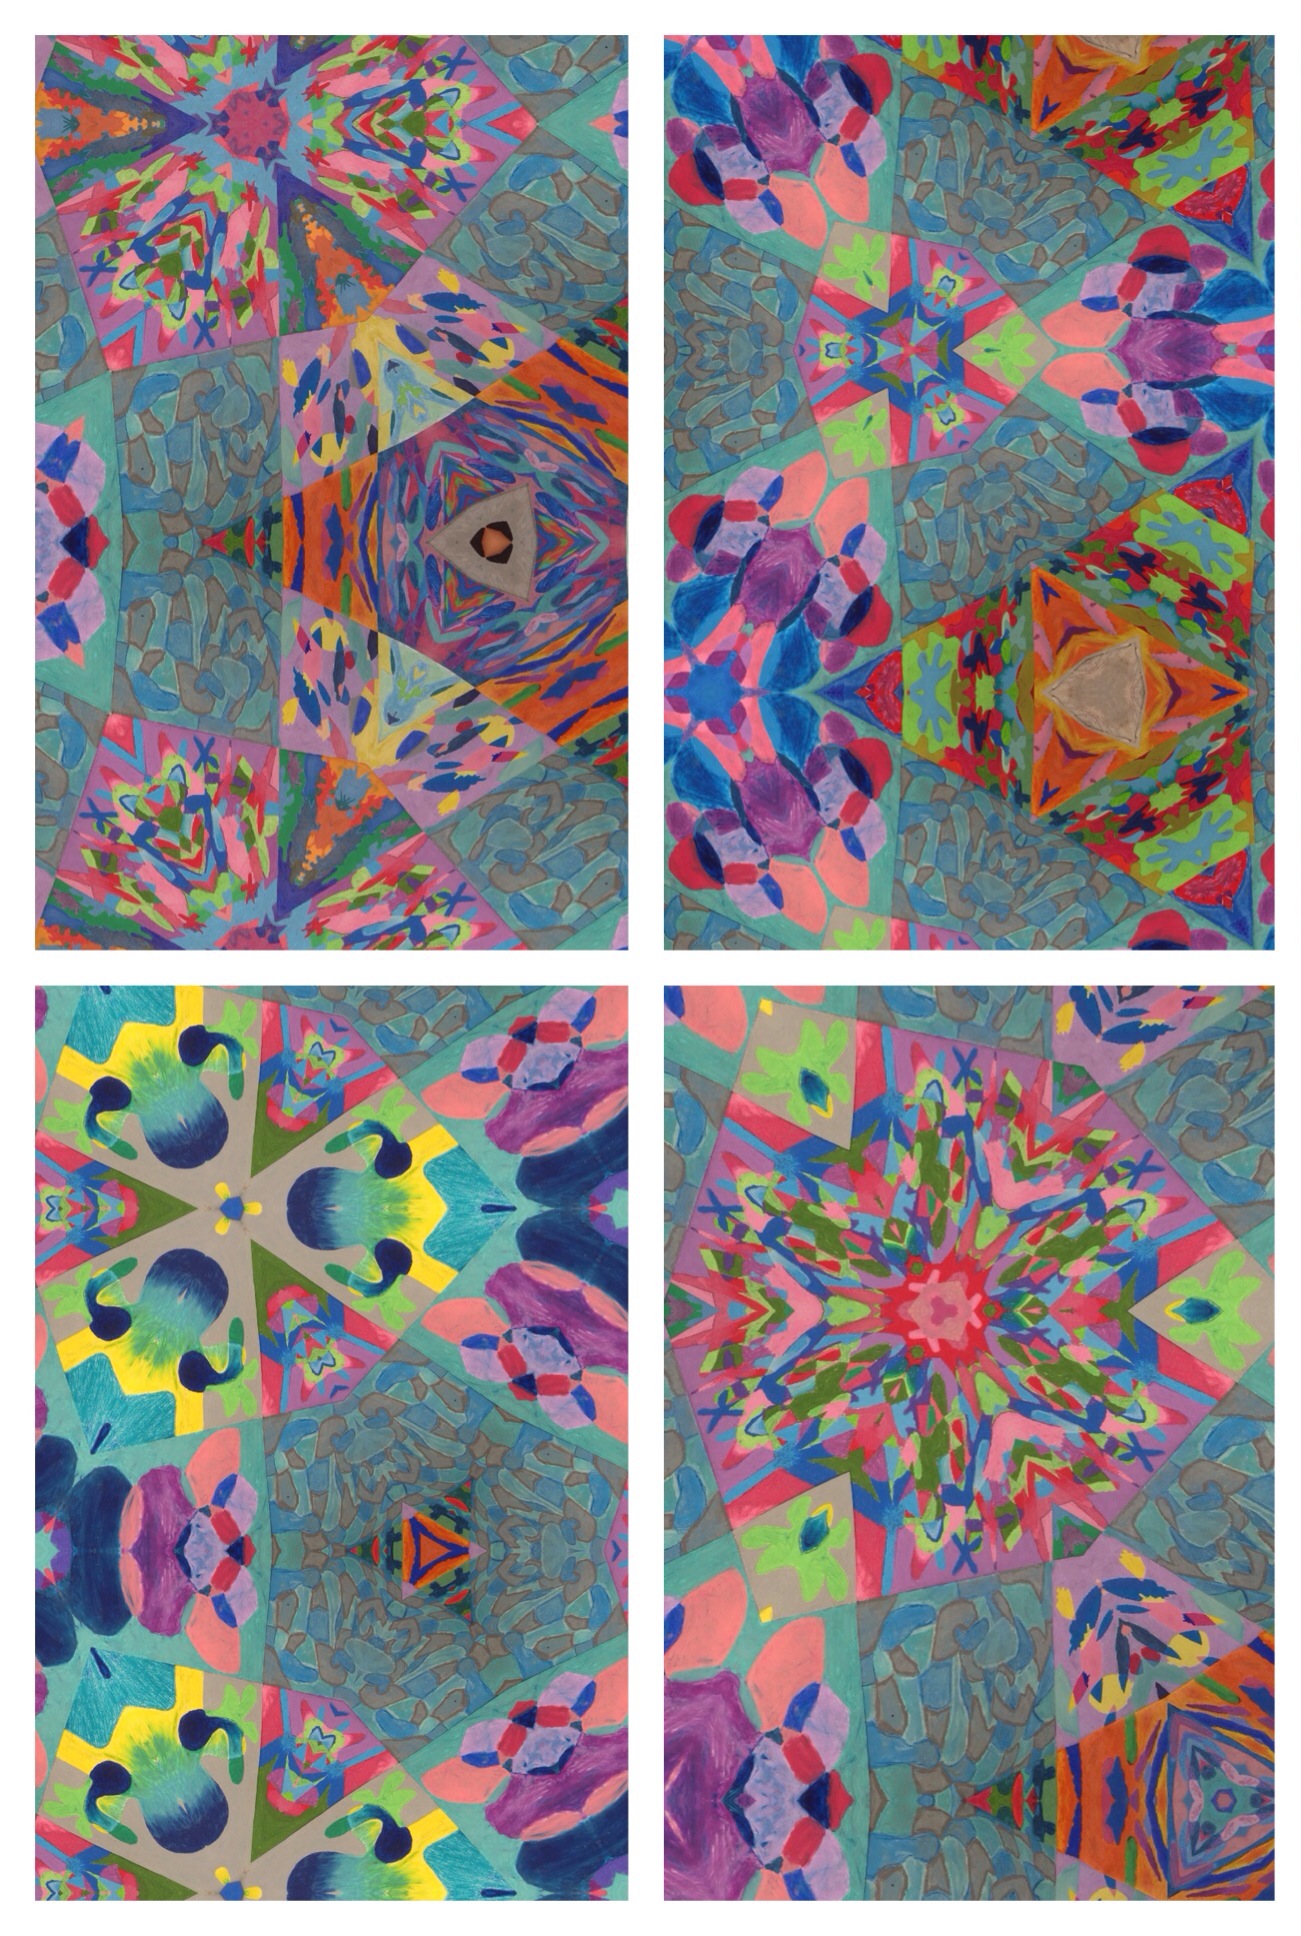
Using ‘reflecting’ apps as tools for image manipulation
Choose one of the apps below, import the photograph of the drawing and use creative decision-making to build a new image.
Students can be encouraged to continually save their work and reimport those images into the app to build complexity, add depth, etc. All three of these apps work in similar ways.
Suggested apps:
 Mirrored
Select a photo, or take a new one, and use one of the 8 mirror effects, to create a symmetry. Just touch the point where you want to mirror your photo and see in real time the mirrored image. You can use a scaled mode where the mirrored part of your photo is scaled to fill the new image, or you to keep the proportions of your photos.
![]() Flip-O-Matic
Flip-O-Matic
Choose a clipped image area that should be flipped and see the effect on the image as you drag your finger around the iPad screen. Every new ‘clipping area’ results in a new carpet of patterns.
 Mirrorgram
Choose photos from your camera roll to edit existing photographs, or hover over the subject to see live, in-camera compositions that ‘mirror’ images. There are a number of different kinds of flipping and mirroring effects and structures that create a variety of symmetries. In combination, complex designs and patterns can be built up.
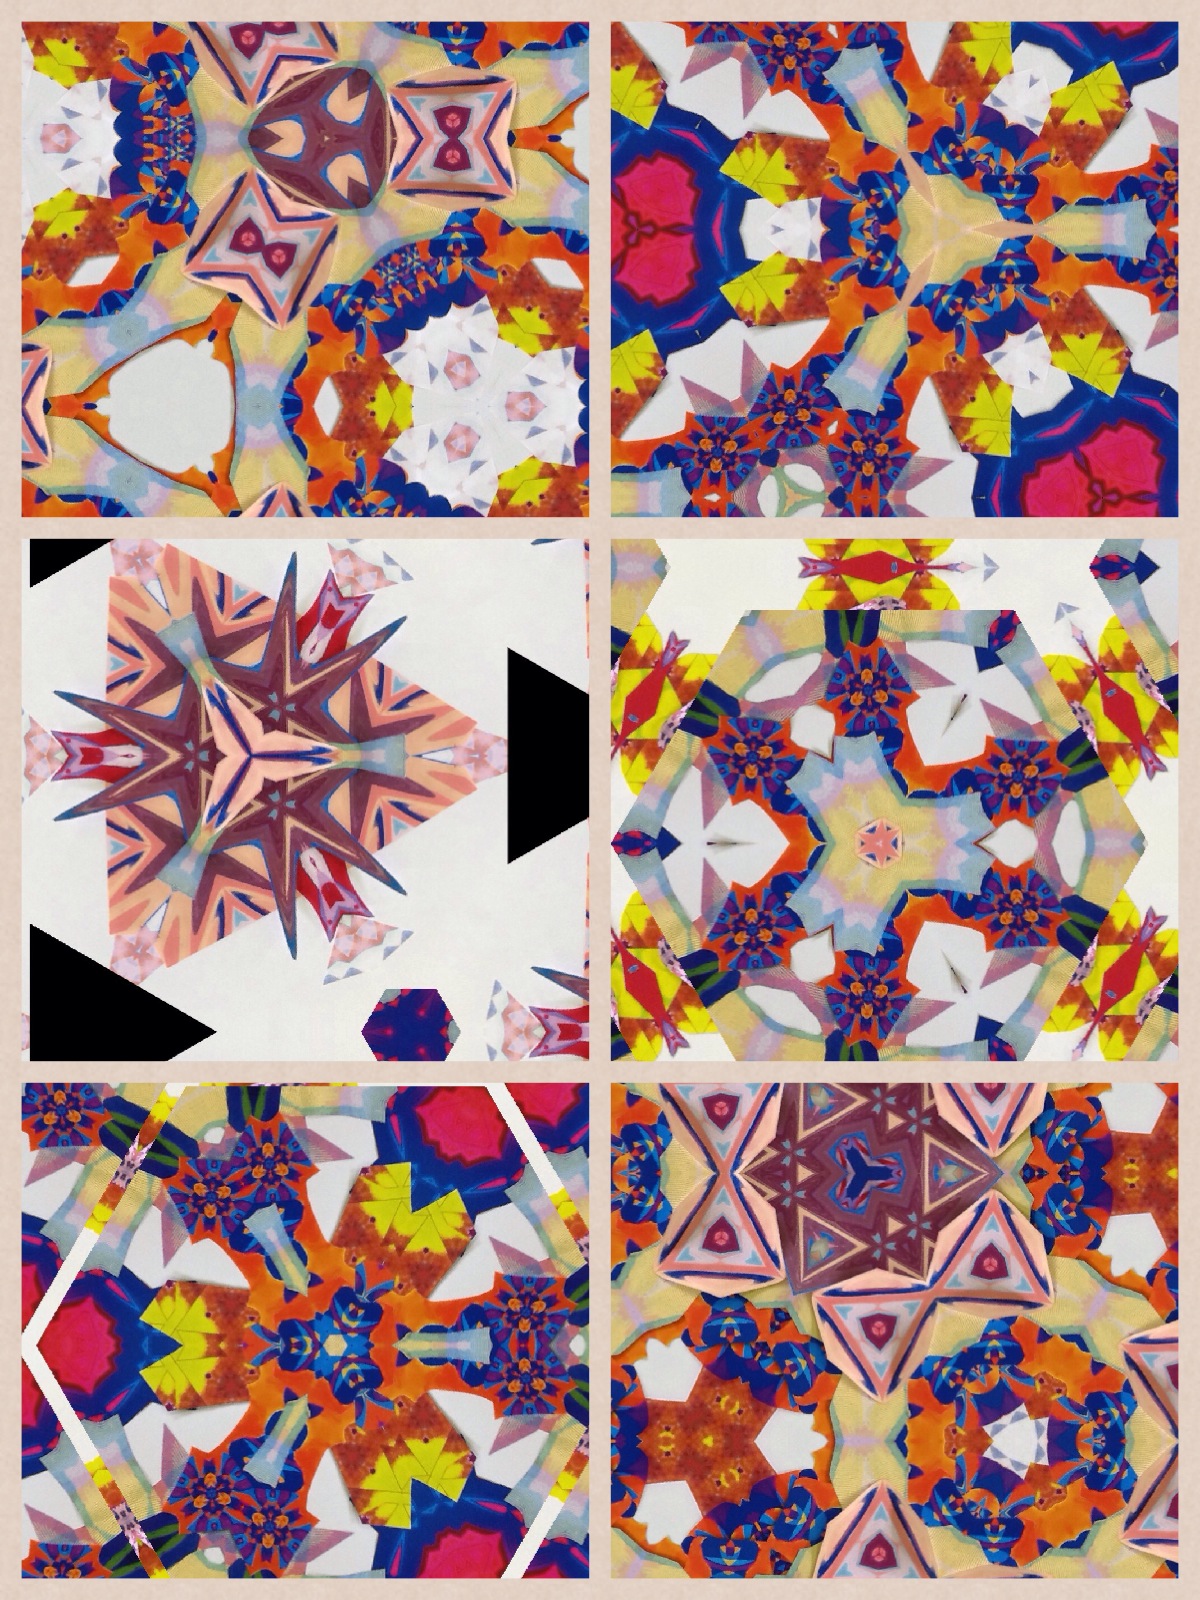
KEY IDEA: This kind of work is not about pushing a button and letting the app do all the work. In this task, students can build a folio of diverse and complex imagery as they can save their ‘reflected’ images to the camera roll at any time. These images can be repeatedly saved brought into the app and ‘mirrored again’, or worked using other apps to change colour, cut sections, etc – t’s a concept that has similarities to adding a layer over a painting but the exciting part is, the previous works do not ‘disappear’, rather they are saved on the camera roll and may become new starting points or reflective learning tools. For students, this freedom can be liberating and increase their creative confidence.
Some more examples:
-
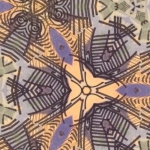
- Created using a ‘kaleidoscope’ app to create new shapes from the original oil pastel drawing
-
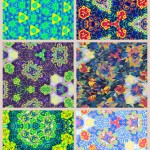
- Created using a variety of filters in layers to build complexity
-
- These works were created with a focus on emphasising one of the elements of art – line

2. A workflow incorporating paint and pens
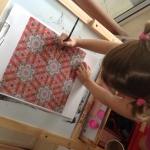
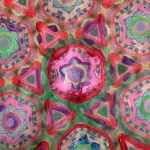
Beginning where they left off after making imagery using the previous workflow, students can re-envisage their ‘new’ digital work as the starting point for a new adventure.
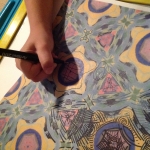
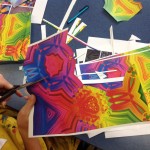
Using drawing or painting media over their printed compositions, students can add patterns, tone, etc. Teachers can link this task to an exploration of the elements of art, prompting students to highlight shape, develop an understanding of colour theory or look to further engagement with symmetry by adding complexity to the patterns, etc.
Some further ideas for working back onto the printed work:
Limit students to dots, line, tone or pattern
Use white paint and a fine brush
Use three-dimensional material to build up shapes (e.g., trace shapes with string, matchsticks, etc)
Use sequins, beads, stitching, etc
Students are limited only by their imagination.
BEST TIP: Many teachers do not realise that most printers can take cartridge paper. Printing the images onto thicker stock will give students a more robust working surface they can work into.
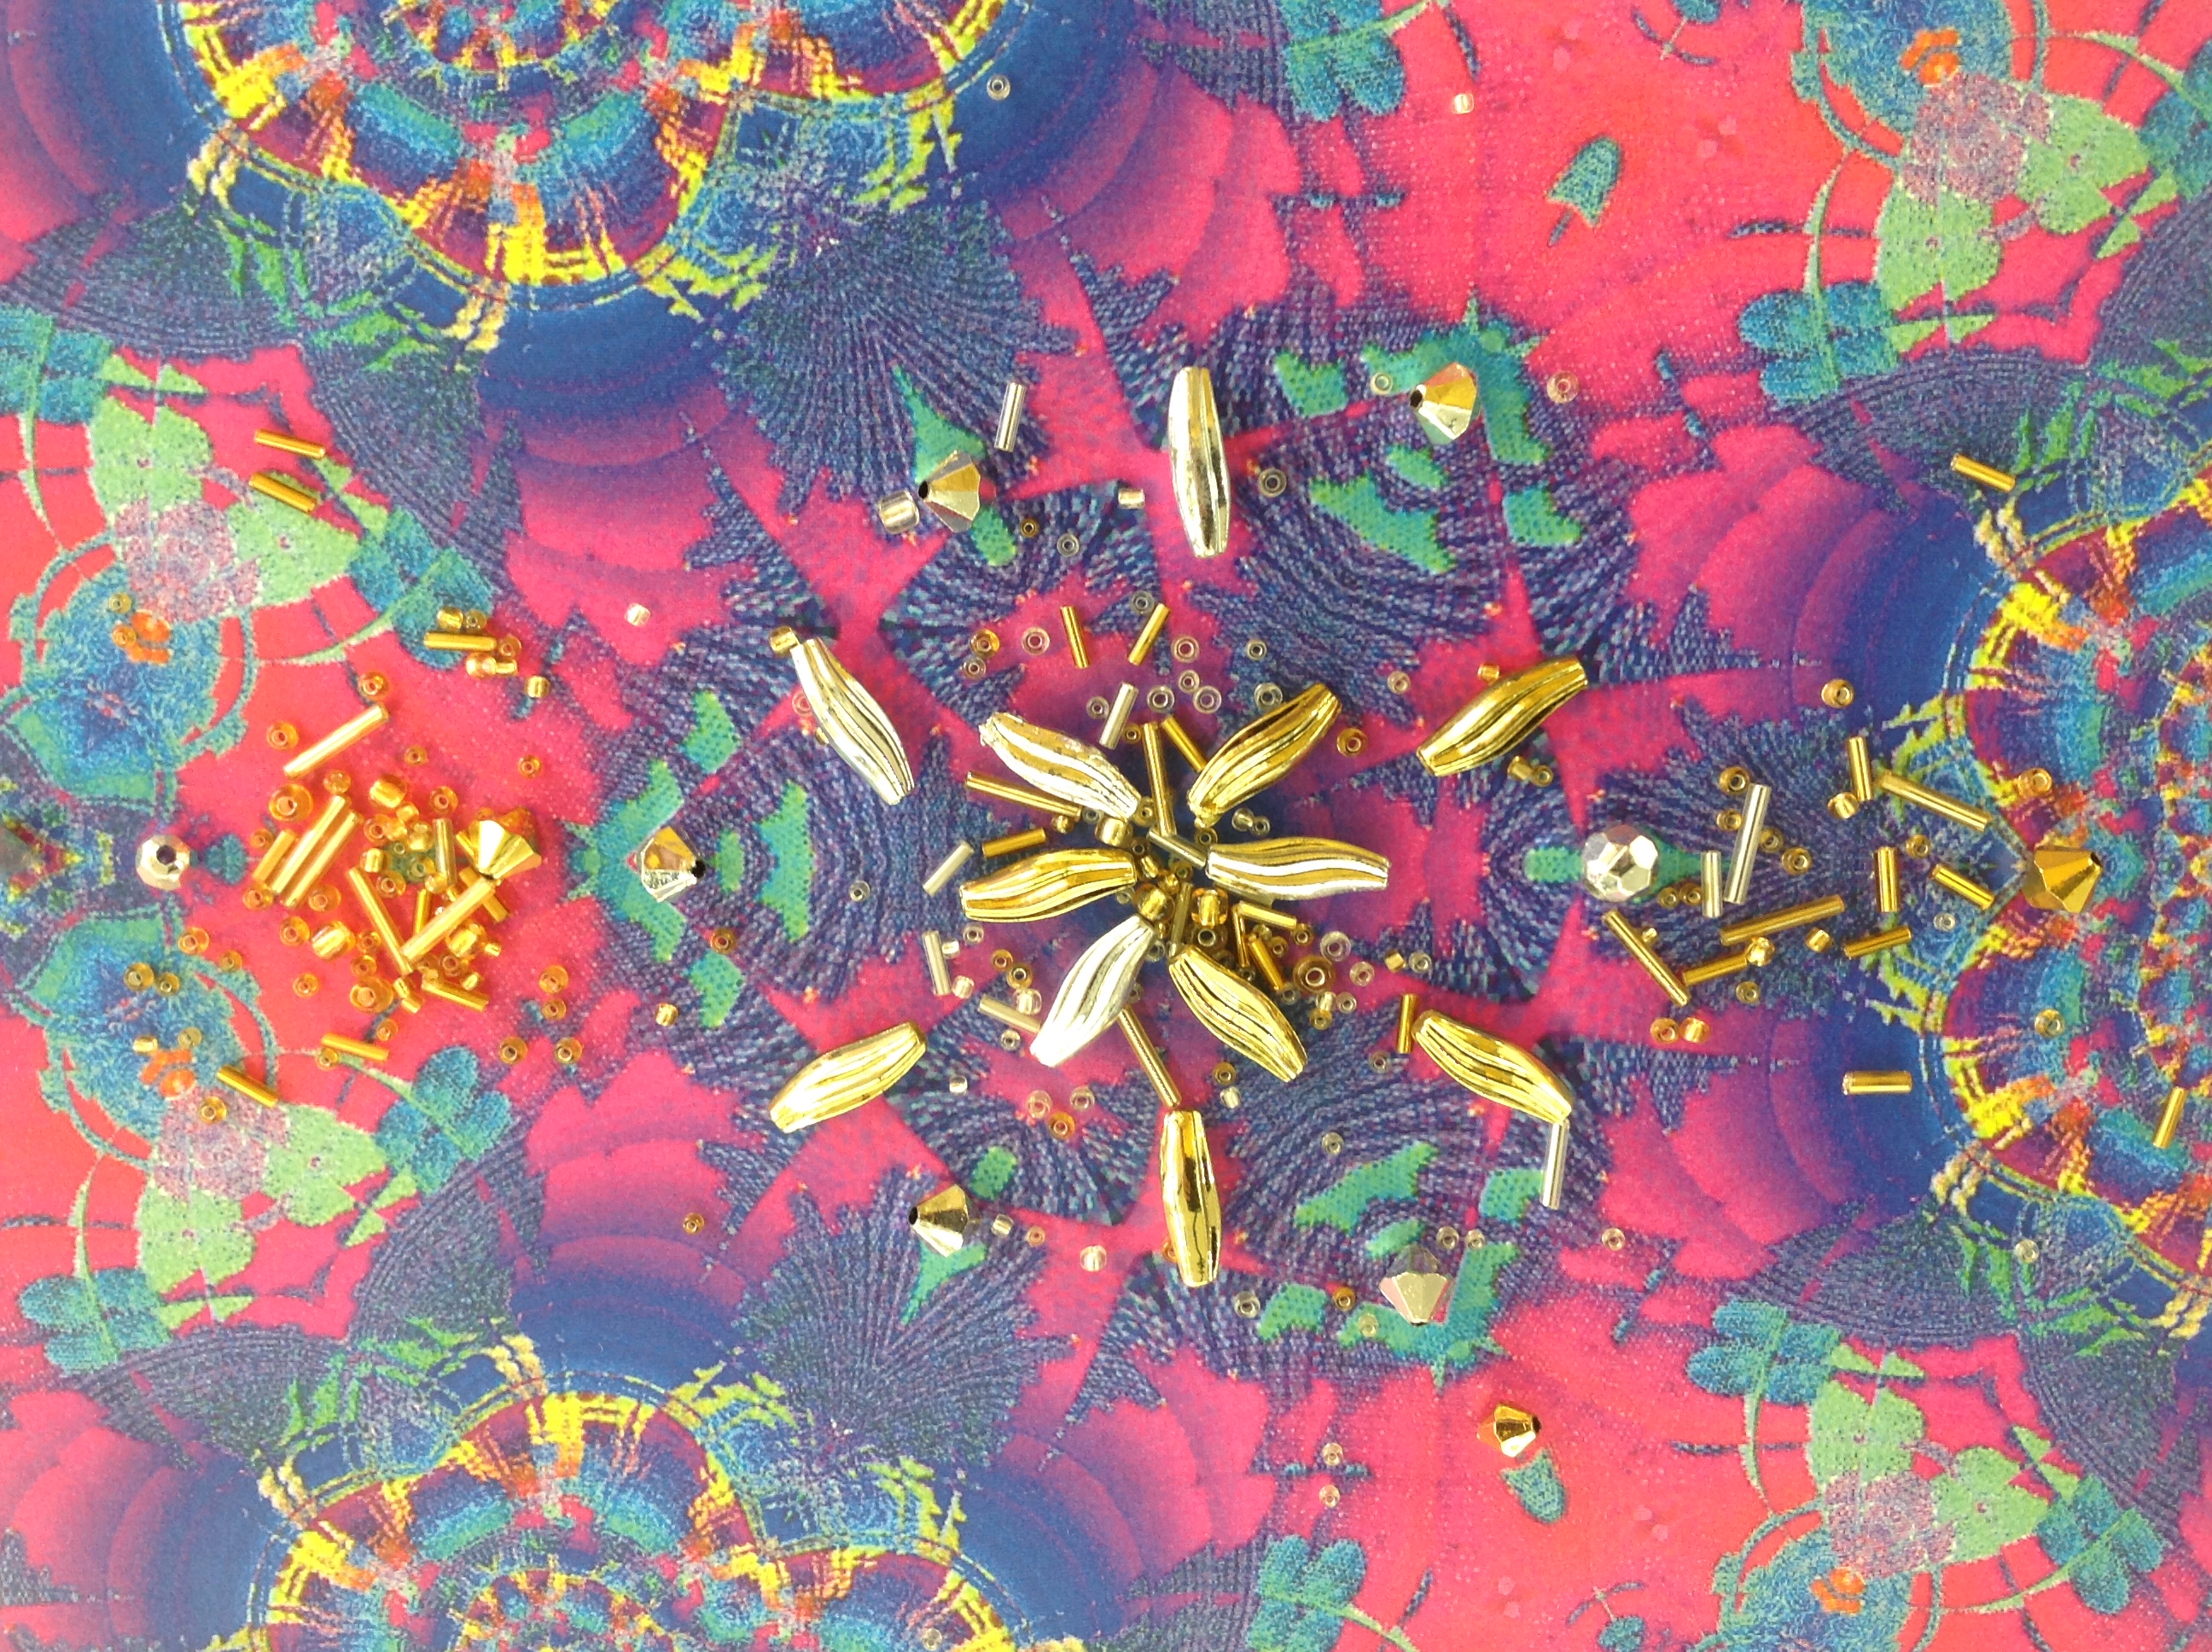
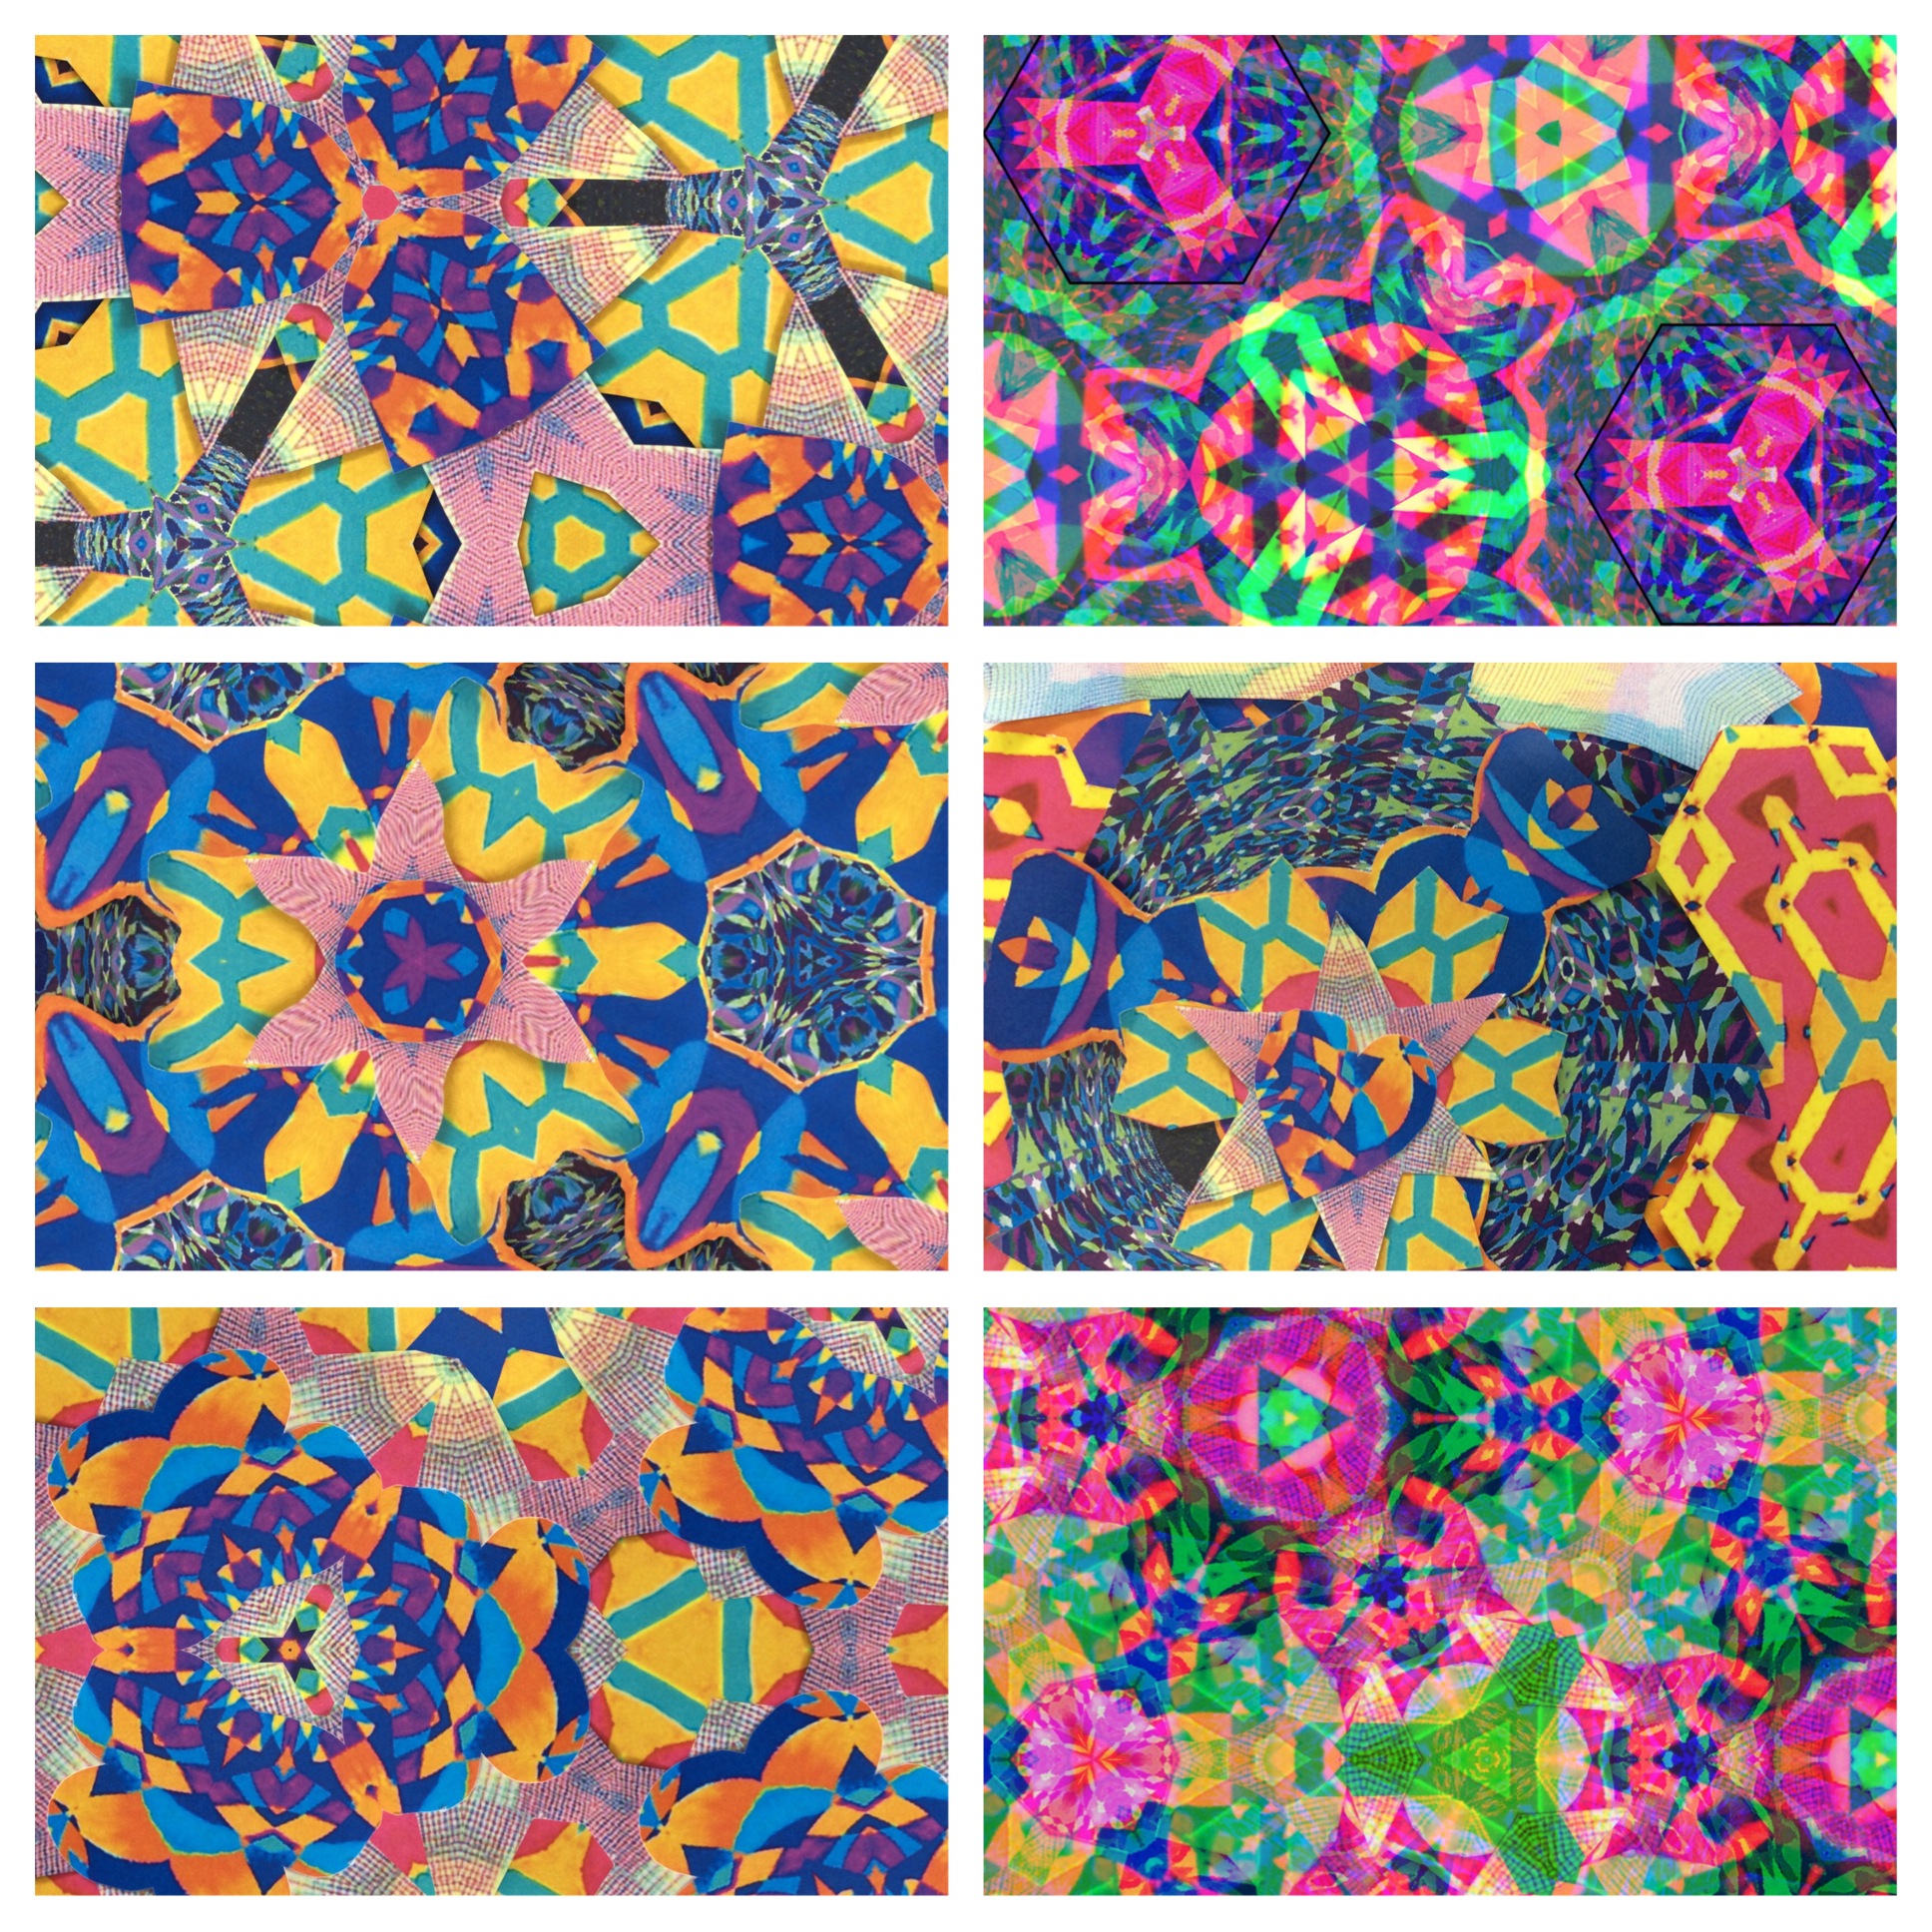
Thinking about the creative process as a cycle, rather than a linear progression, the image can be photographed again and reworked digitally. The images below show two works as they evolved in this way.

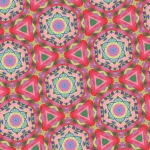
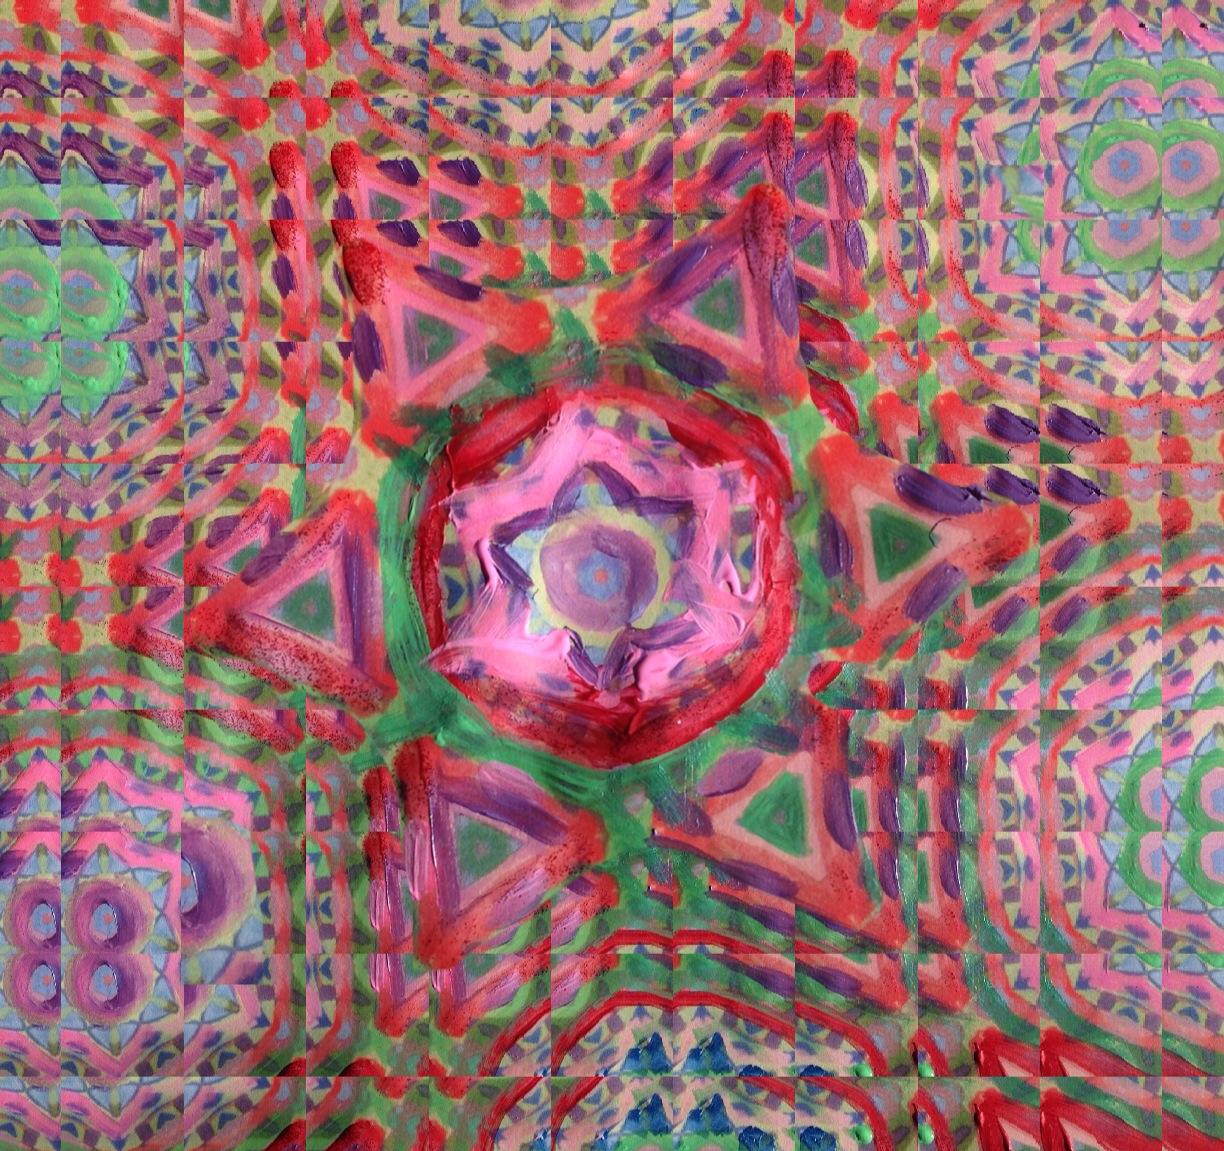
This image was created form an oil pastel drawing, mirrored in Flip-o-Matic repeatedly to create a strong pattern. The student then printed the work and painted over the top. The image was photographed again and reworked, including a central shape being created using Superimpose app to cut and paste.
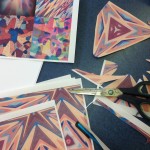
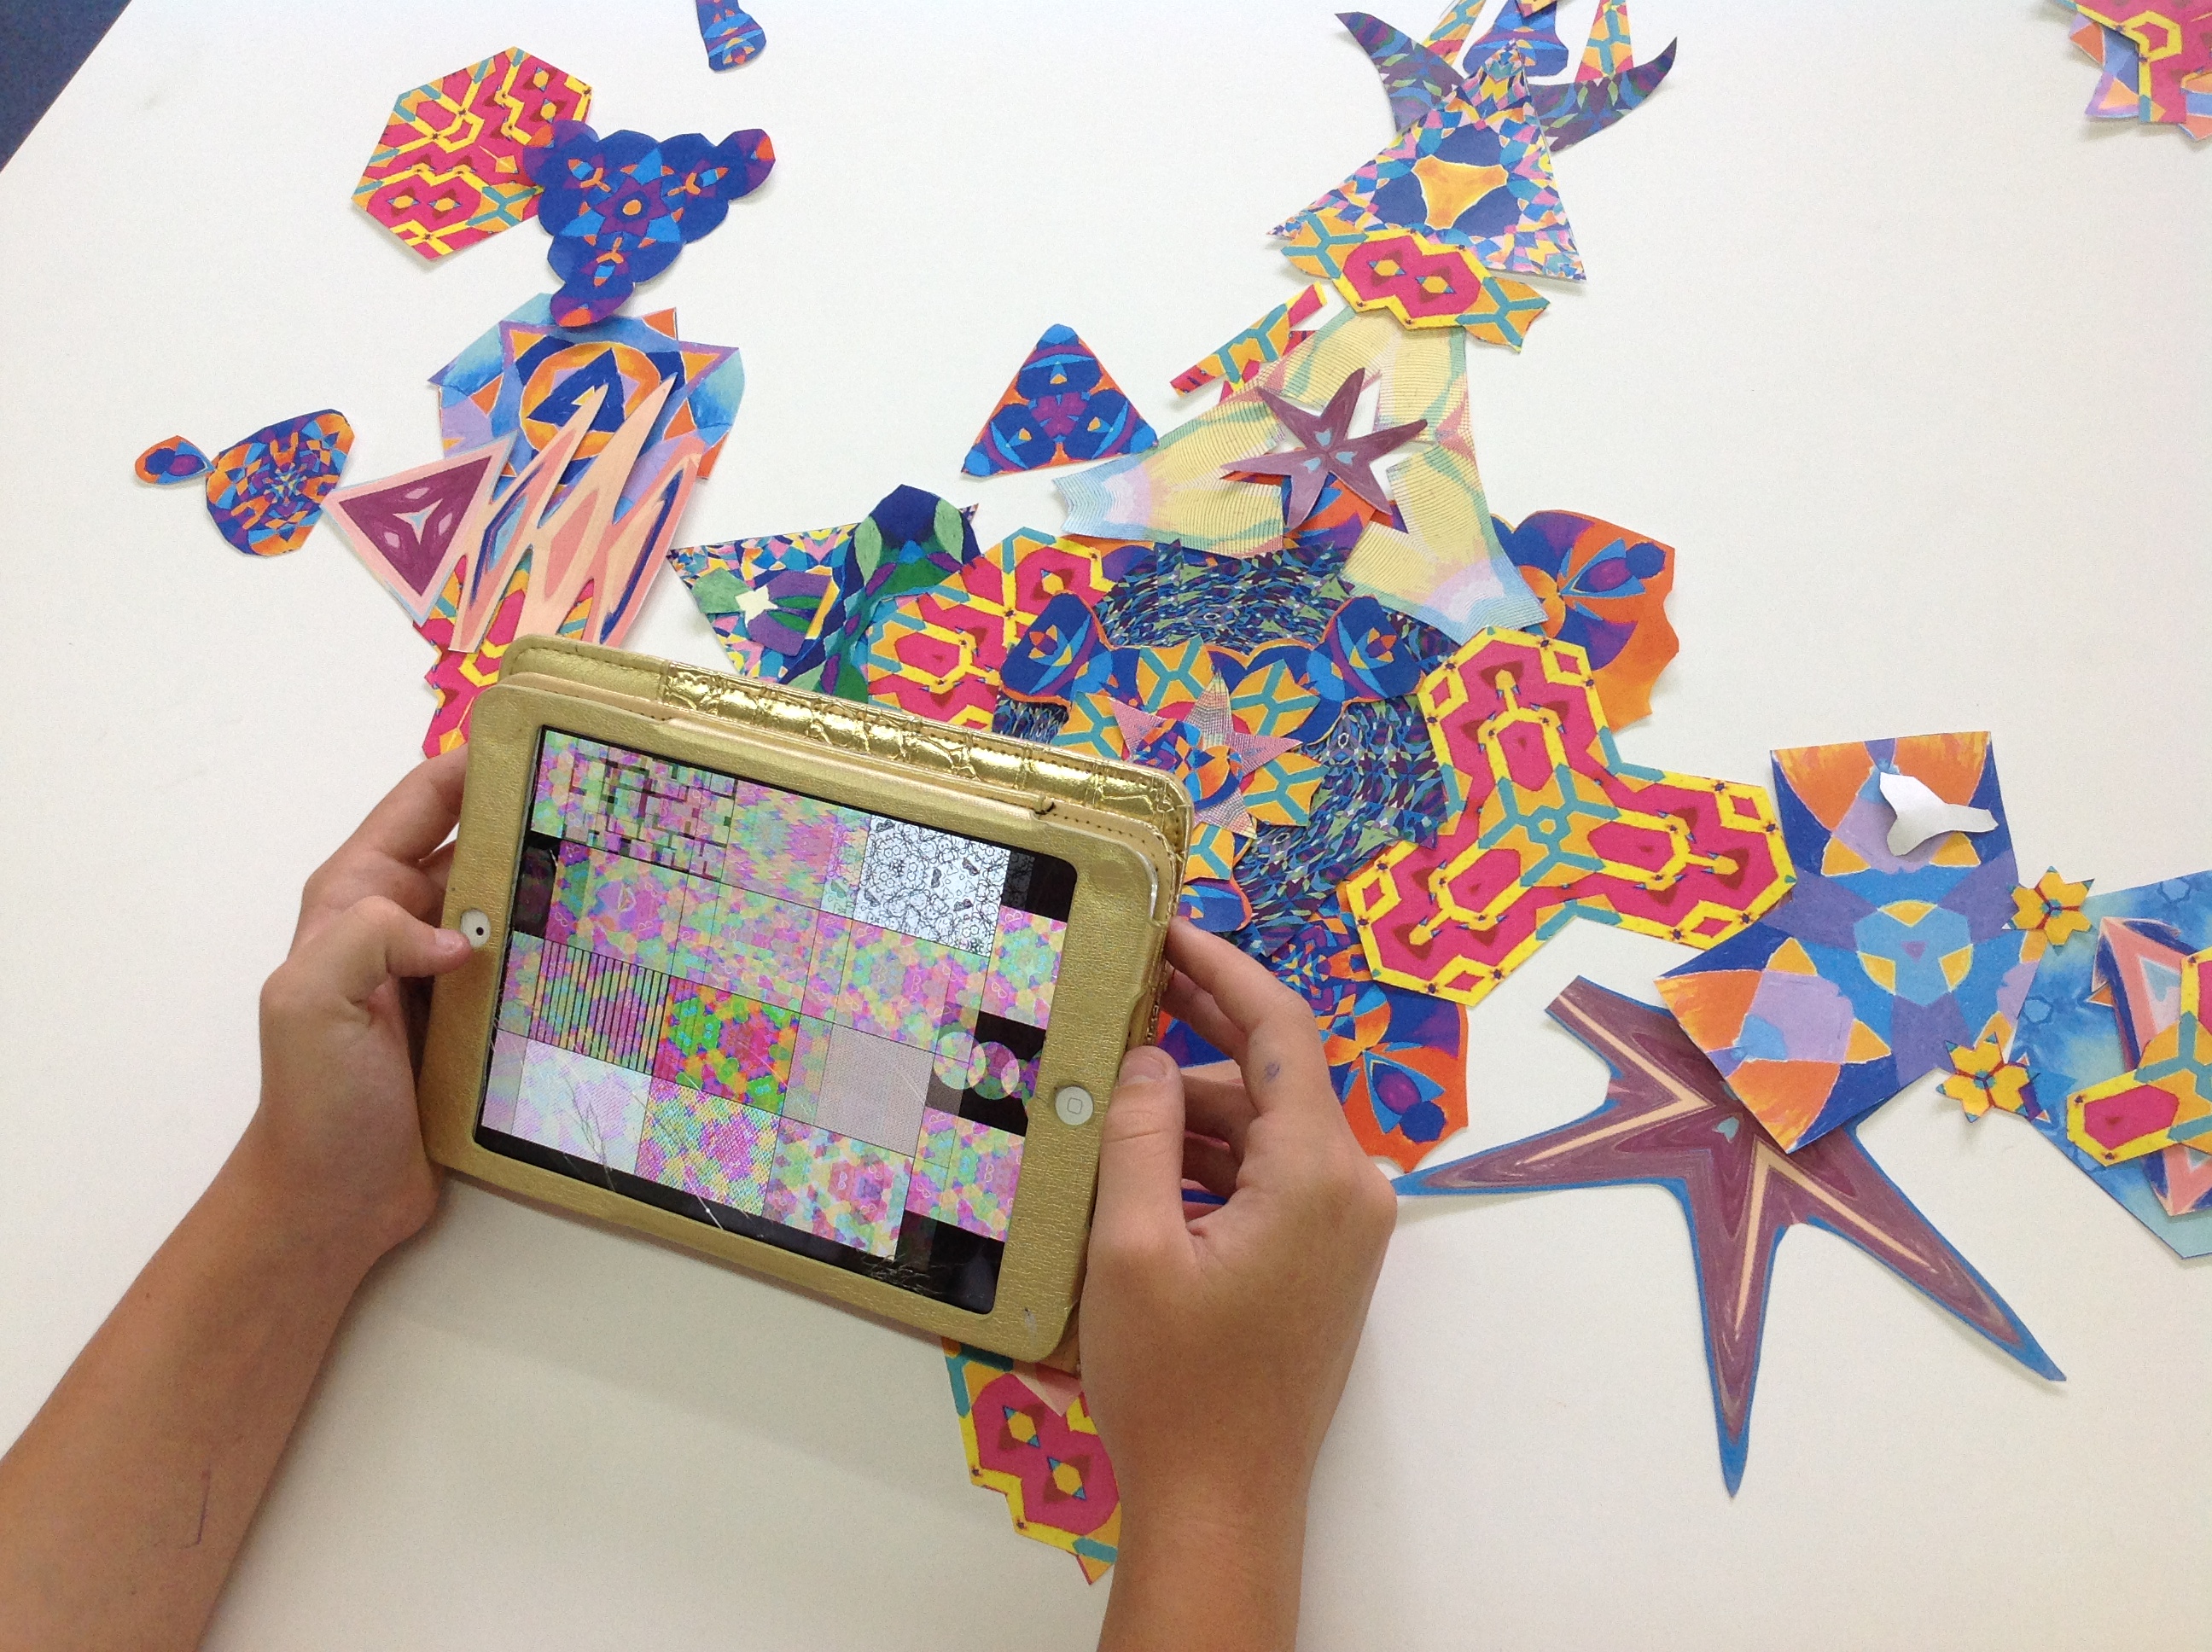
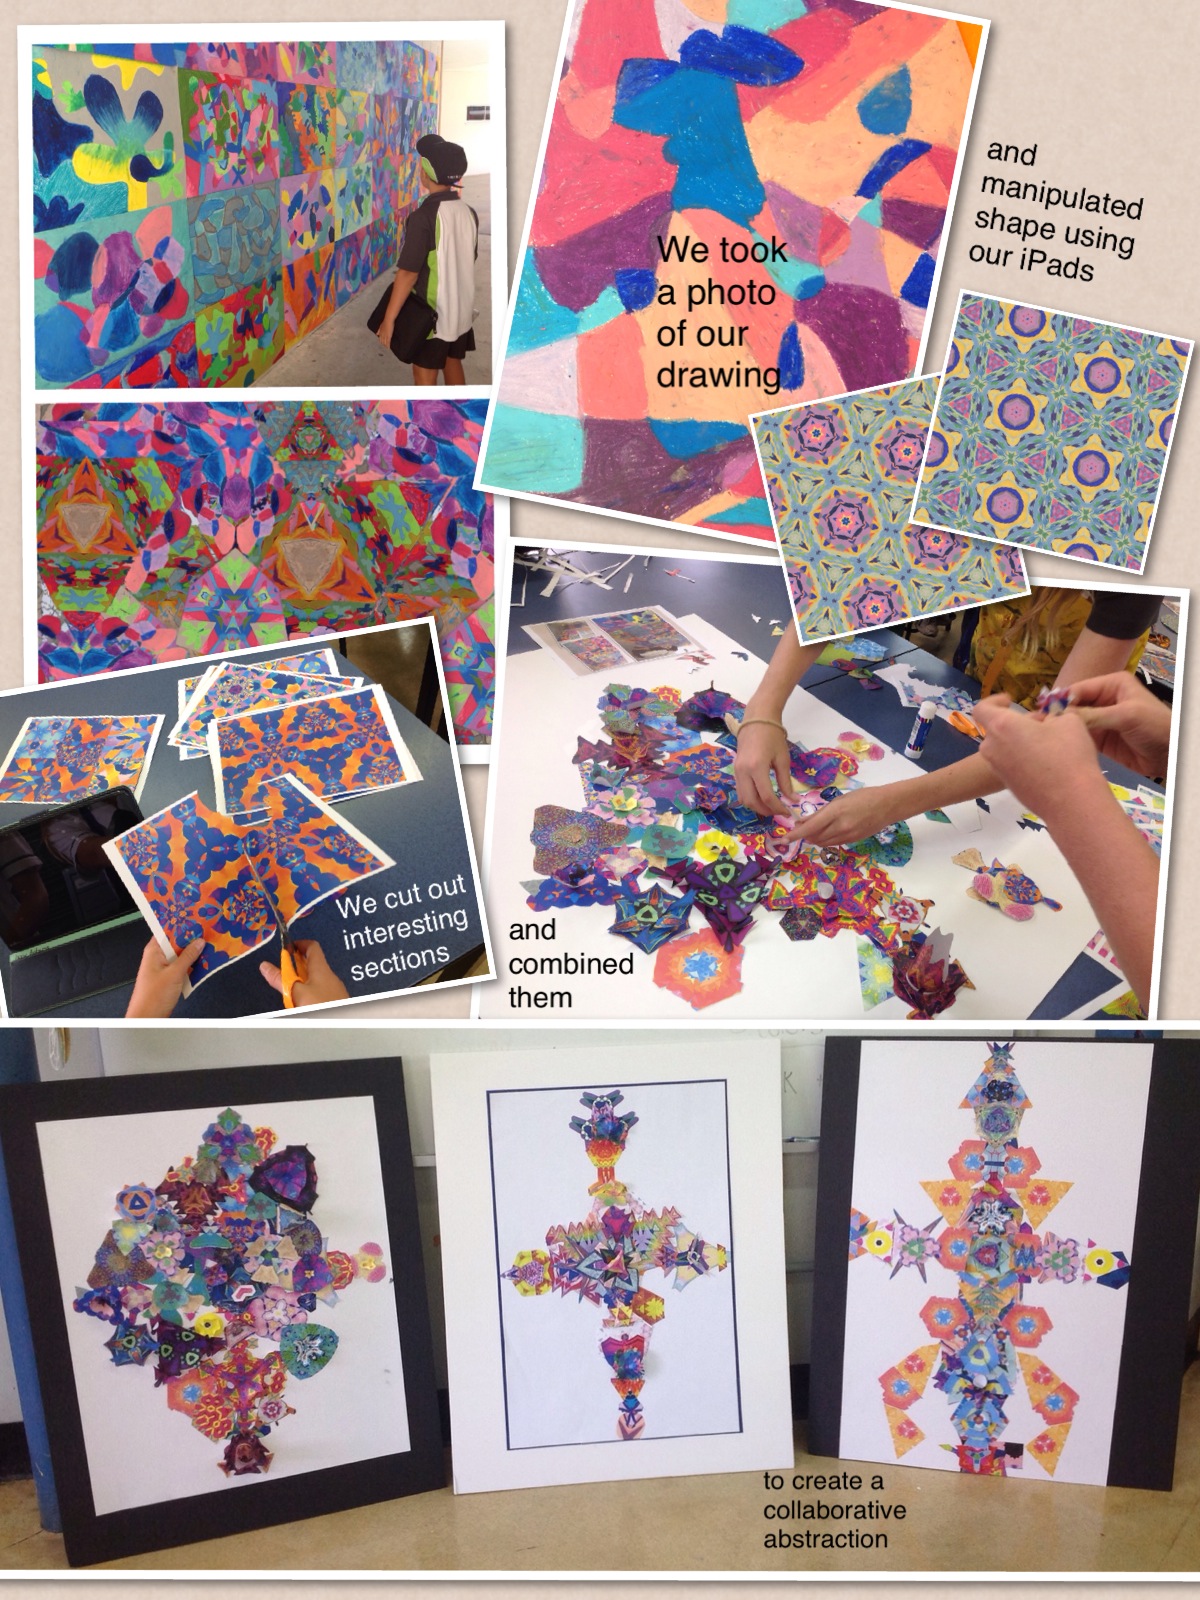
3. A workflow to create a collaborative collage
Another variation…
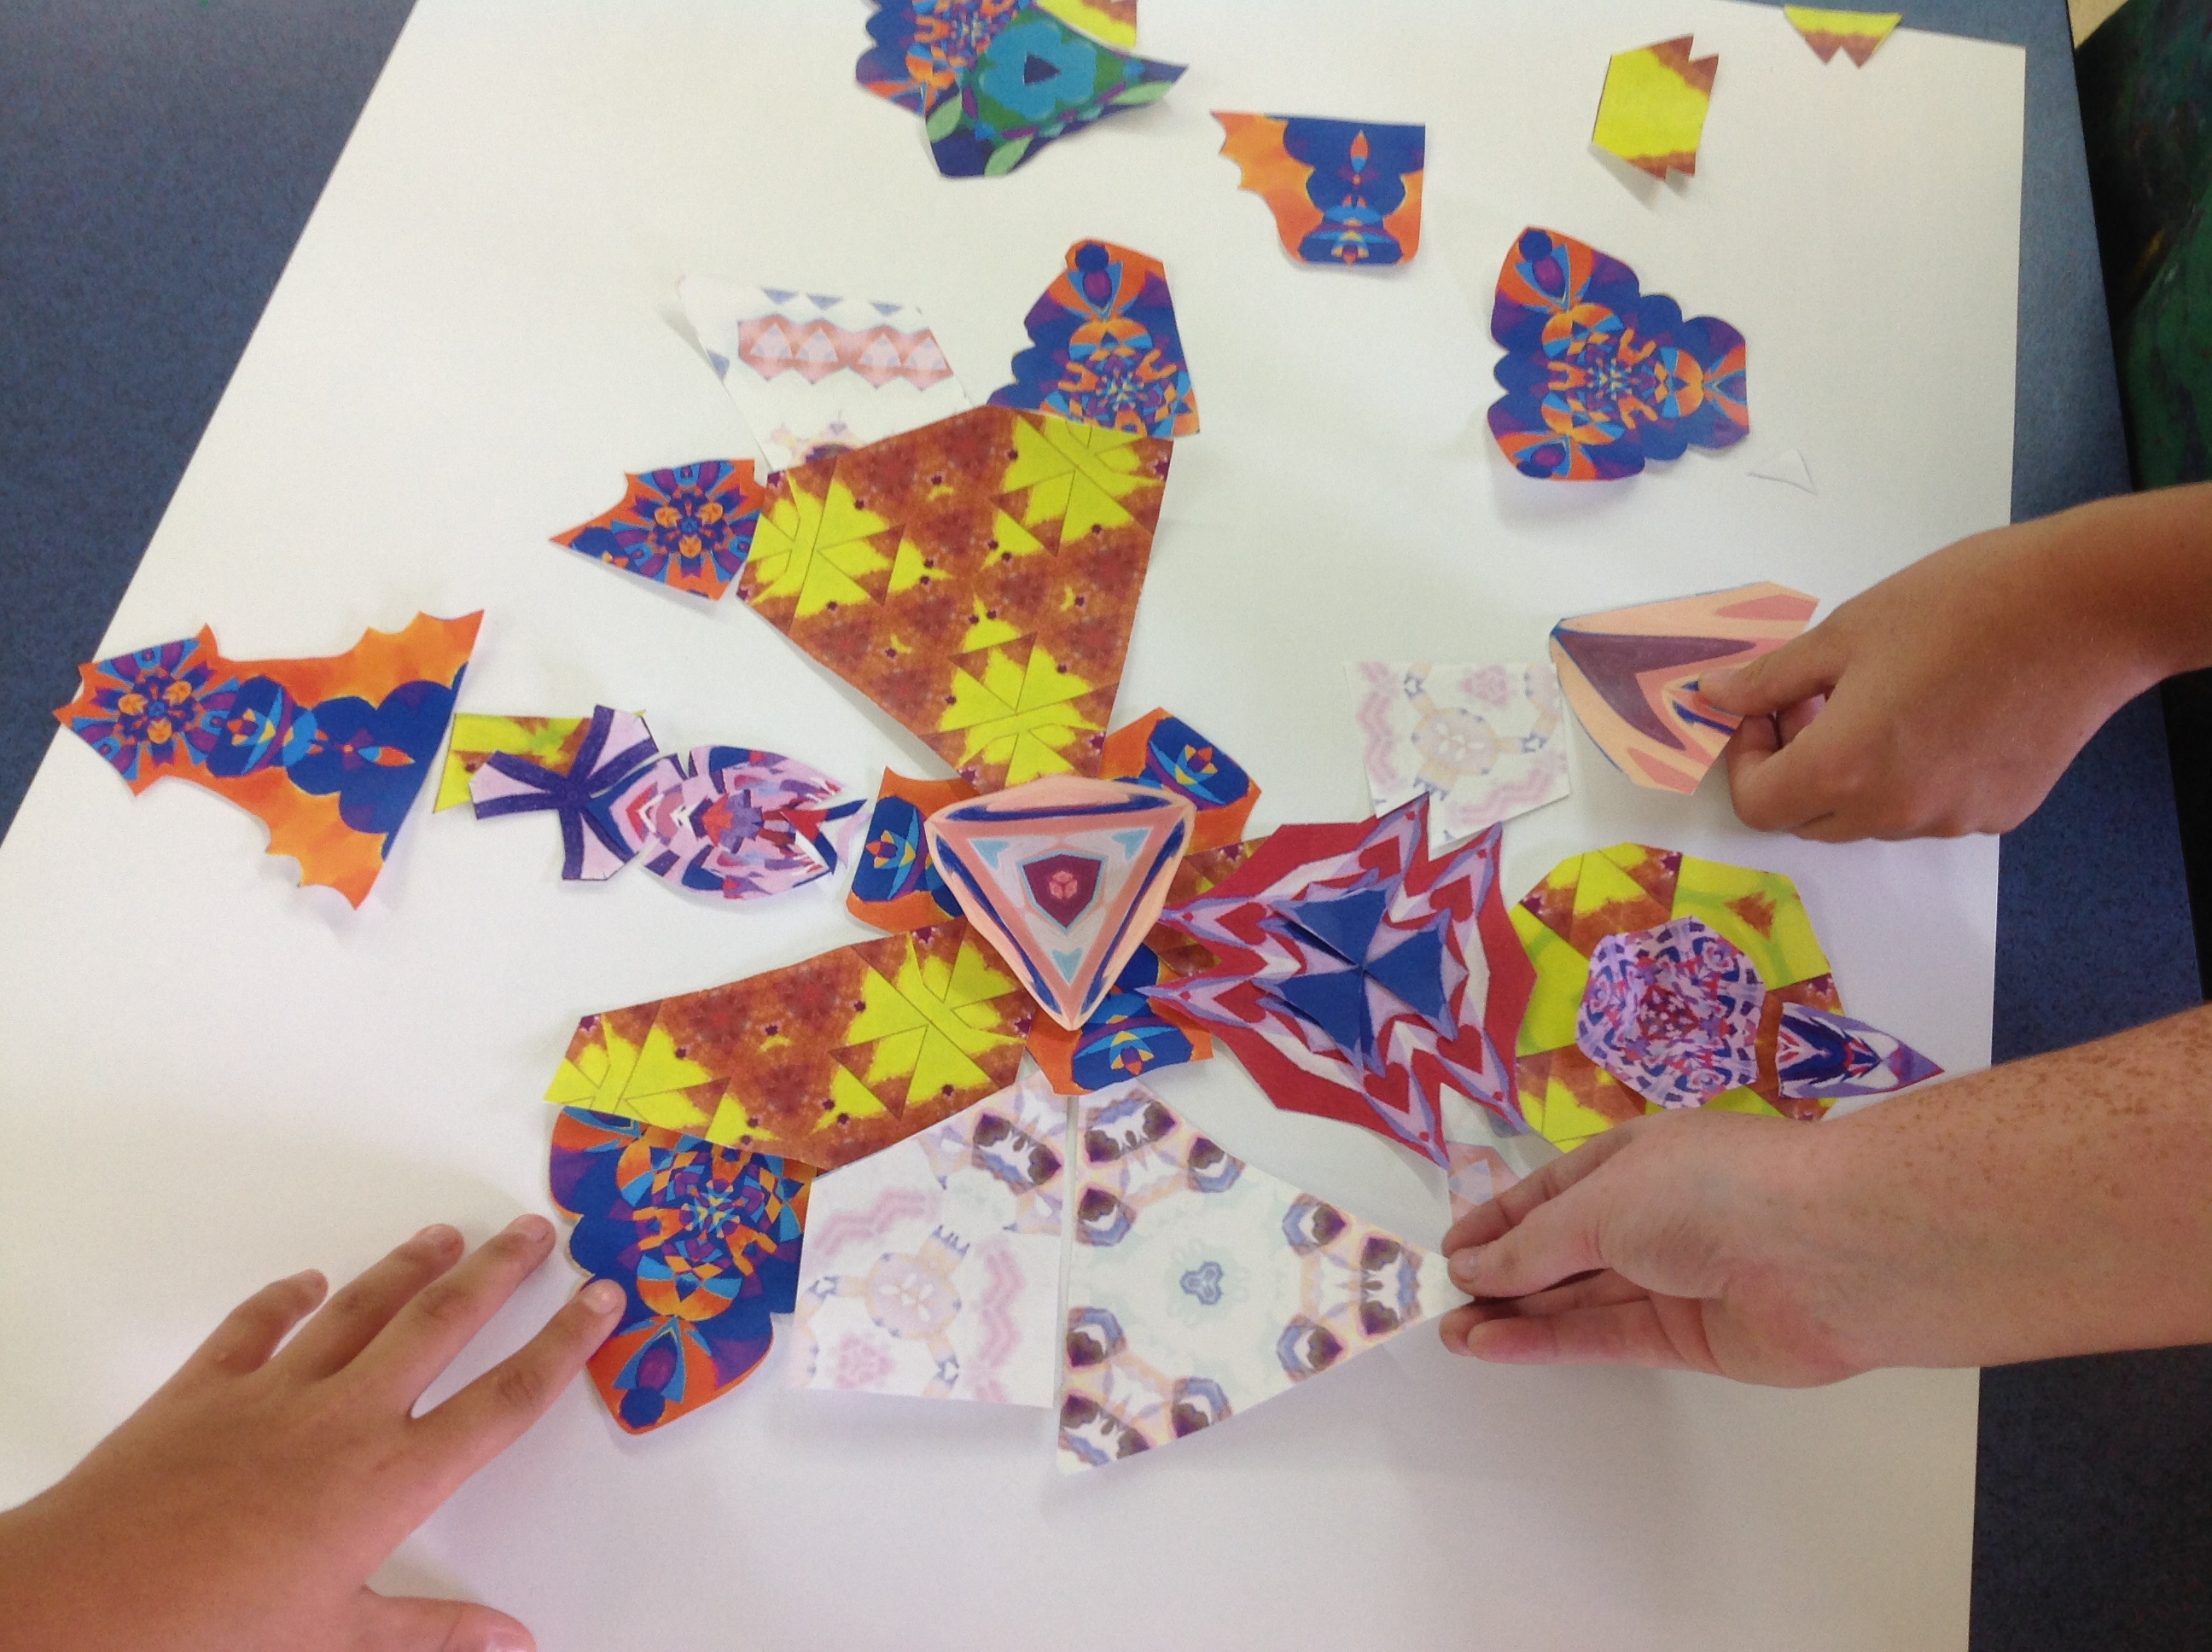
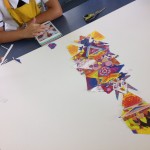
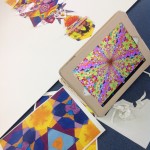
Having explored image making in a process similar to either the first or second series of examples, students will have a variety of compositions at their disposal. By printing some images and cutting out the shapes the elements can be reassembled. This can be done individually or collaboratively.
Some further ideas…
Create a large ‘meta’ symmetry, using elements of the smaller symmetries in combination
Bend and flex the paper to create three dimensional shapes
Younger students can choose shapes reminiscent of space or flowers to create representational scenes
Using split pins, shapes can be attached to paper to create work with ‘moveable shapes’
Here’s what the process might look like:
A collaborative work taking shape:
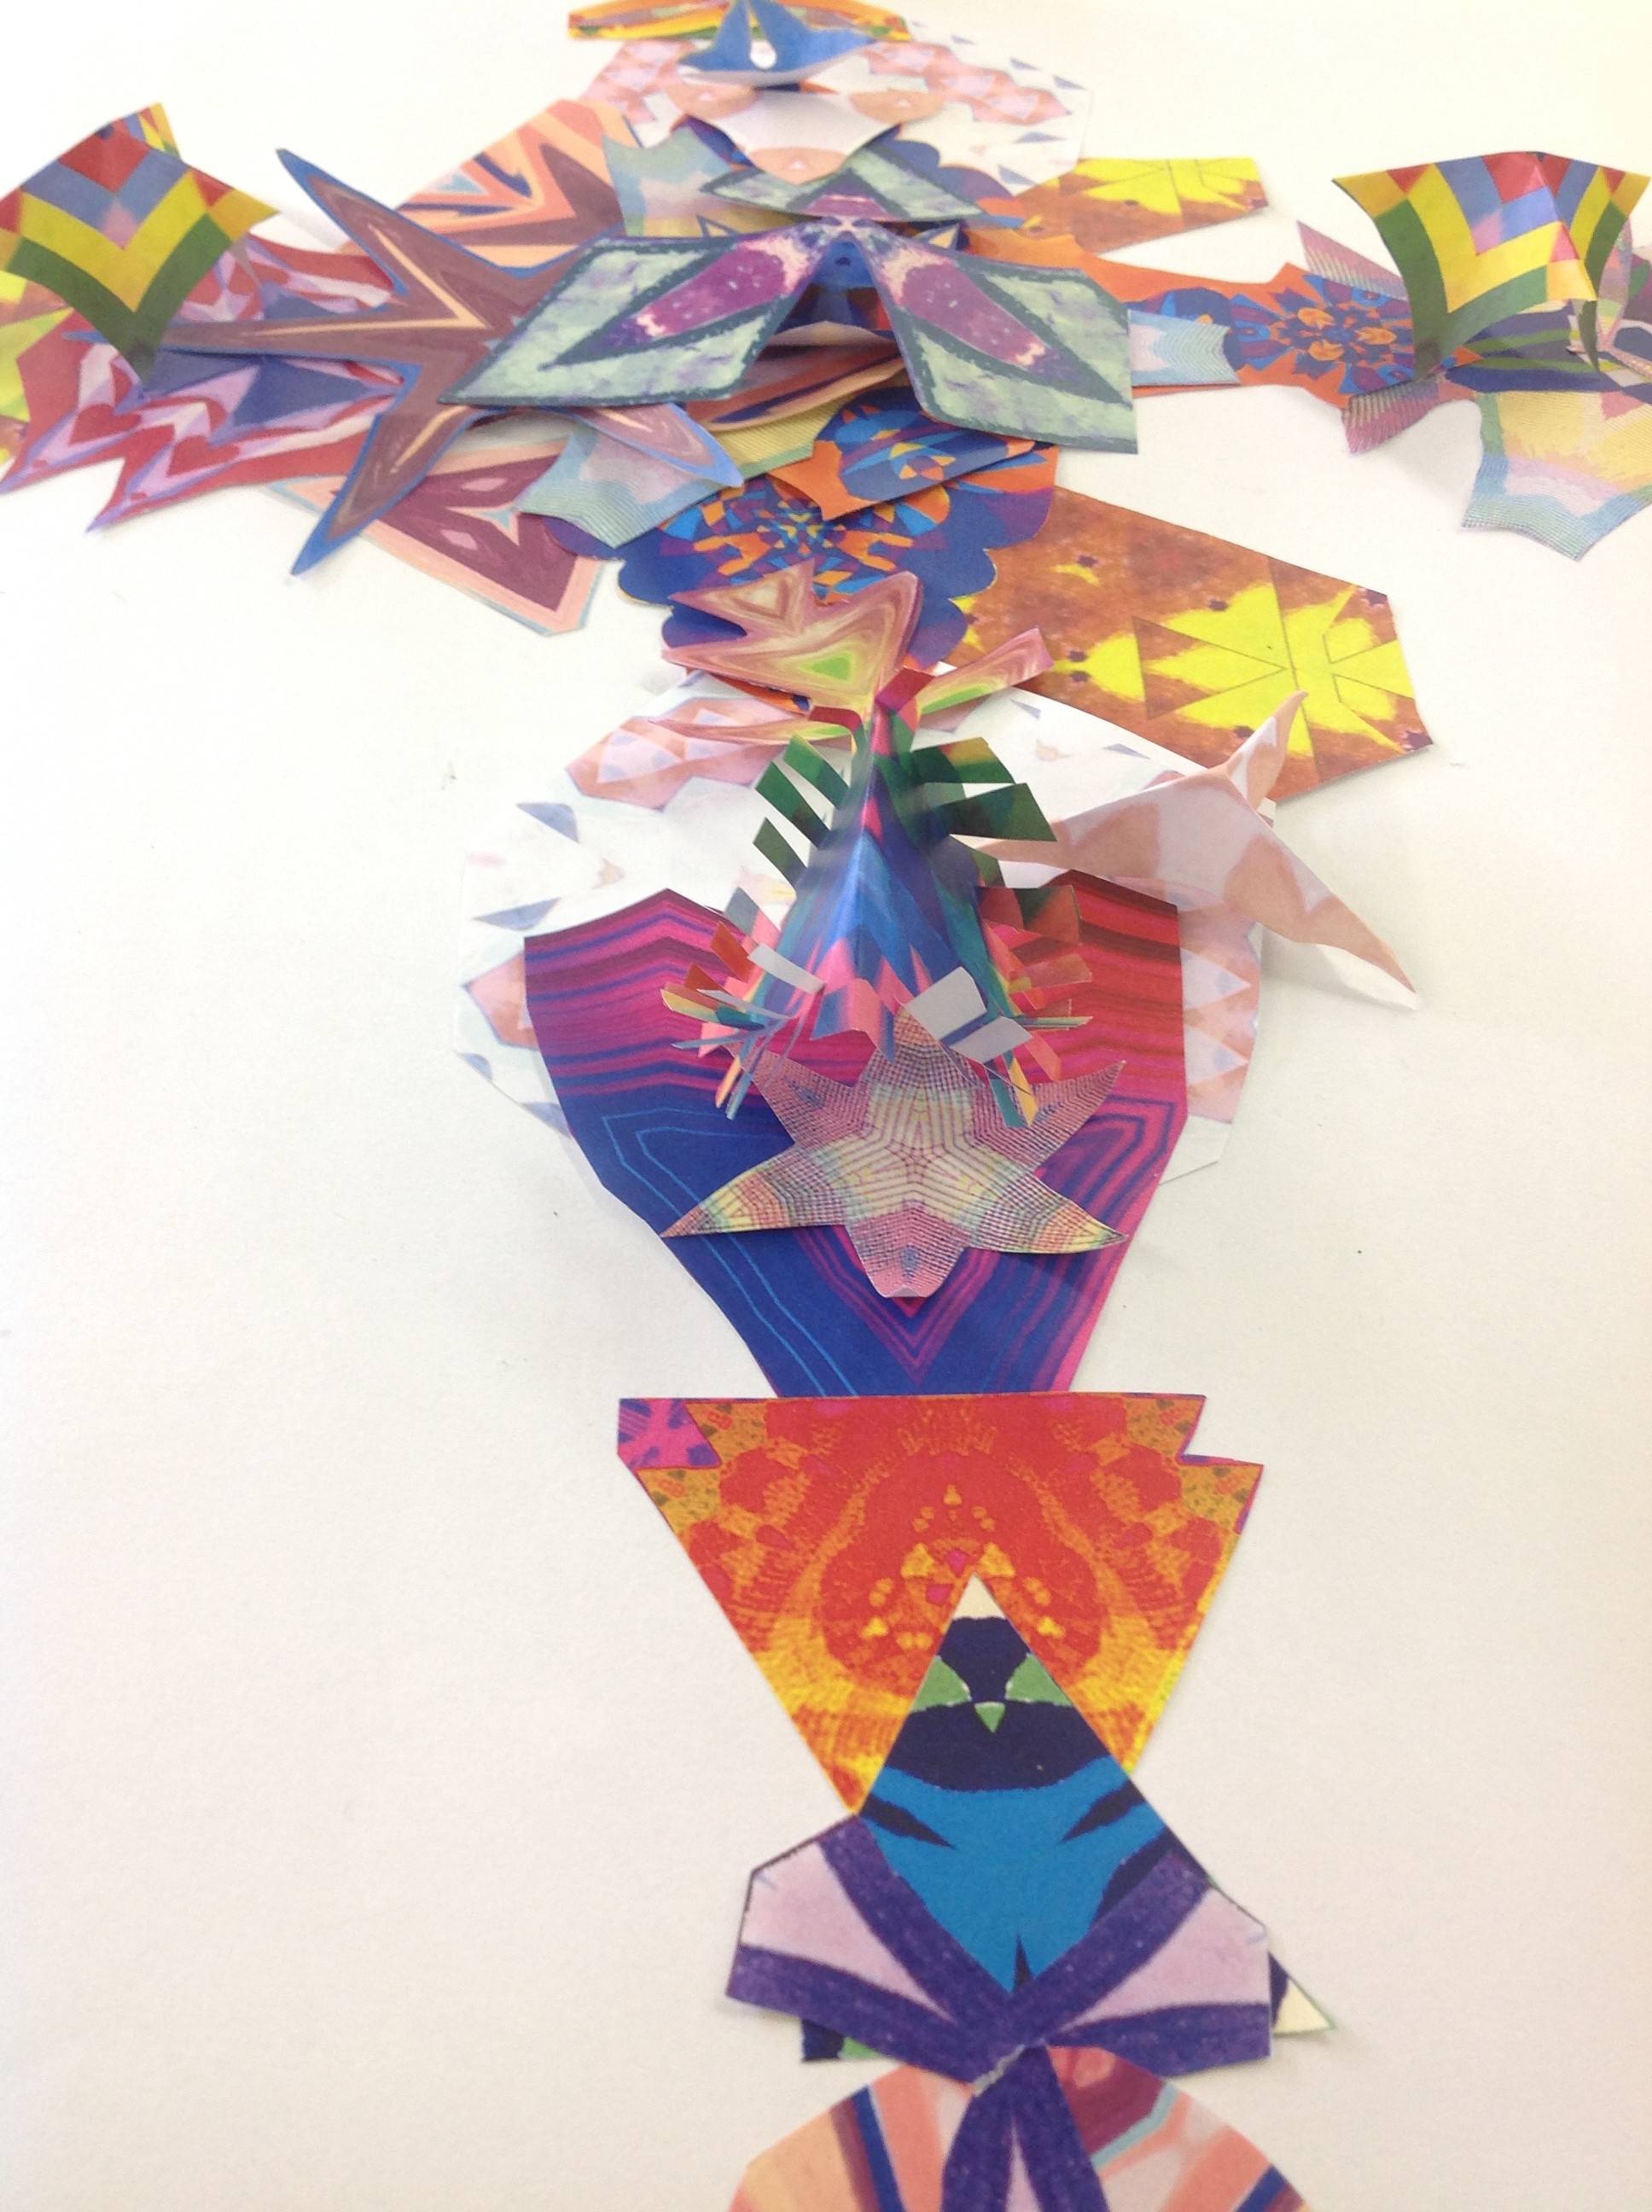
Since the process never ends, how about photographing the collaborative work once again? Using the same manipulation tools as in previous works the complexity, depth and detail can be increased as the layering multiplies.
Some final observations on learning
While some students were happy to finish their work digitally, others printed pieces and painted layers on top, reconstructed pieces or combined images. Some even photographed these works and worked back into them digitally again.
The process of moving between mediums in this way can be profoundly empowering, as students truly engage with the creative process and begin to appreciate the endless possibilities available to them as art makers.
Is your head spinning?
This post is really about sharing the (exciting) potential of digital tools for art-making in a classroom that values the process. If you are keen start but feel a bit daunted by the scope of this project, have a look at some of my other posts, such as ‘A simple workflow for young art-makers‘ or ‘Ink Monsters‘.
Further resources:
Social Share

4 Comments


I like the whole process, and especially the back and forth between the hand creations and the iPad creations. Cool!
This is a tough one for new-bies, but I feel like it is a great way to show people that the iPad can be used as a tool for art in a different way to drawing or painting. Those things are fine if you like that, but you can do more. The way you see the tool is really different and I don’t think many people look at this kind of technology the way you do. Thanks for sharing.
Awesome art work
This is so good to show students that they can use whatever they want to be creative, digital and other tools. No limits, jet imagination and innovation. Thanks Cathy