

How to load up the learning in animation
comment : 1
Animations are easily created on mobile devices. I’ve written some extensive posts with resources, apps and ideas for teachers, and what follows is more suited to teachers who have started to explore stop motion in the classroom. If you’re a begin, you might want to check out these posts before you read on here….
How to begin using stop motion in the creative classroom
Examples of super stop motion movies
This post contains 5 ideas to really load up the learning in your animation tasks.
Before we begin, check out the ‘creative workflow’ in the video below and you’ll get a feel for the kind of action-packed experiences I get excited about. Students create a paper dragon, engaging with colour theory, layering, patterning, etc, and then those dragons become the subjects of experimental stop motion movies. It’s a collaborative workflow involving the whole class, and students move seamlessly between activities, exploring the creative process.
IDEA 1: More Making!
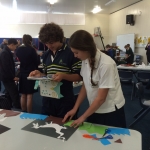
While it is certainly valuable to make animations from found objects and play sets like Lego, you can also create rich learning experiences by combining techniques and tools. With some consideration during planning, you can make the most of opportunities for students to do ‘more making’.
MAKE the subjects/characters of animations
USE paintings, drawings, sculptures etc as backgrounds or environments for animations
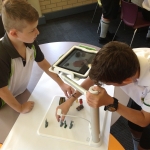
LIMIT MATERIALS to maximise creativity. For example, give students PlayDoh and nothing else and watch what happens!
EXPLORE surroundings and learn to see the world creatively. For example, take students on a walk to find and collect objects for their animations (leaves, sticks, etc).
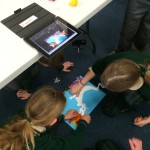
FROM THE CLASSROOM
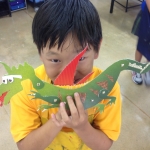
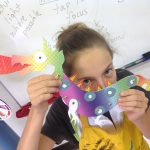
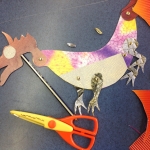
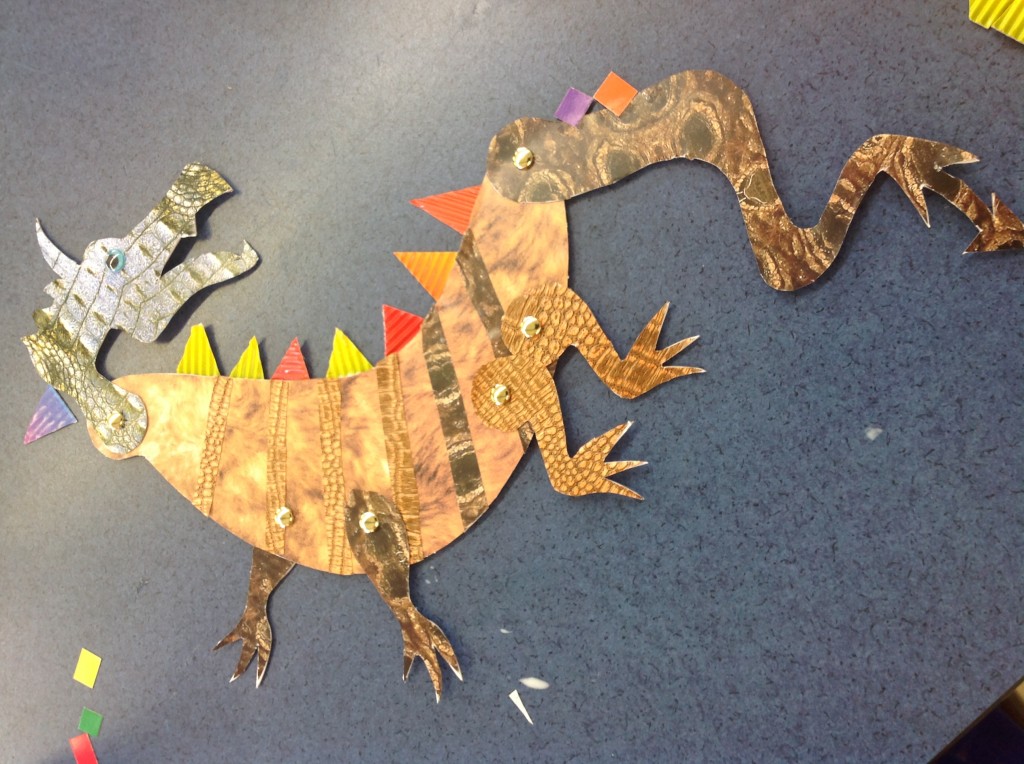
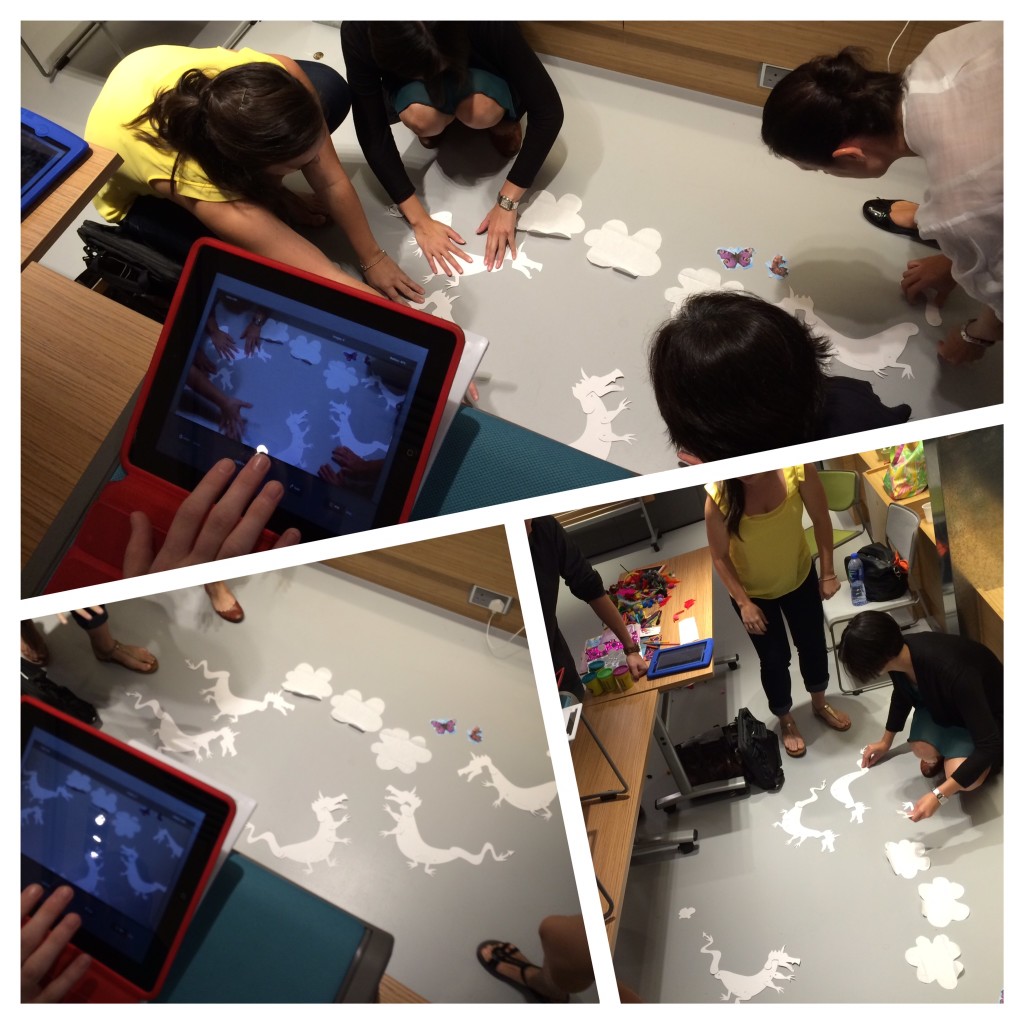
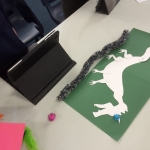
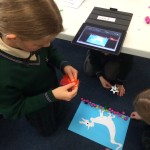
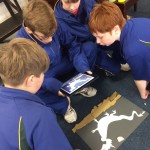
In this first example straight from the classroom, Year 6 students have engaged with concepts of layering, patterning and colour theory to design their dragons, which will become the subjects of their animations.
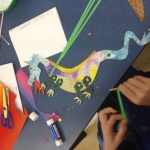

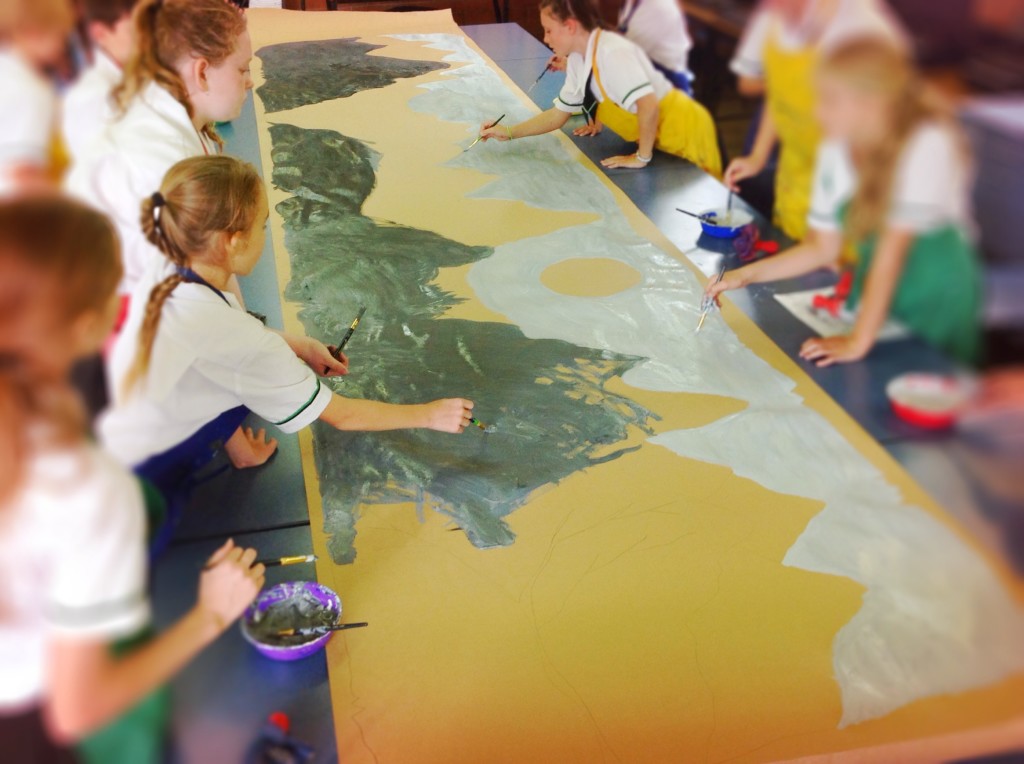
Students also created this collaborative painting having worked through a study of Chinese landscapes. Some experimentation led to the creation of these receding hills on this a scroll. Using a tonal painting, students create the background and set the scene for their flying dragons.
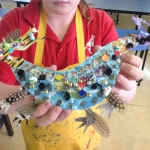
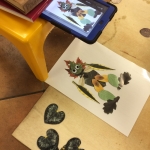
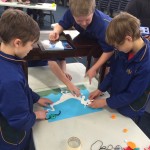
In this second classroom example, students repurpose clay fish sculptures they produced using pinch pot construction, transforming them into characters for collaborative stop motion movies. One of the great things about this task is that these beautiful fish don’t just sit on a shelf as finished sculptures, we bring them to life! Students love ‘playing’ with their artwork and redefining mediums.
Why do I love working with these hands-on creative workflows? Students can explore the creative process by engaging with diverse techniques, breaking down the separation between digital tools and more traditional art-making experiences.
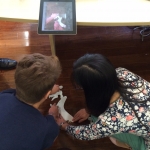
IDEA 2: COLLABORATE
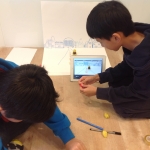
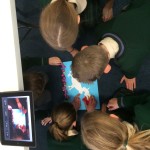
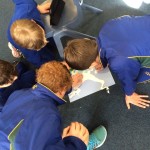
Don’t underestimate the collaborative potential of mobile devices. Although individual access to technology is great for some kinds of tasks, one iPad between a group of students can support problem solving, communication and team work.
In this example, teachers explore some stop motion apps for the first time by creating a collaborative animation. The same dragons we saw above (this time blank), come alive and fly through the sky. This way of working is really hands-on, very active and a lot of fun. Nothing beats the challenge in this kind of task, as the skills in team work and problem solving within this task become just as important as the finished product.
IN THE CLASSROOM
For some groups of students you may want to consider the structure groups, assigning a leader/director, etc.

IDEA 3: GO ALL IN!
Have you considered using your students IN an animation? Getting kids up and active in this kind of activity is action-packed, and people make great subjects. Keep it simple and let the students think about making words appear with bodies, engineer disappearing and reappearing people, create floating figures, etc. You can create exciting animations by playing with forced perspective, with people emerging from inside the hands of others, etc. The mind boggles!
Some examples and ideas…
The ‘touch and change’ technique
Shift the perspective and defy gravity
Use some props and play
Get drawing!
Funny flying…
And lastly, just try not to get inspired by this mixed-media masterpiece from Rhett and Link.
Up for a challenge? Get a whole class to work together.
MONA Stop Motion from Cathy Hunt on Vimeo.
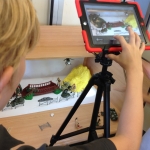
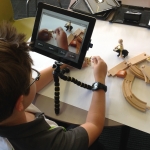
IDEA 4: It’s a mobile device…
Remember, one of the advantages of mobile technology is the ability to pick it up and move it around. Don’t be afraid to take stop motion movie-making outdoors, into the action and on location!
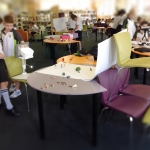
In the classroom, students love to create their own environments and sets. Although most classroom animations are created on the desk, using the floor provides students with a larger creative canvas and a new way to compose shots. Although there’s a lot of special equipment out there if you want to get serious, you can make an animation without any expensive tools…and sometimes it’s limitations that present opportunities for creativity. Watching students manipulate their filming environment, moving chairs, tables, stacks of books, etc. to get the right shot, is problem solving in action. Empowering students to view their environment as a location for creativity, is also an exciting premise.
IDEA 5: Get students to create the teaching and learning exemplars
Producing ‘mini-movies’ as students begin to engage with stop motion techniques is an exciting way to learn about the medium. Rather than giving students a series of instructions and showing them examples of ready-made animations before they begin, let them make their own to reveal the process. You’ll find that students love to explore the technique, rather than be given a how-to they don’t really need.
The quality of the first iterations can be very poor, and that’s a good thing, because the class is producing collection of works they can share and discuss in terms of quality (not Academy Award-winning masterpieces…yet!). As they hold up their iPads and take a look around the room they will immediately identify faults with their work and their friends. Armed with even just a few minutes of experience, you’ll see that the are able to suggest corrections too, for example, ‘you needed to keep the iPad still’ or ‘you didn’t take enough frames so the movement is all jerky’. You can use this stop motion cheat sheet as a reference to make sure that over a few challenges students have developed an understanding of some key features of successful animations.
As the teacher, you can support this critique in a way that suits the character of your learners, but the general idea is that you’re building in more opportunities for students to reflect on their work and be a part of a collaborative creative community. There are obvious links to resilience here, as well as opportunities for students to see iterative failure as an integral part of the creative process.
A note on the time restraints…
The short time frame (5-10 minutes) is a crucial part of the instructional design for this way of working. Students won’t get bogged down in plot development rather than the learning objective or feel locked into mistakes that compromise their finished work. Pushing students to engage with the process and not the product is the goal.
What this means is that they will make some pretty ugly movies at times (!), but the learning derived from these exercises is obvious when they get an opportunity to present a more resolved film later. It’s exciting, exploratory learning that connects students to creative possibilities.
IN THE CLASSROOM
Some of my favourite challenges for stop motion come from floating very open-ended statements, questions or titles with students. There’s a minimum of instruction given, and this allow the students to fill the void with their big ideas, getting that ‘what if’ thinking started. Here’s some I’ve used with students aged 6 to 16.
Make your dragon dance!
That’s one hungry bit of PlayDoh!
The day my shoelace came to life
What’s inside that pencil case?
Make moving patterns
Where did it go?
When you think about creating your own challenges, it can be useful to begin with words such as “grow, disappear, melt, dissolve”, etc. The illusion of movement is what it’s all about.
BEST TIP
When students are first using challenges to explore stop motion techniques, it can be useful to limit materials so they do not get bogged down in the act of creating ‘creatures’.
This example comes from a ten minute first exploration in Year 6. the students used old clay and a set of google eyes to create an animation in response to the materials alone.
Here’s another example of a mini-movie, created in a ten minute challenge. Students had access to a pile of materials and were given a paper dragon in pieces. The brief was simple – make your dragon fly!
I’d love to hear your ideas, so please share by adding them in the comments below.
LAST WORD
Since we’re talking about some of my favourite things in stop motion I have to give a shout-out to PlayDoh! If you’ve got an iPad, a stop motion app and some PlayDoh, you’re ready to get creative.
Check out these amazing stop motion movies for some more inspiration…
Social Share

One Comment


Pingback: How to load up the learning in animation | iPad...