

Laser Etching Meets The Printing Press
comment : 3
“Where would the Impressionists have been without the invention of portable paint tubes that enabled them to paint outdoors? Who would have heard of Andy Warhol without silkscreen printing? The truth is that technology has been providing artists with new ways to express themselves for a very long time.”
Randy Rieland
Walk into any visual arts classroom and you’re bound to find tins of sable brushes, cakes of tempera paint, sea sponges, clay and plaster of paris. While many of these diverse tools for making meaning and self-expression represent age-old techniques and processes, they are just as relevant in contemporary studio practices. Oil paintings emerge from the same studio spaces as new media such as holographic projections, 3D printing and computer game design.
Often it is the intersections between the old (ancient?) and ‘the cutting edge’ that present the most interesting opportunities for exploration.
Our adventures with lasers begin!
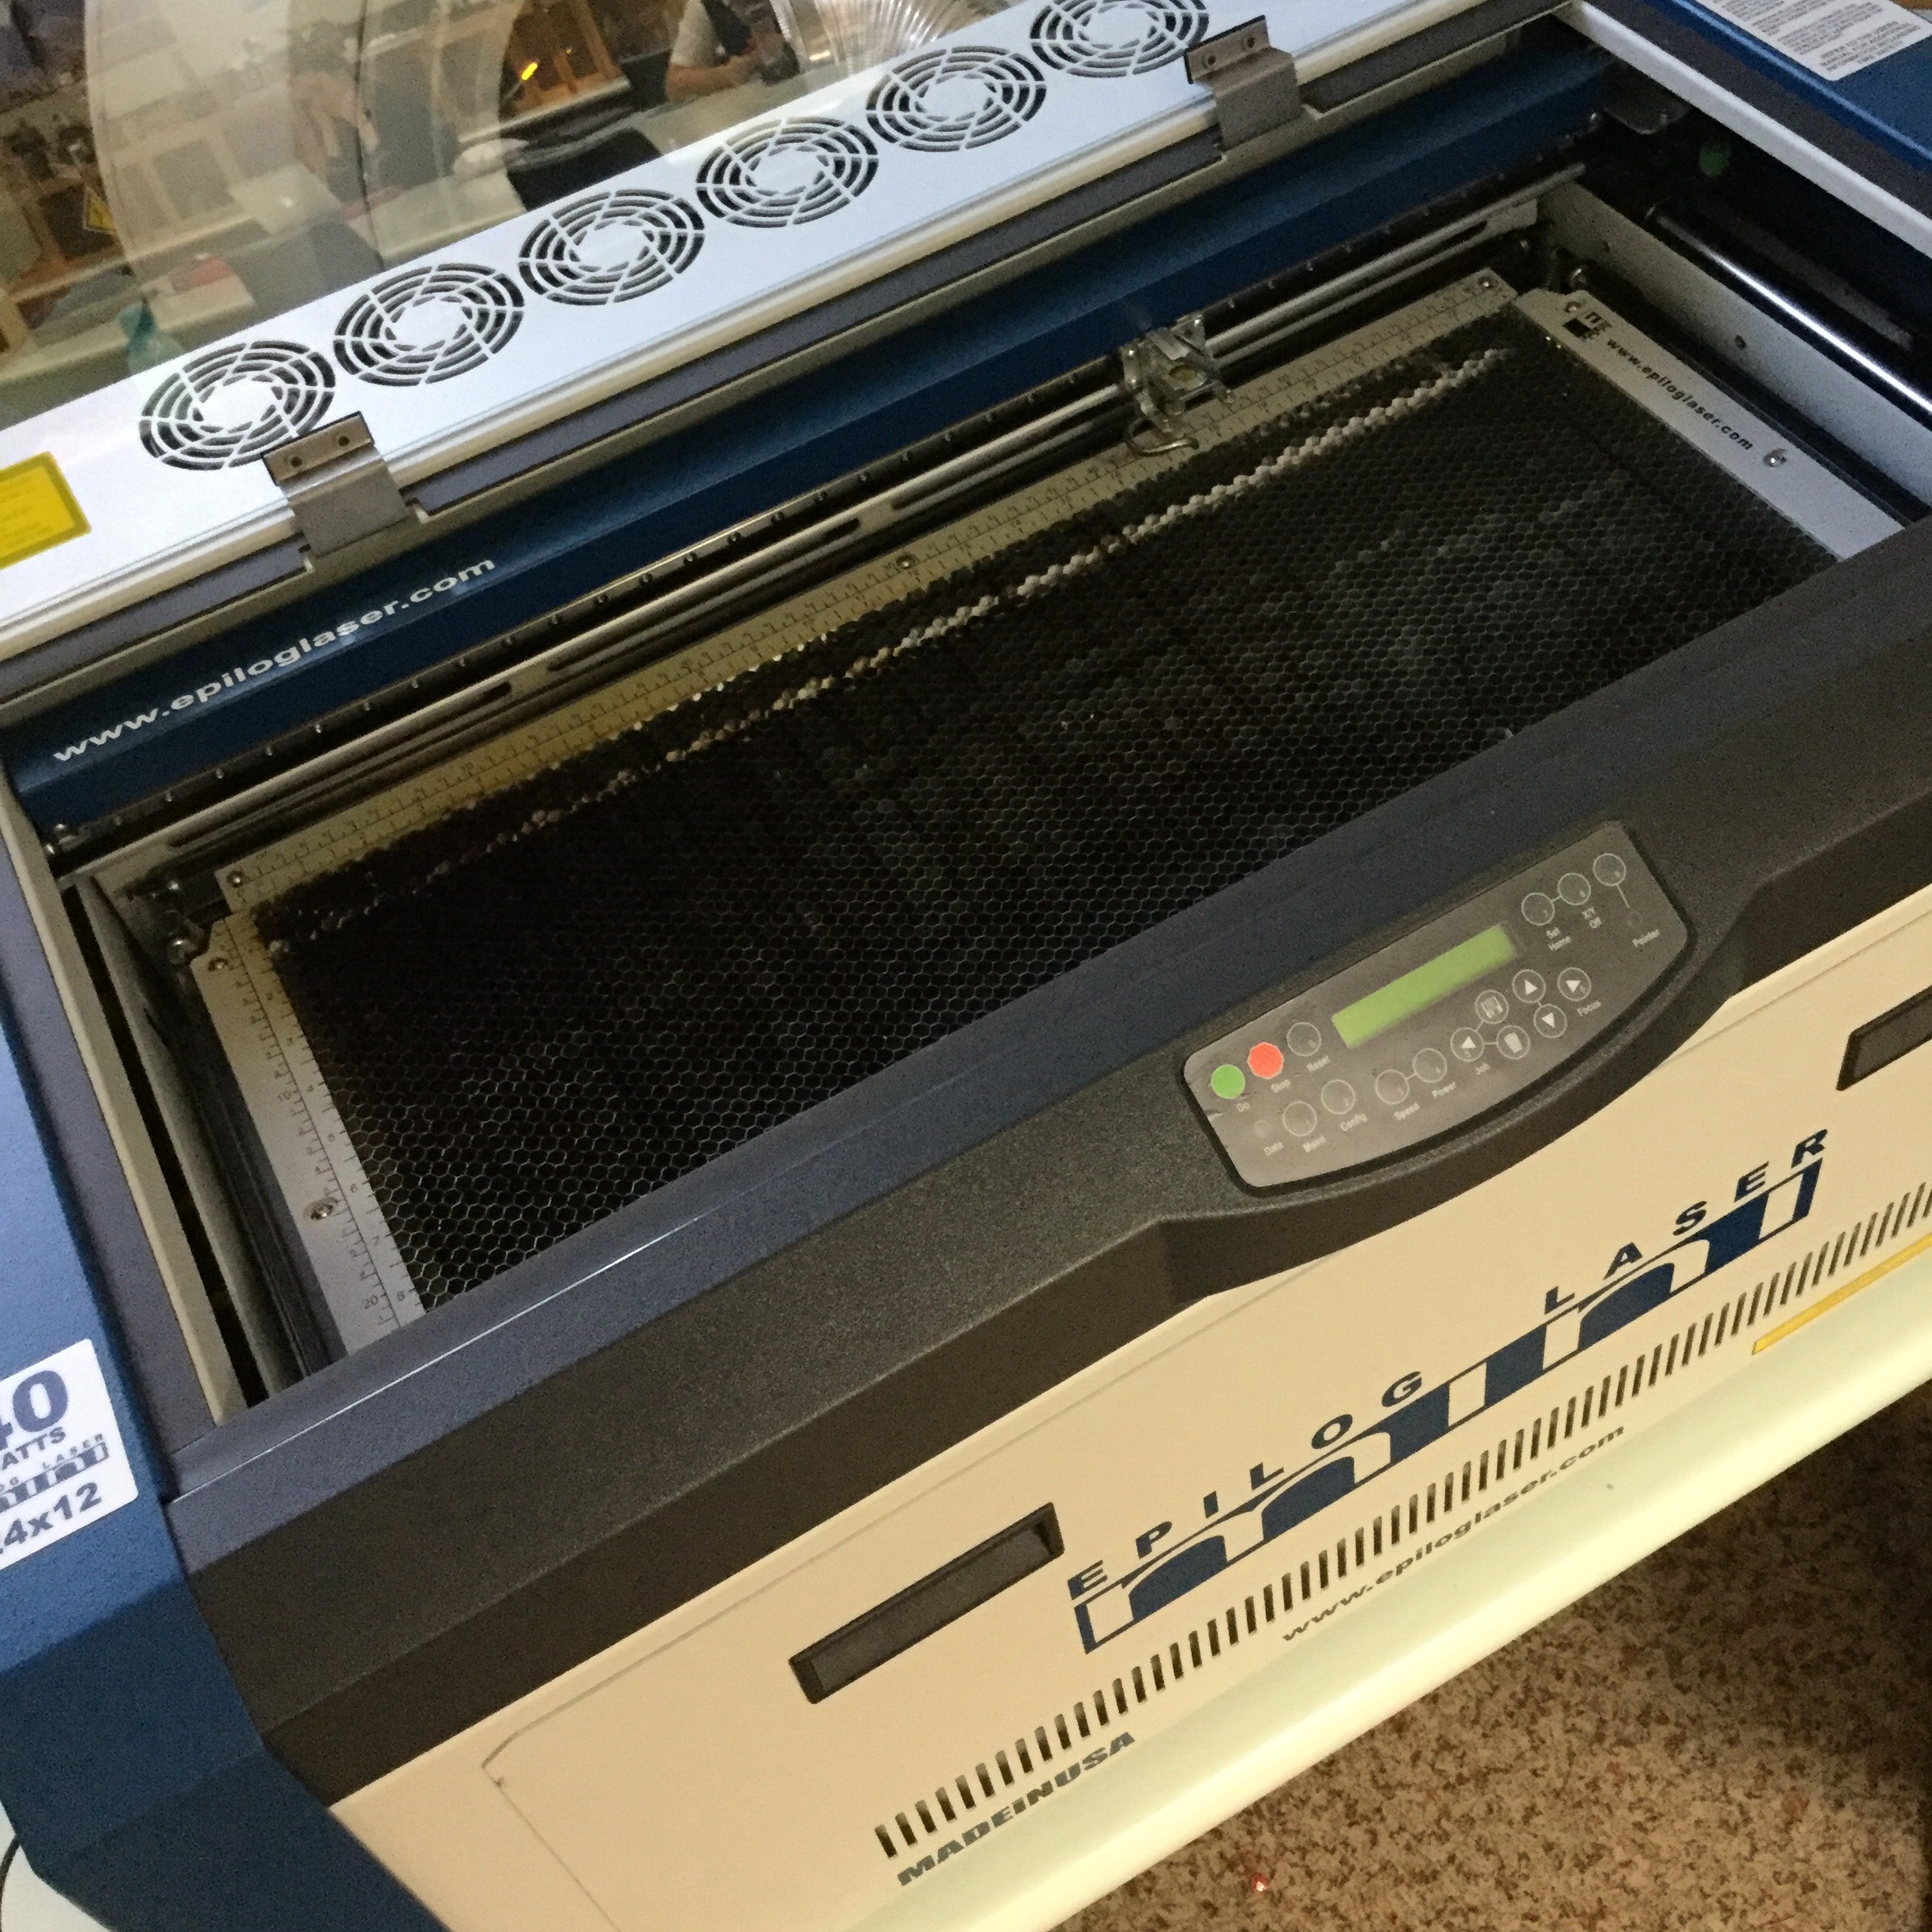
Over the past few months we’ve been exploring art-making applications for our school laser cutter. This powerful new toy is already getting a serious workout in the Design and Technology learning spaces, and since it’s arrival our teachers have put a lot of time and effort into the intricacies of using this machine in support of our curriculum.
As always, when you begin using a tool that is in the early stages of deployment in schools, challenges abound. However, exploring new ideas, developing fresh tasks and doing things for the first time certainly has it’s rewards. Working with our fantastic Head of faculty for Design at St Hilda’s School Brandt Ward (@ward_brandt) has been one of these. Collaborating across subject areas and sharing our journey through the iterative, creative processes with students has certainly been another.
Here’s what we’ve been up to…
Etching Evolution
Relief printing using linocut and the process of etching sit at the core of a number of programs in our Visual Arts courses. With this foundation in place, we became interested in the possibilities surrounding the production of ‘intaglio‘ etching plates with the laser cutter. Early experiments using the tool as an engraver, transferring text, logos and photographs onto perspex (plexiglass for my American friends!) were really successful. Looking at these products made me wonder if the process could be manipulated so the printed surface could hold ink and be run through the printing press in the art room.
And so we began…
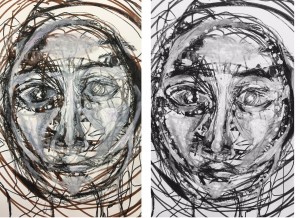 Since I was interested in the process of moving from a mixed media work to laser etching and seeing what happened to the marks made with a variety of tools, we used photography to digitise a drawing sample. Using the native iOS camera editing features, we quickly reduced them to black and white images using the noir filter. You could do this in a variety of other ways, or use a black and white image to start. From this point, the jpeg files were sent to our desktop, where they were imported into Adobe Illustrator to create a vector image that could be sent to the laser cutter’s software.
Exploring the settings for the laser was really about educated guesses. What we needed was a clean etch, and we discovered that it didn’t have to be very deep. In fact, we noticed only slight differences between many of our test plates across a variety of specs, but as the intaglio process is capable of achieving incredible detail, these intricacies were important. The way the etch hold the ink impacts on the kind of print that is created, and grappling for control is an interesting aspect of the art-making process.
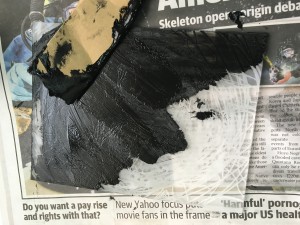 The intaglio inking process we used is a fairly traditional routine (although I was pretty rough as I pushed through a number of quick iterations to quickly work out out what I could and couldn’t do with these materials). First, I covered the clean, dry etching plate with a small amount of printing ink, forcing it into the grooves with a heavy cardboard ‘squeegee’. Moving in different directions and making sure the ink has been loaded effectively is crucial. Next, I wiped the excess clean with newspaper and finally with material (tarlatan is often used here).
This is a wonderfully hands-on technique that has essentially remained the same for hundreds of years, and I couldn’t help but contemplate that interesting idea as I worked the ink into the perspex plate.
-
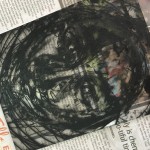
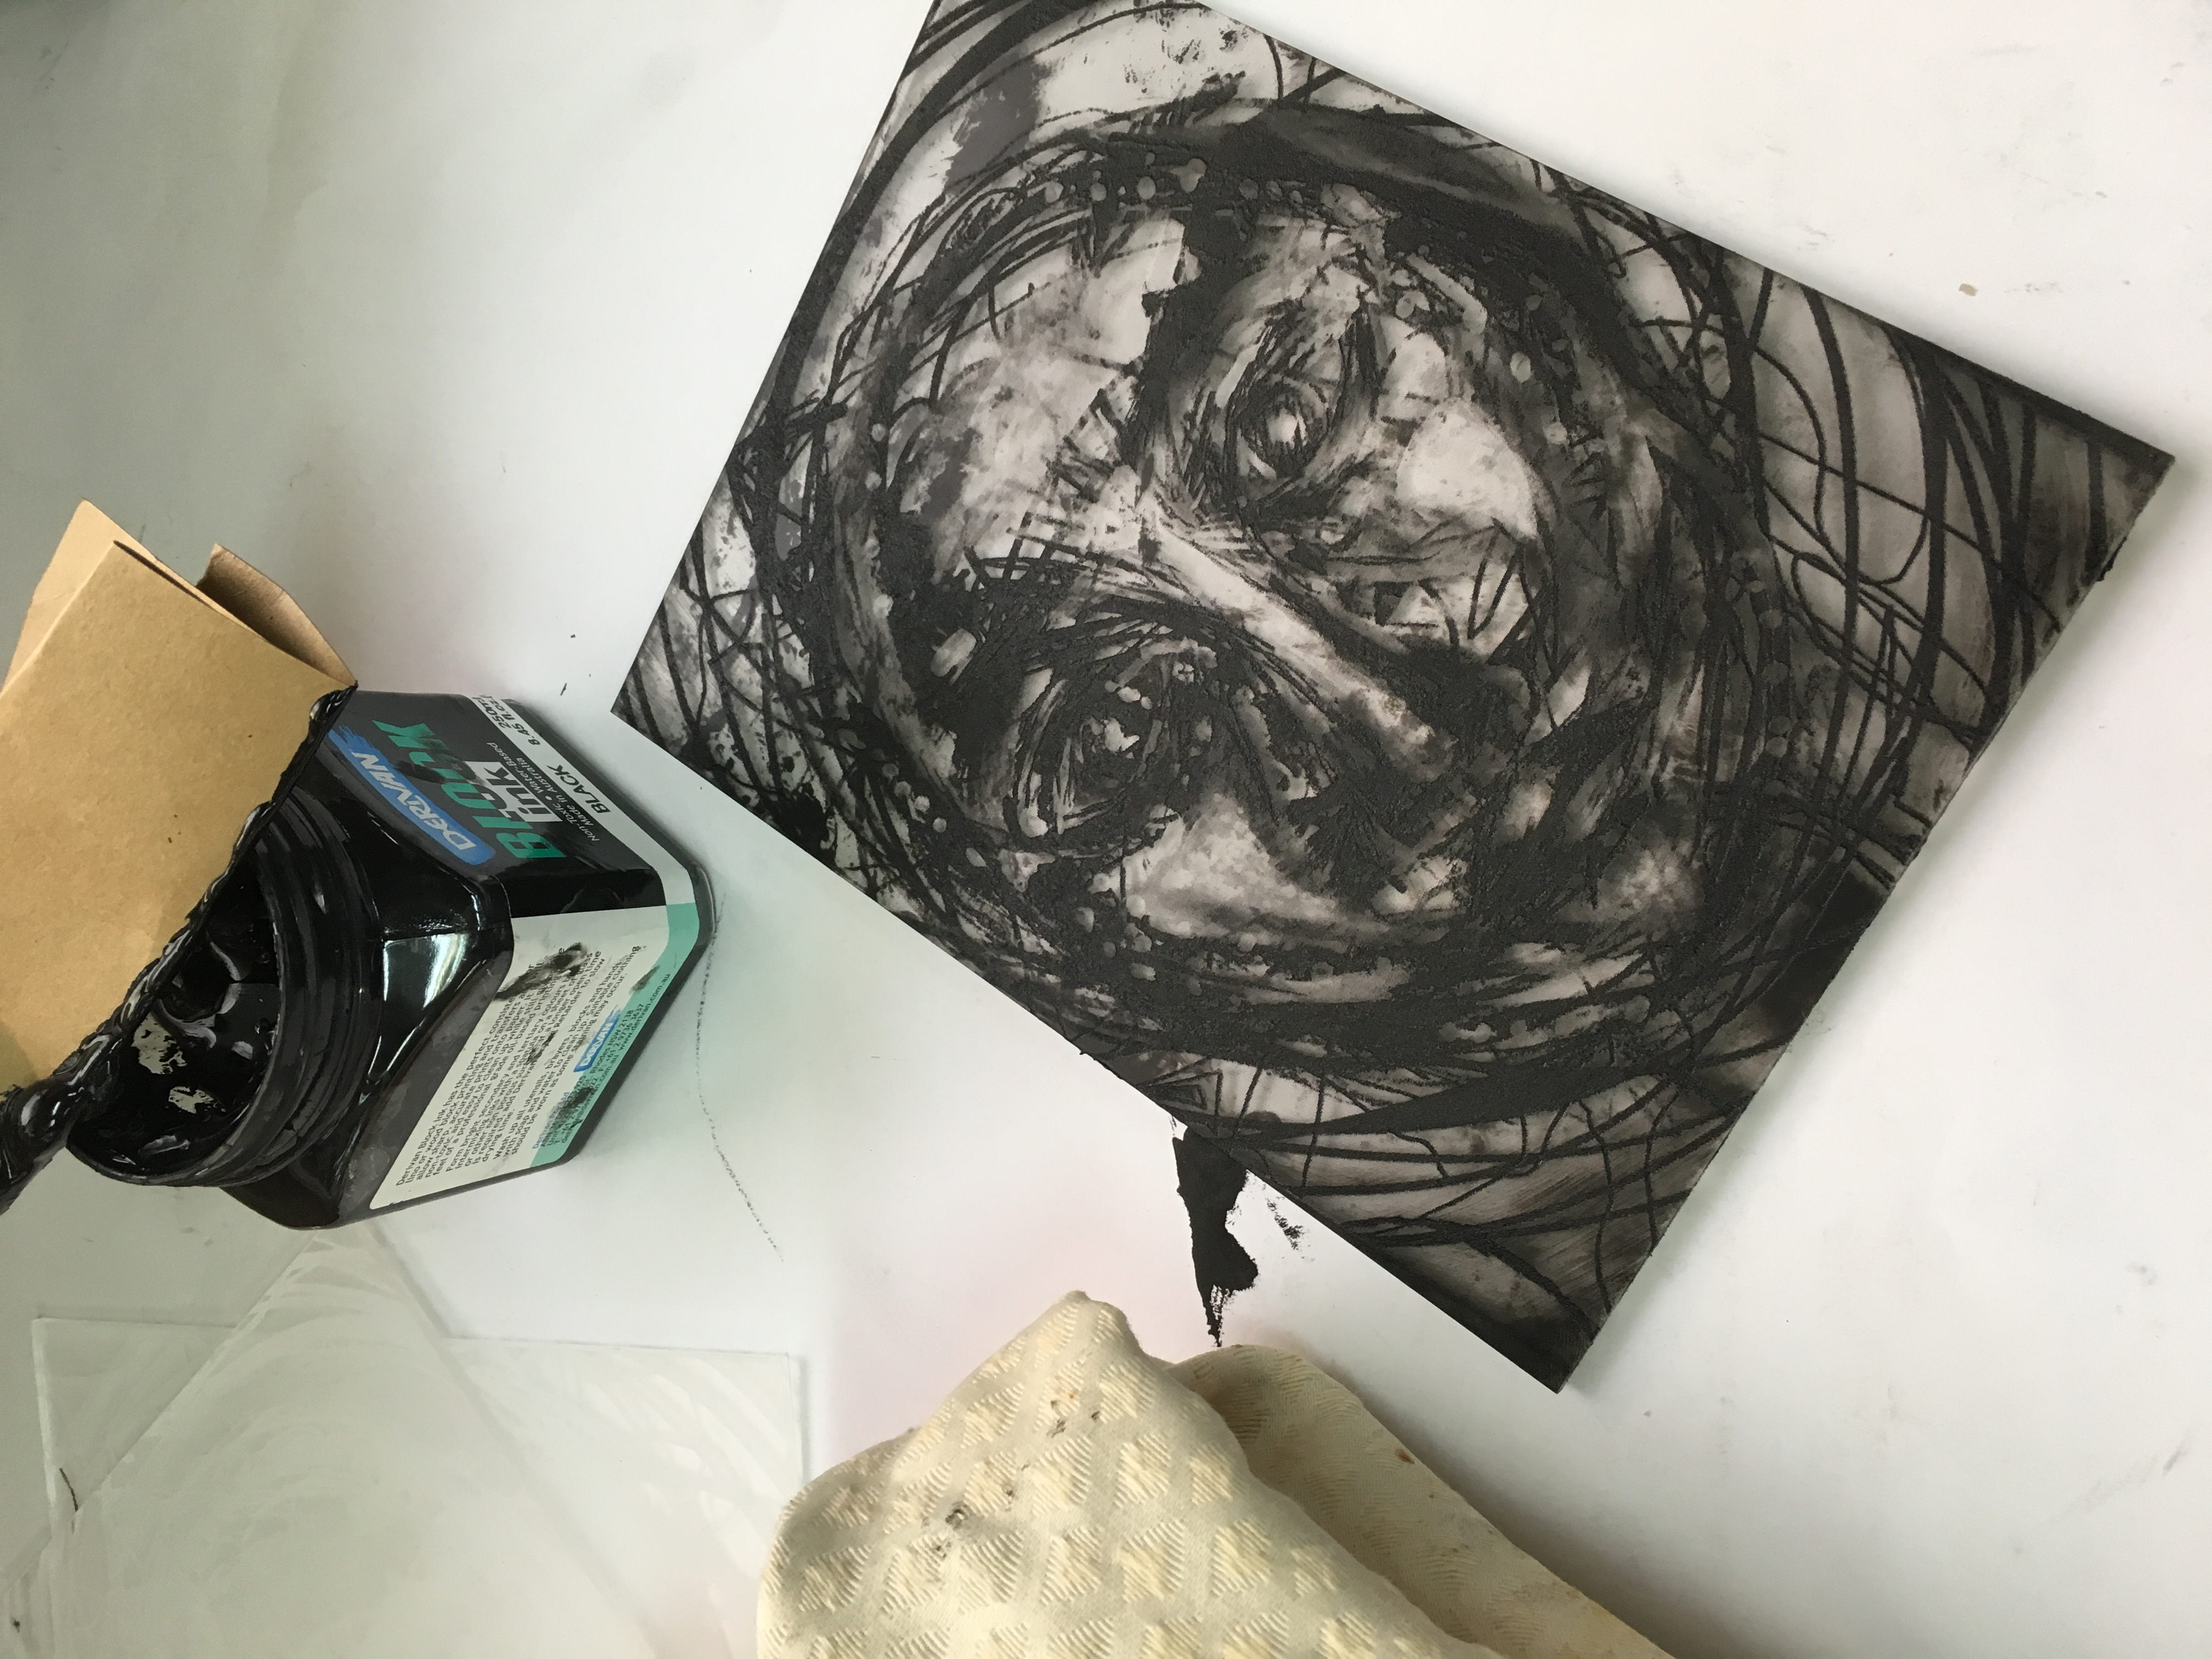
- Inked up and ready to print!
-
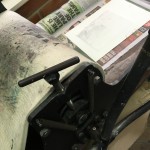
- Etching plate positioned on the printing press, damp paper on top.
-
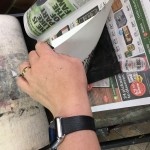
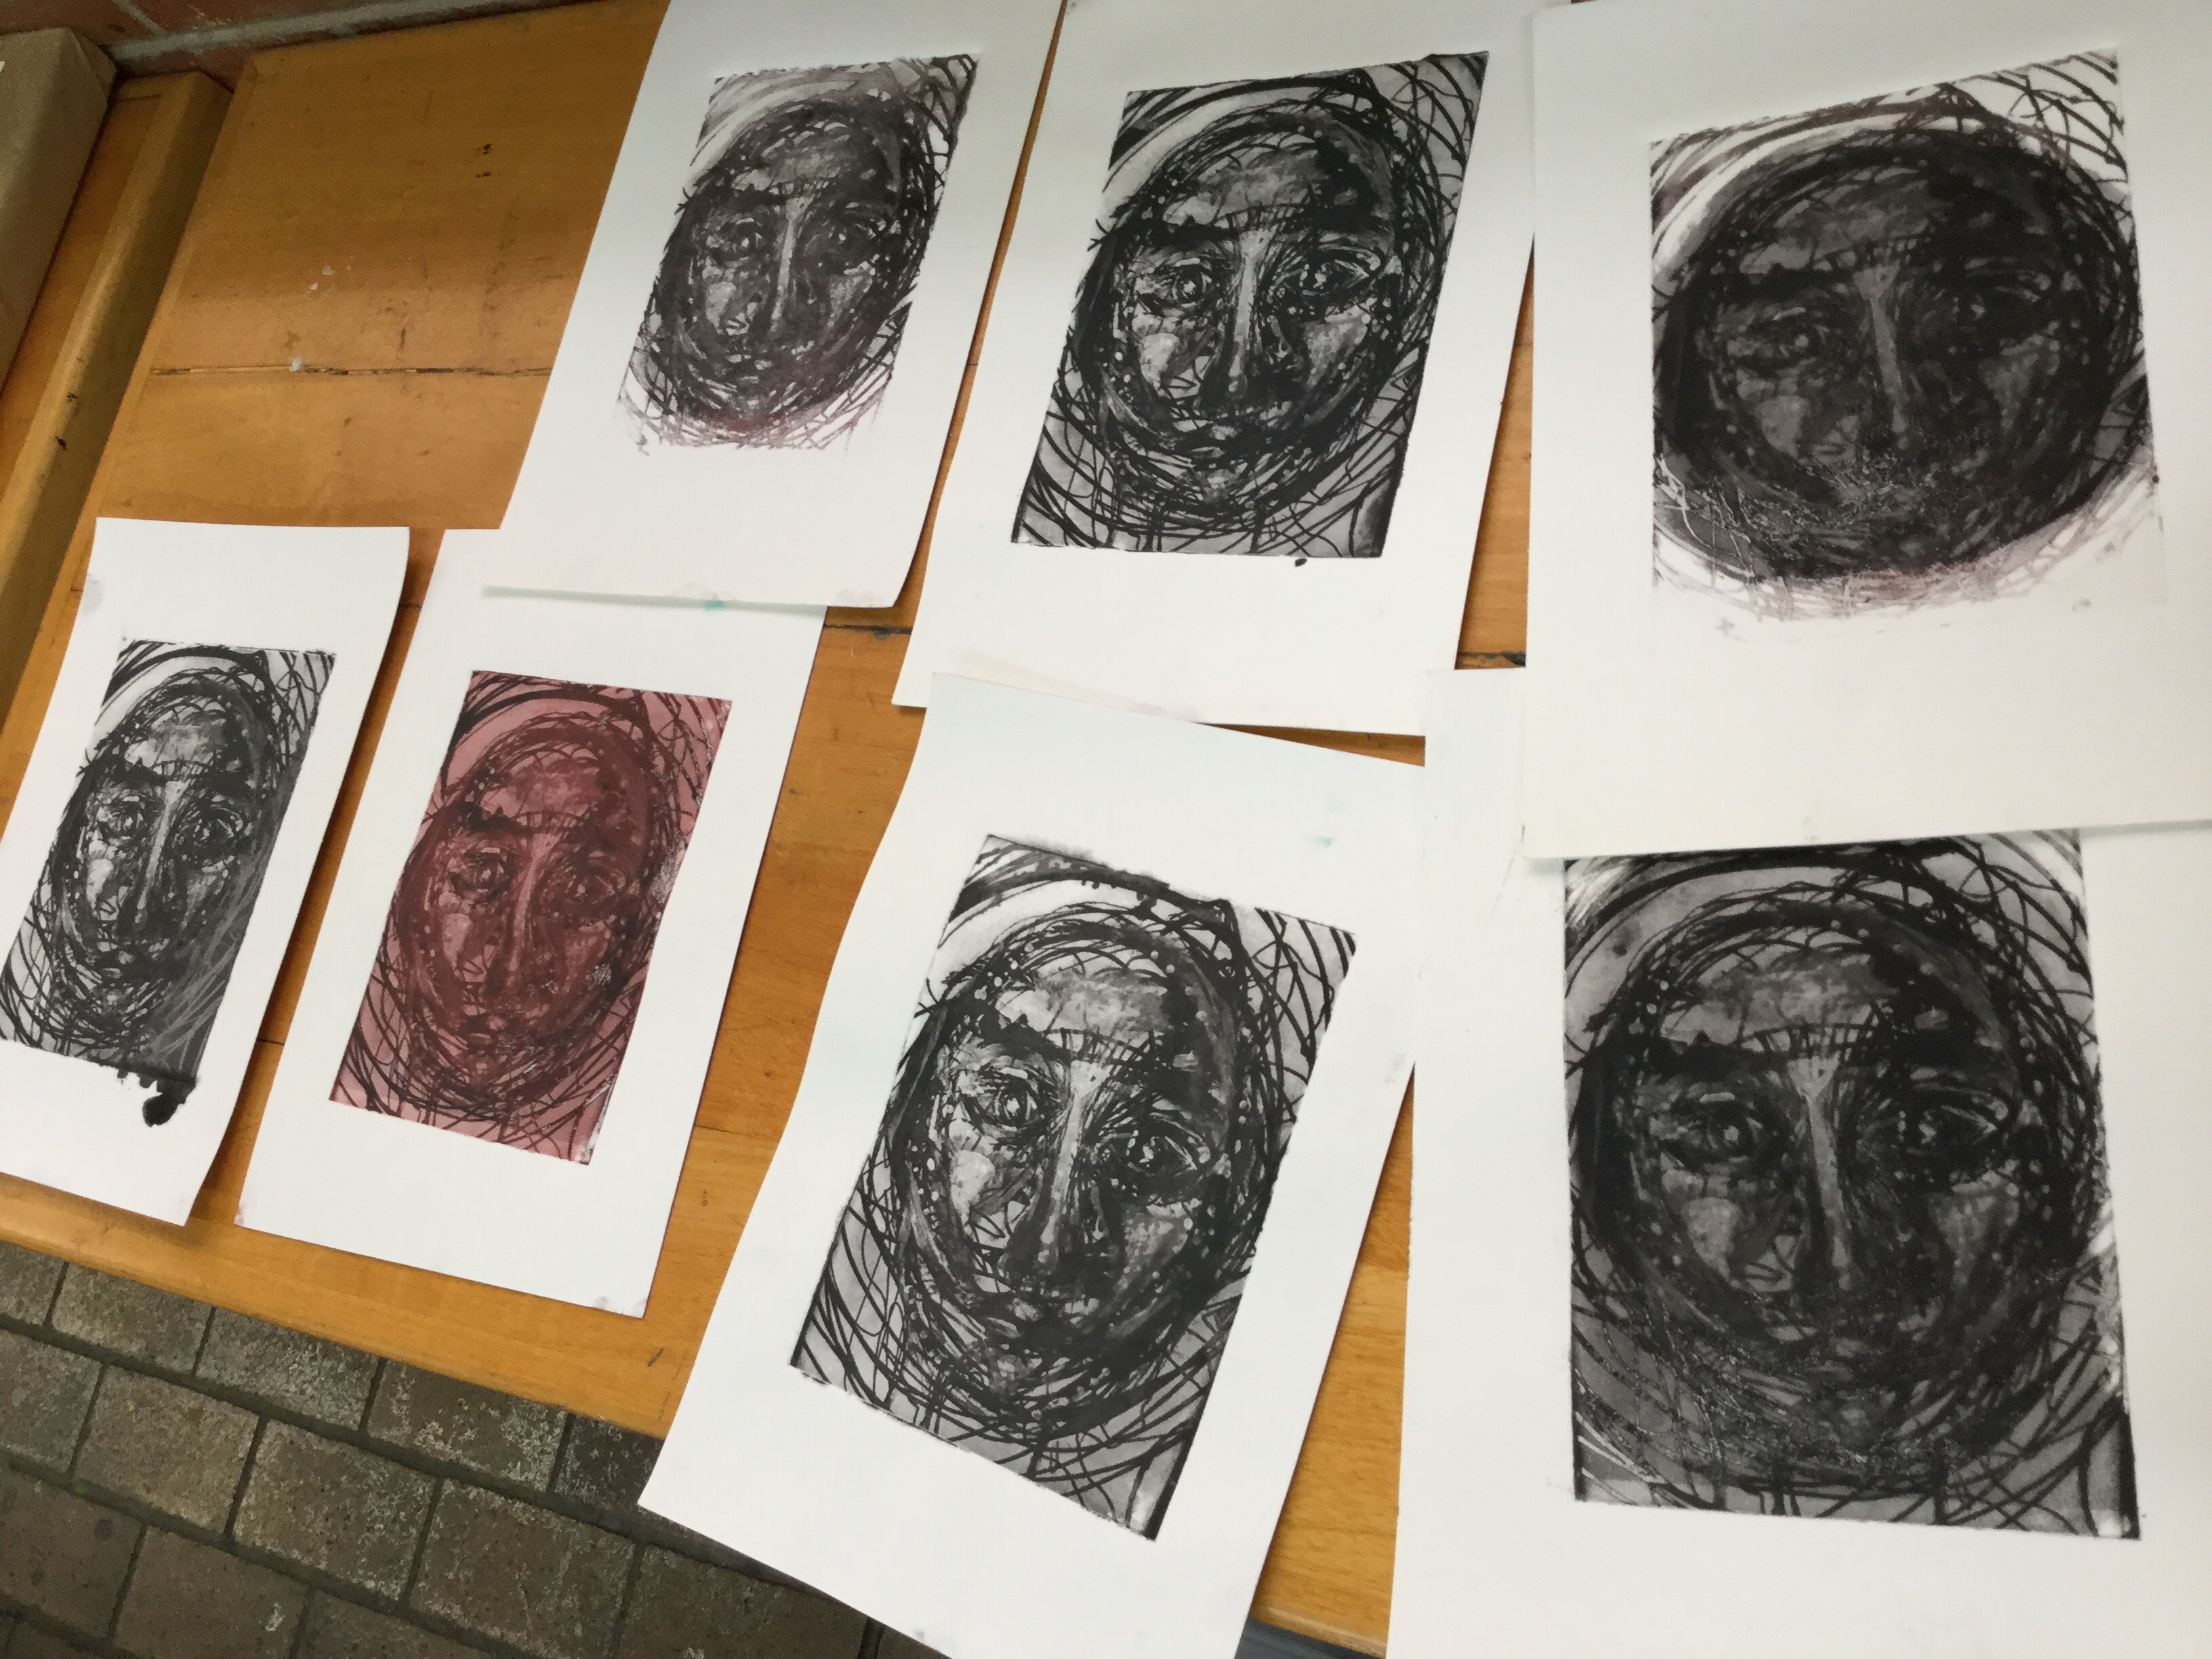
- The ‘reveal’ as the paper is pulled back from the etching plate to expose the printed image.
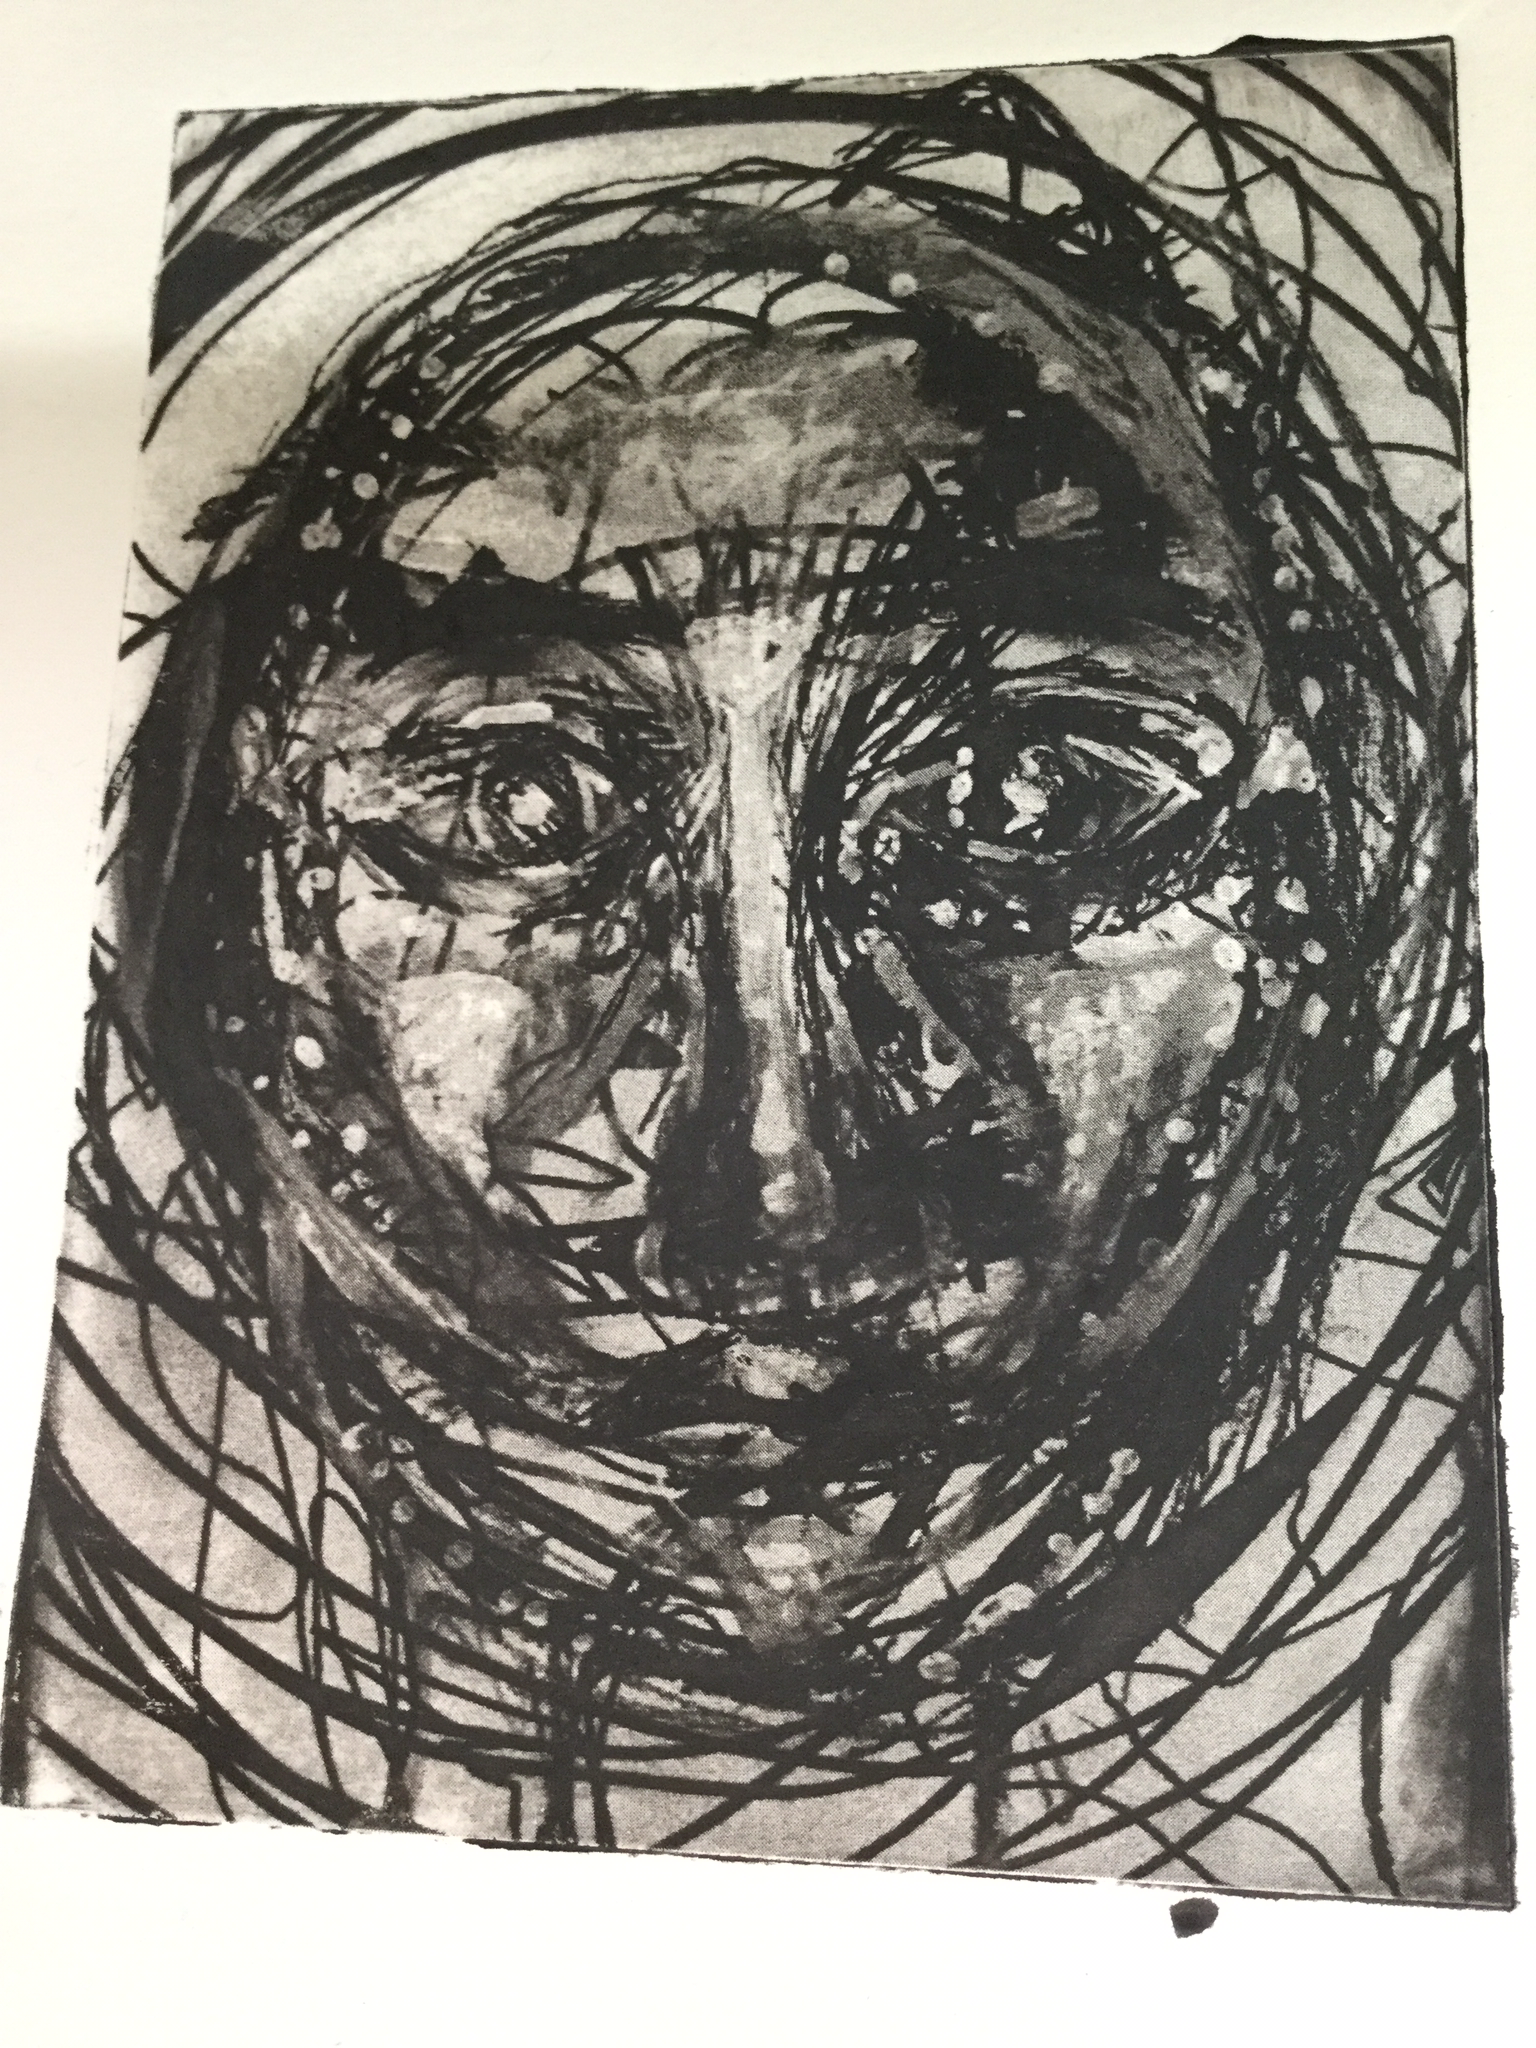
When I finally laid our first plates on the bed of the press, with a fresh piece of damp paper on top, it got exciting! We wheeled it through and the ‘reveal’ was worth all the effort – as the mat and paper were pulled back and the paper lifted away there was a very clear image, and proof that we had developed a useful technique for our students to explore. High fives with Brandt!
From here, it is over to the students. We are going to hand these ideas to the girls and see what they can do. Both my Junior and Middle School Art Club will also bring their digital drawings to the printing press and produce a collaborative work this week. It’s just the start of a fantastic journey. Our teachers also have a variety of diverse projects on the go and I can’t wait to see what our girls create with these exciting ideas, techniques and tools.
Prepare for our next instalment – paper cuts created with laser, running plates and images created on perspex with projected light! The action just never stops, and neither does the learning!
Social Share

3 Comments


I have been playing with this idea as well… Check it out. http://minimatisse.blogspot.com/2016/04/using-laser-engraver-to-make-printing.html
Sooooo fantastic! Thanks for sharing, Nic, and for the lovely shoutout too.
You really found a way to make this whole prsoces easier.