
Creative Coding: Light Painting with Sphero

This week I’ve been collaborating with Year 4 students, and their inspiring classroom teacher and fellow ADE Dan Aivaliotis-Martinez (@martinezgeek). We developed some ideas for teaching and learning that connected Sphero devices with art-making practices – in a nutshell, programming a Sphero ball to move with the coloured light turned on, recording the trail, or ‘light painting’, photographically.
These cross-curricular lessons drew upon elements of the curriculum in science, maths, technology and the arts, as students created ‘light paintings’.
In teams, challenges were developed that presented opportunities for students to create code for the creation of specific shapes for their light painting. Using a levelled approach to support students of varied abilities, squares, triangles and spiral tracks for the Sphero balls to ‘draw’ emerged.
From these starting point, all students were able to dig deeper into some of the following concepts;
The properties and behaviour of light
Photographic processes, including shutter speed, lens function, etc.
Angles, distances, shape and size
Composition, balance, depth, space and perspective
The elements of art and design, particularly colour, shape, line and composition
Creative Coding
 The critical thinking and systems based problem solving skills that can be developed through coding are well-documented. In this series of lessons, students developed the necessary skills for controlling their Sphero balls by creating their own code.
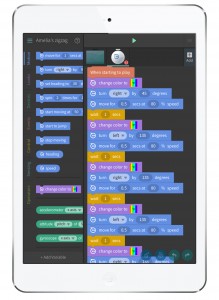
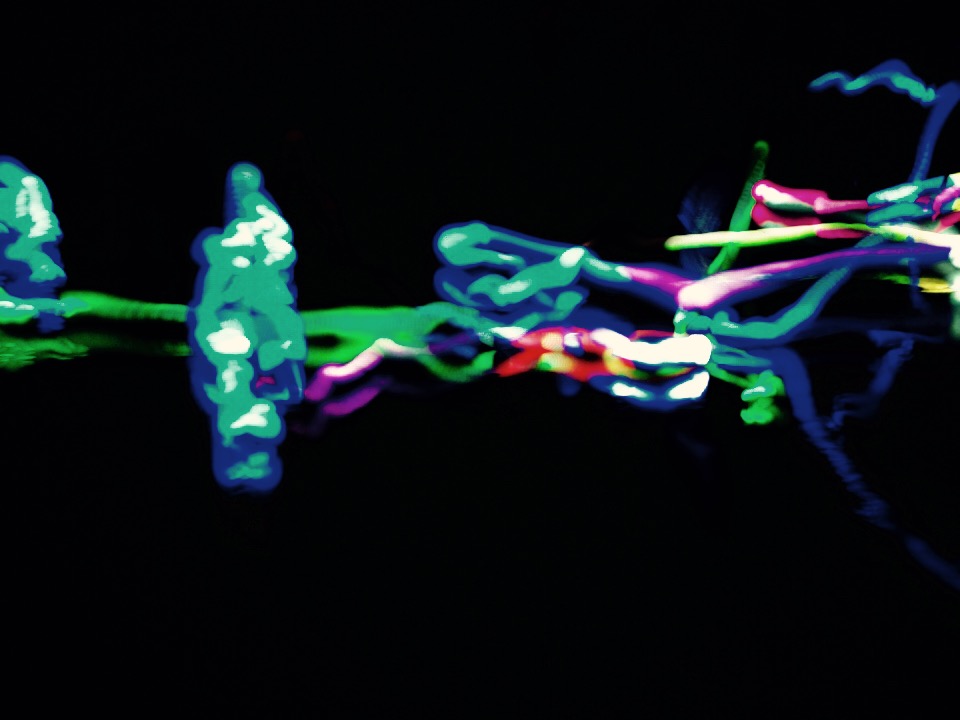
Using an inquiry model and a levelled approach, students created programs that would see the Spheros drive through a path creating zigzags, shapes, etc. Simple squares, triangles and more complex ideas such as spirals were produced in code, with students also thinking about creating changes in the Sphero’s glowing colour. The codes were then tested and shared amongst the teams in preparation for the next exciting phase…light painting!
If you are interested in finding out more about Sphero in the classroom and the coding process, check out the Tickle app for iPad, and Dan’s extensive resources in his iTunes U Course, Introduction to Coding with Sphero.
Painting With Light
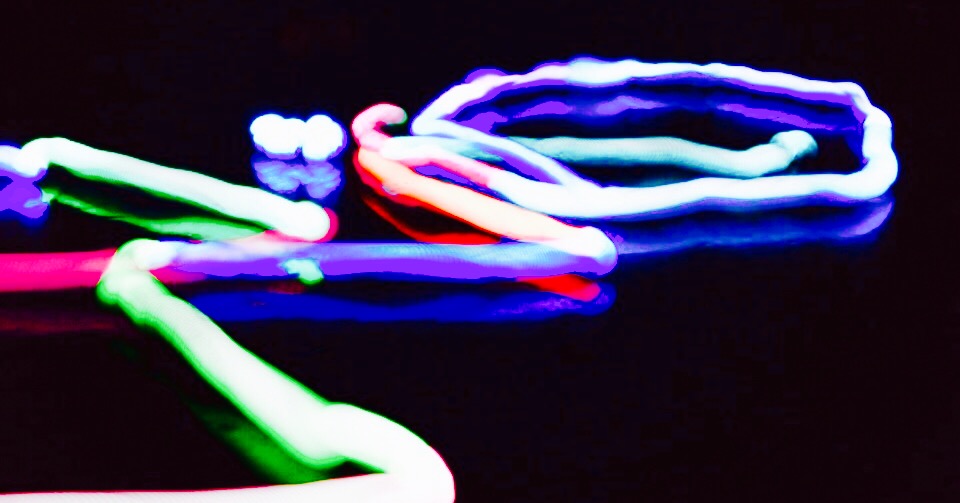
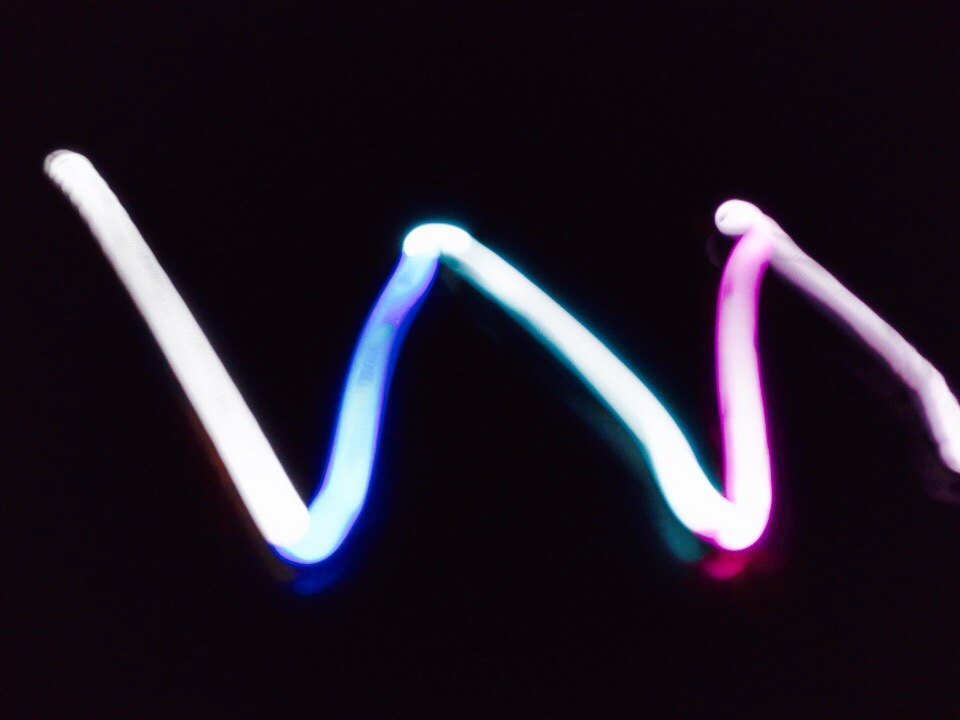
Using the Slow Shutter app, students were able to capture the movement of the Spheros as a coloured line of light.

To get started, students need to open up the app and tap on the ‘Light Trail’ mode. From here they can experiment with the light sensitivity and shutter speed settings as they shoot the moving Sphero balls. As the ball travels, the path is recorded in the image as a glowing trail, and the exposure can be adjusted to create a variety of ‘light painting’ effects.
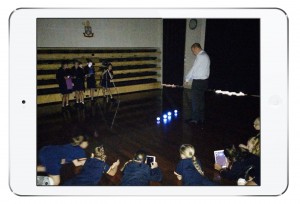
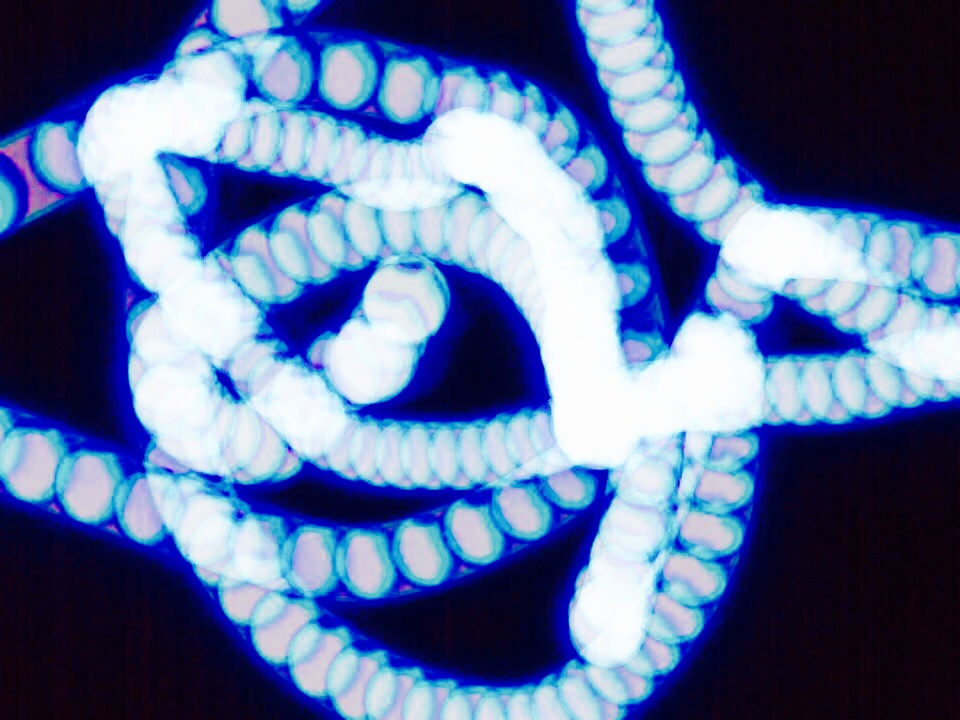
During our lessons, students worked in groups, with one iPad operator controlling the Sphero movement and the other operating the camera to capture images. Communication was key, as the camera and Sphero needed to be coordinated.
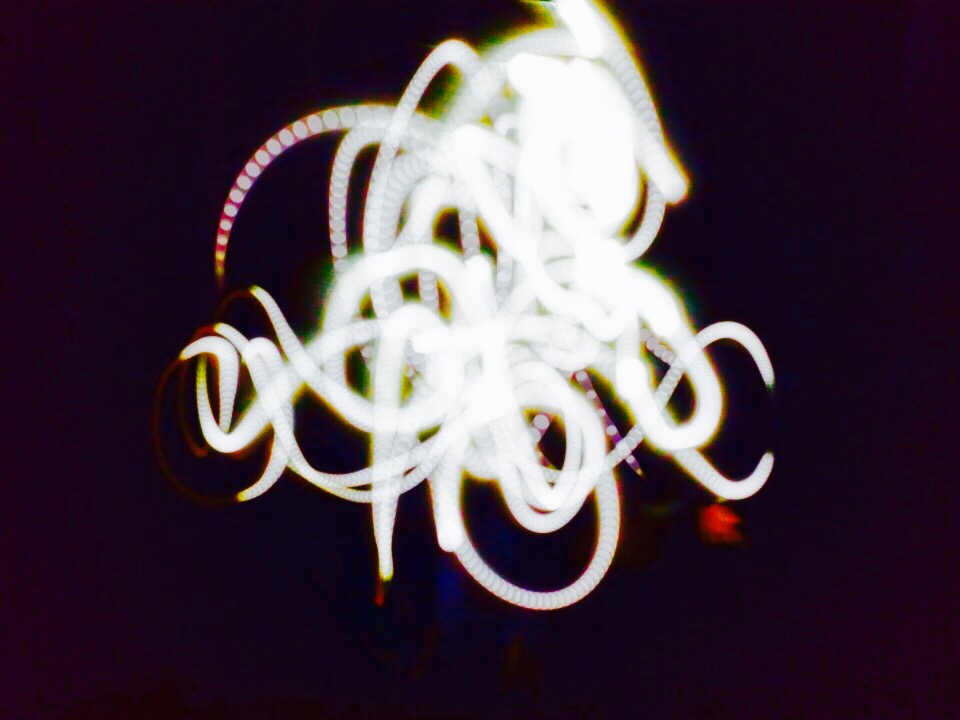
To create the kind of student-created images you see below, you just need to have a fairly dim room and a steady support for the iPad or iPhone camera. In our session, we used tripods to shoot from an elevated position, which allowed us to capture the floor as a clean and consistent background. Stability is important, as the long exposure creates blur with any movement.


Critical Conversations
One of the great things about this kind of task is hearing the student conversations as their teams engage with experimental ways of working, estimating and making predictions, jumping between the Sphero ball, their code and photographic equipment. Hypothesis are developed and tested, with many decisions emerging through trial and error. Problems are solved on the go and success develops through an iterative process and effective collaboration. And best of all, the ‘fails’ happen over and over again, leading to some really fulfilling moments when the desired outcome is achieved.
Going Further
The ideas presented here are so flexible that they could be applied to exciting learning opportunities in science, maths, visual art etc. Considered lesson design is key in the direction of the activities.
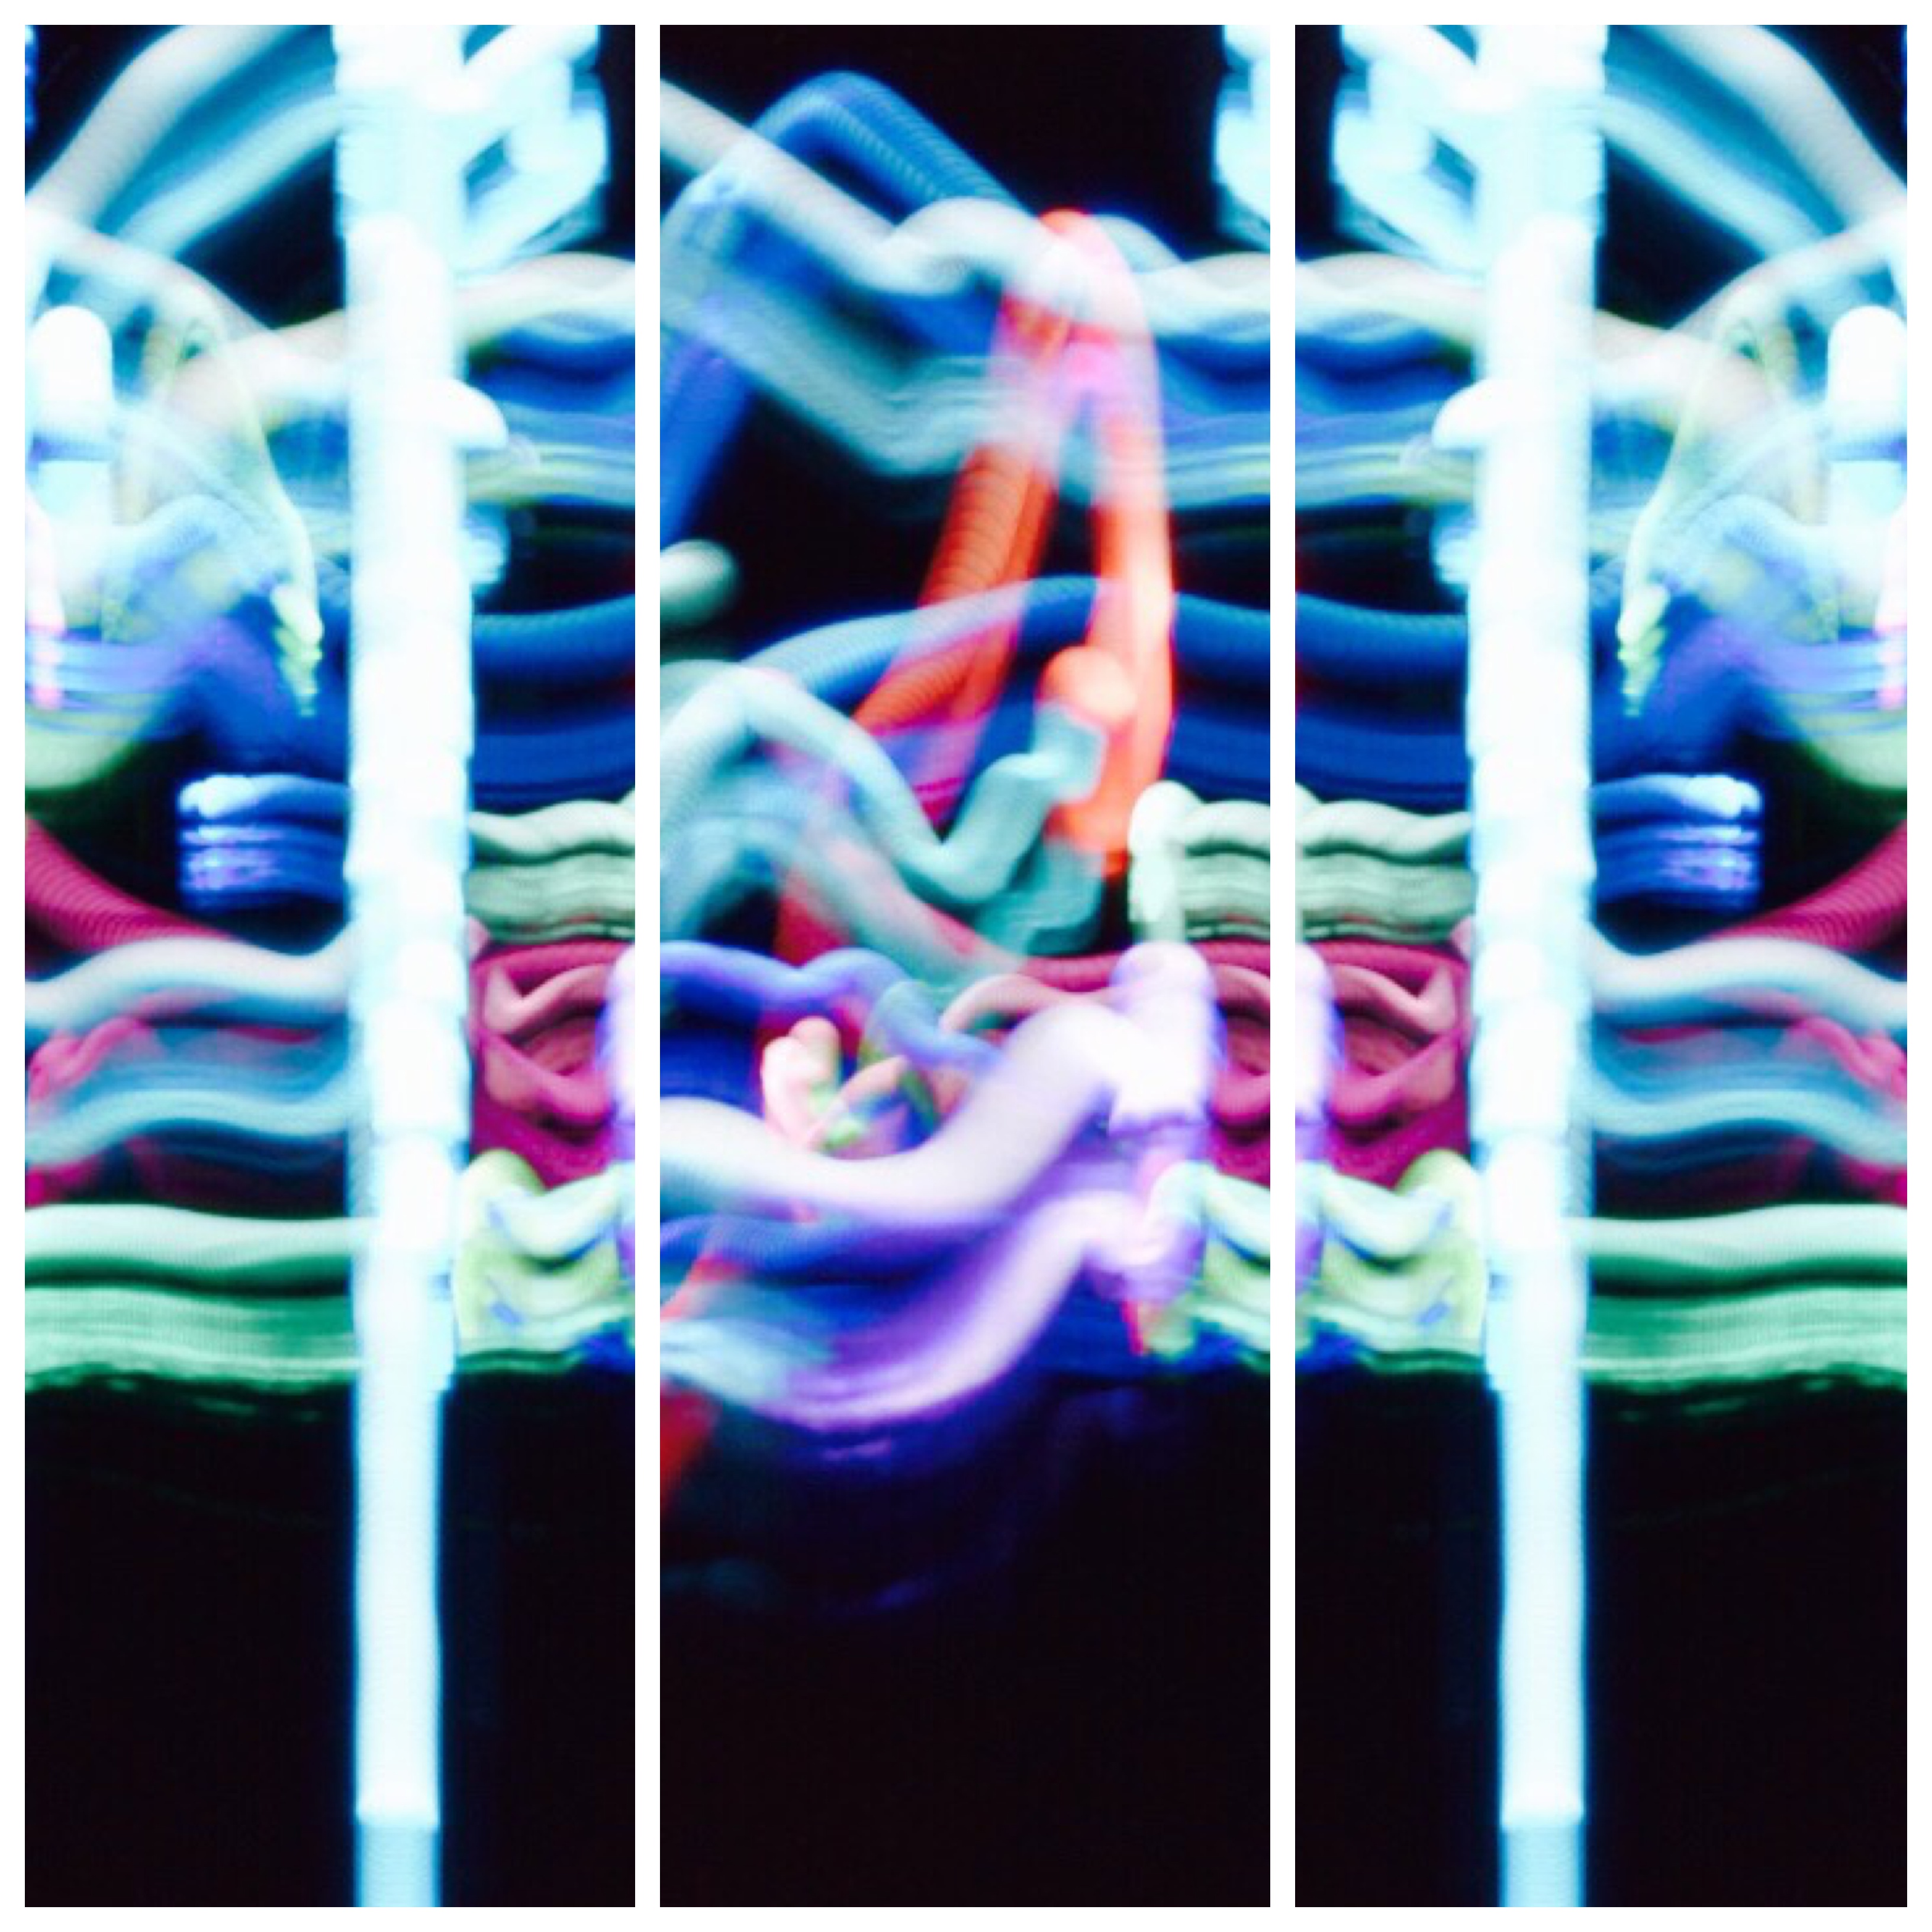
There are many more opportunities for light painting in image construction. Students can combine their works, add filters and effects to extend on their starting points, of use the slow shutter app to draw and paint with any hand-held light source (such as a mobile phone, as used in the last image of this collection).

And one last idea…what about using paint with the sphere balls?
@teachintechgal @SpheroEdu did @Sphero paint on Saturday at out College of Ed tent at #Packapalooza #ncsu pic.twitter.com/q5eitBQyOY
— Nathan Stevens (@nathan_stevens) August 24, 2015
If you enjoyed this post, you might also like to read about microscopes for image construction in Visual Art.
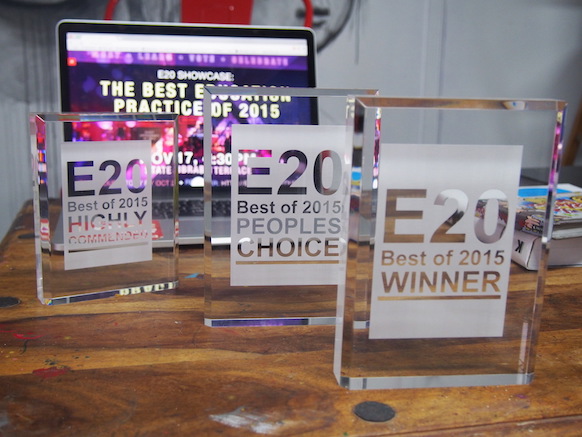
UPDATE…
We are proud to announce that this project was voted as an outstanding example of best practice in education at the E20 Best of Education Awards 2015. See our project overview here.