

MUST KNOW Camera Features for iPad & iPhone Photography
tag : popular
comment : Off
“The best camera, is the one you have with you.” Chase Jarvis It’s a classic photographic mantra, a call to action for image-makers everywhere. And these days, the camera you are most likely to have with you is the one embedded in your smart phone.
But do you know how to use it? What about your students?
There are many great features built into our mobile devices for photography, and a myriad of apps to produce exciting visual imagery. While some teachers and students are experienced users creating highly original work using complex workflows and inventive techniques, in my workshops I am constantly amazed that it’s some of the most basic tips and tricks that get the most cheers, the practical solutions that are big wins for our classroom context.
So, here are six foundational tools built into the iPhone and iPad camera that all teachers and students should know.
‘Swipe Up’ for Instant Camera Access
 We’ve all experienced those ‘mad scrambles’ as we try to open the camera app while a fabulous photographic opportunity unfolds in front of us! And, sometimes I’m sure we’ve missed the moment.
While that is perhaps a part of the inherent excitement of photography, you can improve your chances of taking the perfect shot if you know how to access the camera quickly.
The fastest and most convenient way to access the camera is directly from lock screen, using the icon at the bottom right corner in the screenshot. Just touch the icon, and swipe up – you bypass the need to enter your passcode even if the iPhone is locked.
This pathway gives you access to the camera in less than one second.
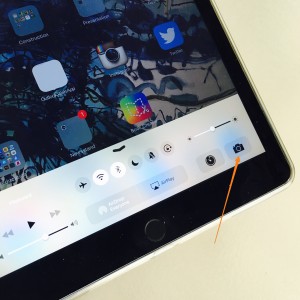 And if you’re already using the iPhone, you can quickly swipe up from the bottom of the screen to open control centre and get to your camera at lightning speed!
Take Photos Using the Volume Control Button
At times, trying to tap the iPhone’s on-screen shutter button is tricky. I see some pretty interesting yoga-style manoeuvres in classroom as children try to hold their devices steady and reach for that pesky white dot on screen! I know, it is supposed to be easy, and most of the time it is. But keeping a strong grip and firing off a steady shot is often much easier when it’s your index finger pushing the volume control button.
For young children, those users with smaller hands, people experiencing difficulties with their fine motor skills or students with special needs, it can be difficult to keep the iPad still, the grip strong, and take a photograph. This is a good solution and a great accessibility feature that is often under-utilised.
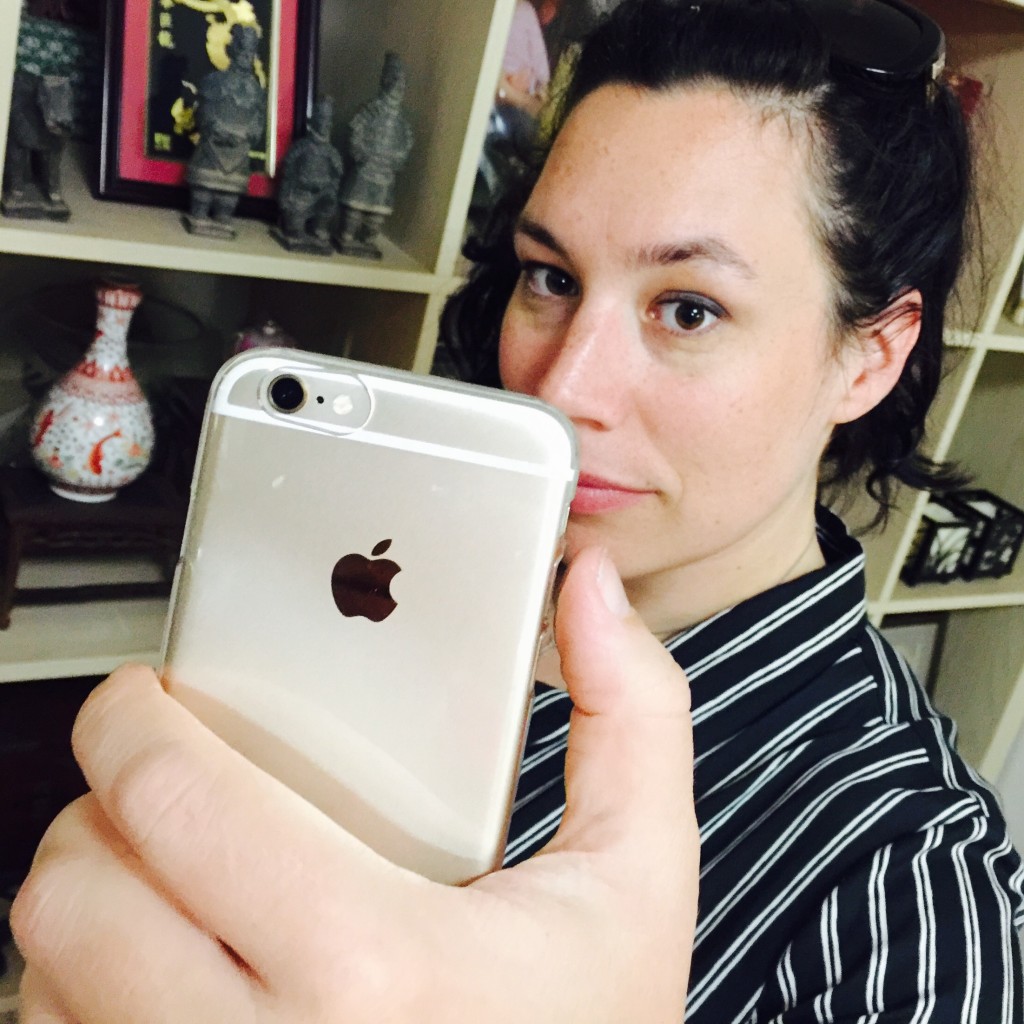
And of course, one-handed selfies are easily done with a similar grip.
You’re welcome.
Going a step further, did you know that you can also plug in those headphones and use the volume control button to fire off a shot? This technique is a real winner if you want to set up a photography station in classroom, a place where you can keep an iPad in a stand or shoot with absolute stability. It’s another fantastic work-around to provide access to photography for students who may be unable to physically hold the device to create imagery.
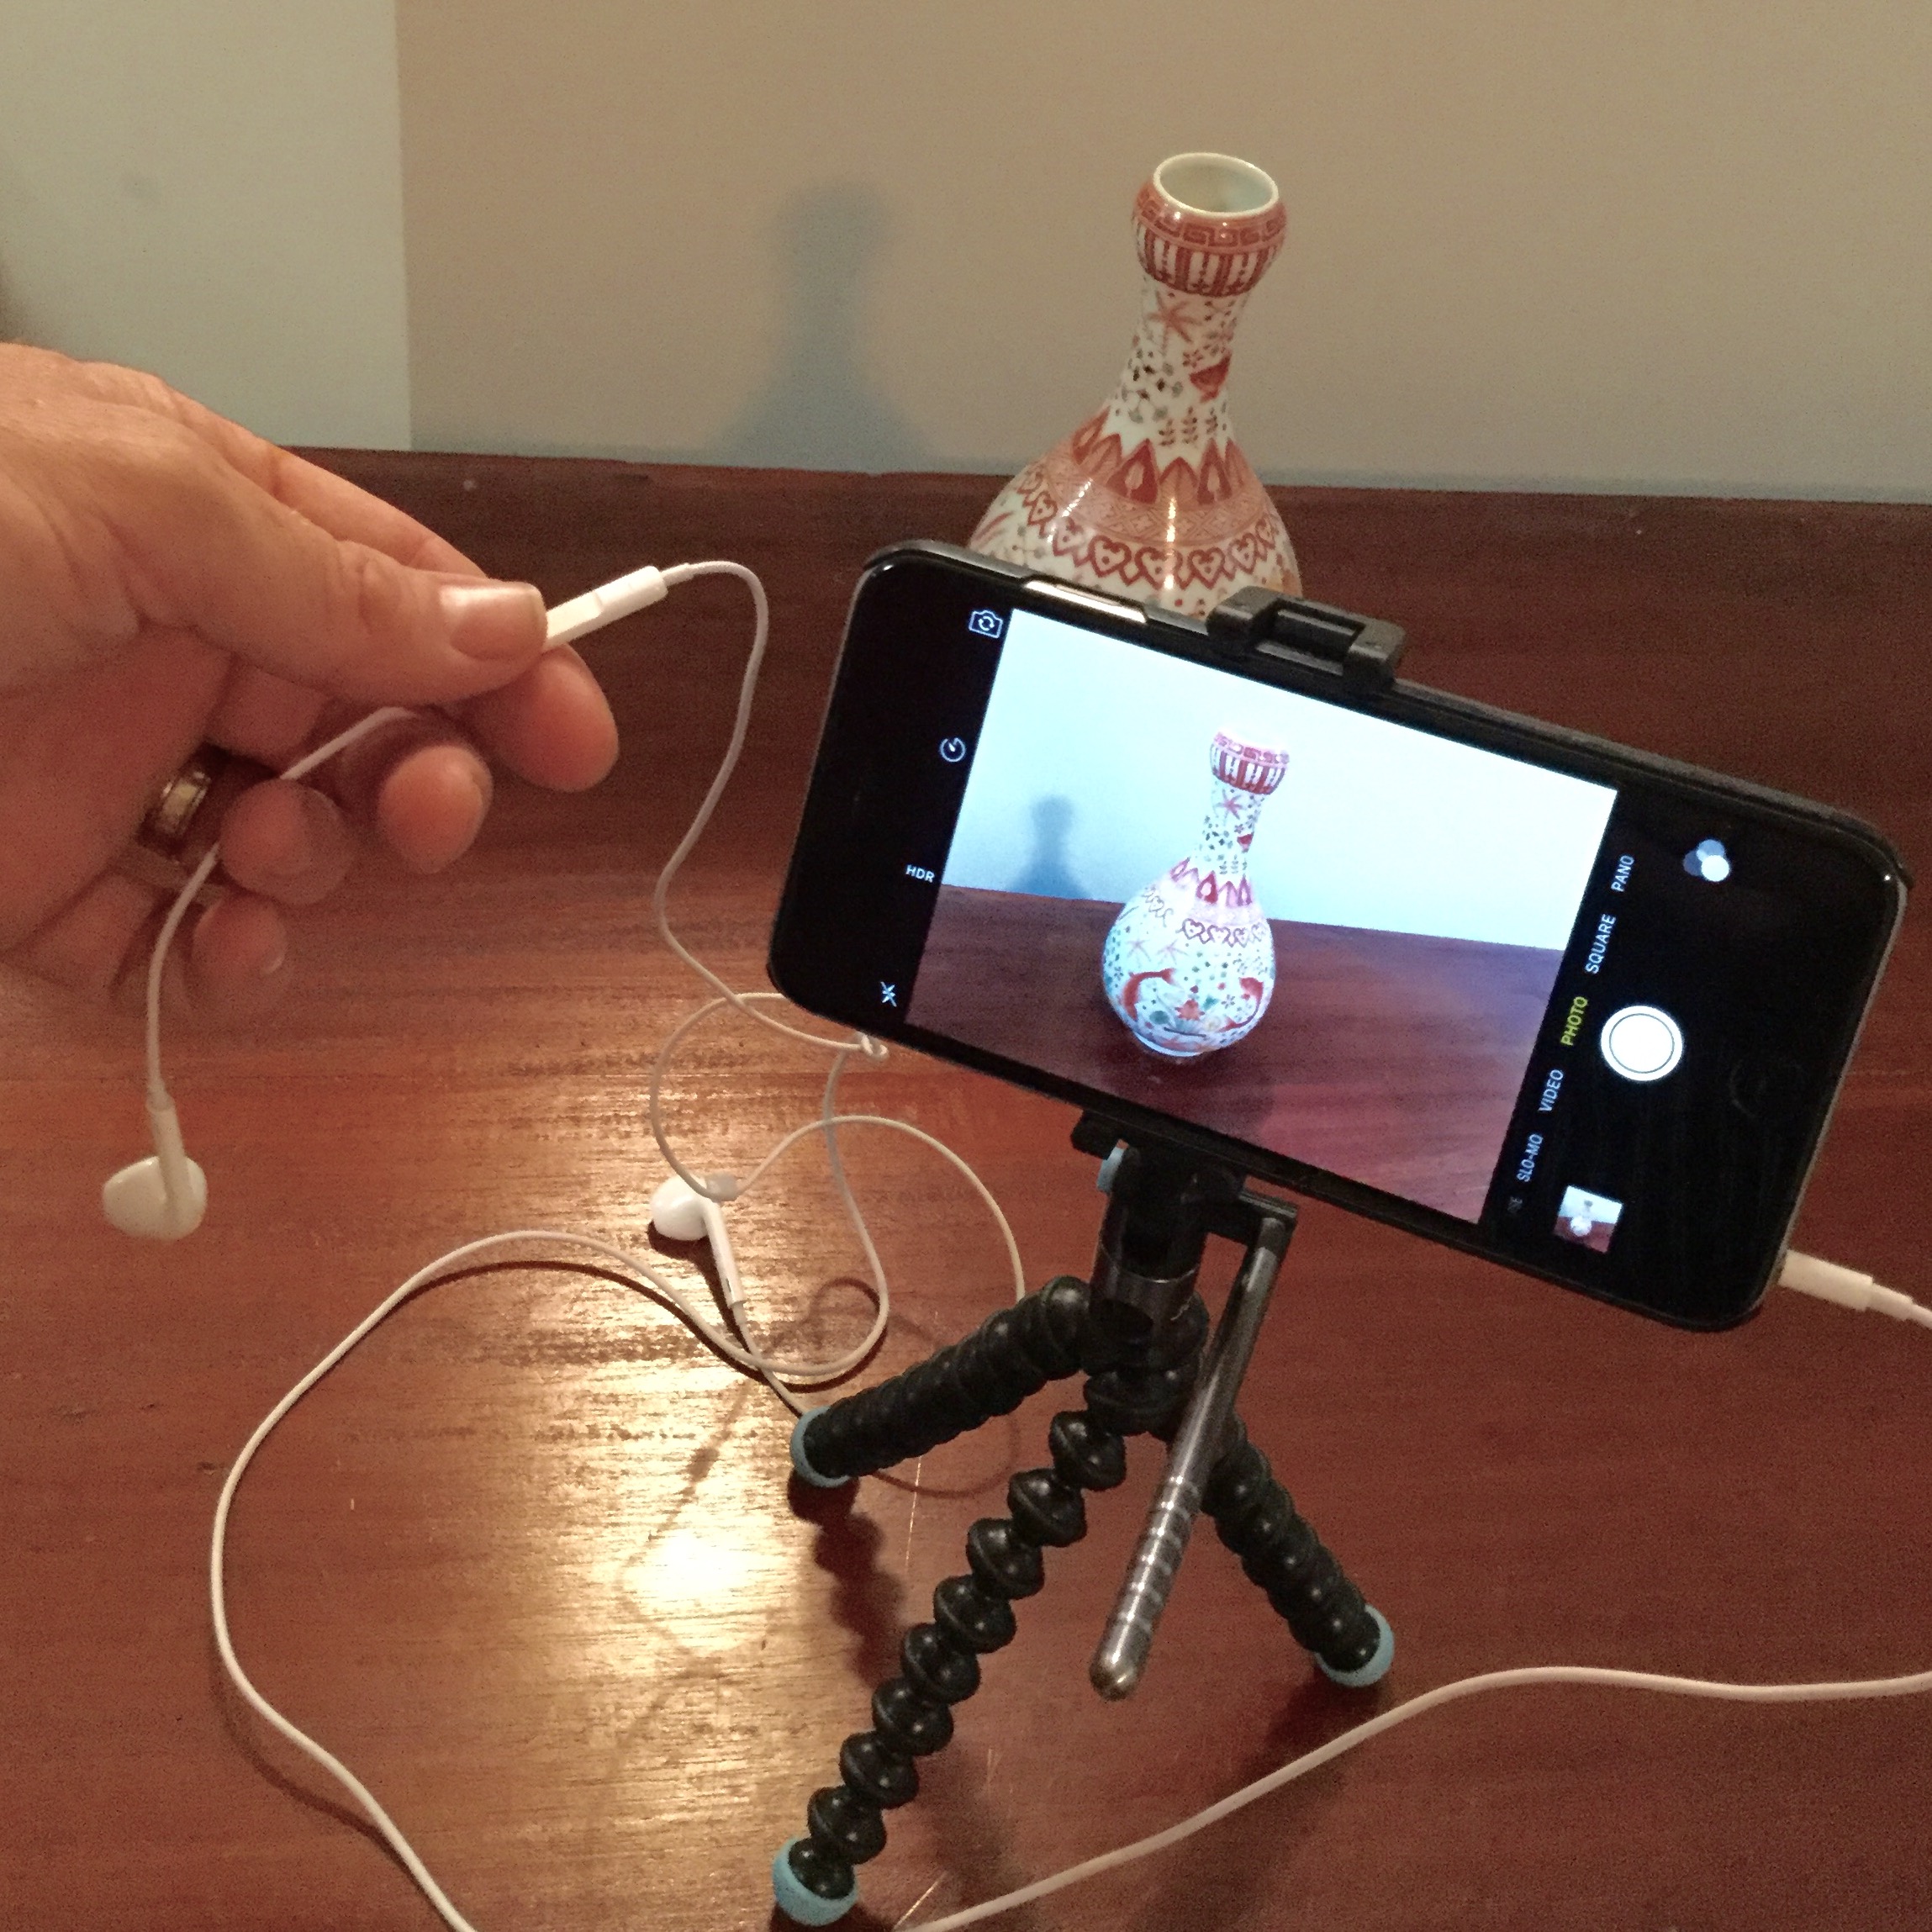
I often use the headphone cord as the trigger during macro photography, because I can get the camera close to the subject with one hand and shoot with the other. It’s an exciting technique that feels very ‘hands-on’. I also like to use the cord when I am working with a tripod trying to avoid even the slightest movement, like a during a slow shutter session of city lights in the dark.
Turn on the Grid Lines
 The grid is a very useful photography tool – jump into the Settings app, choose Photos & Camera, then switch it to on (green).
During shot composition, the grid can be used to construct a considered image, discuss compositional elements with ease, and teachers can use the grid lines to deliver very specific feedback.
Students can use this support to explore the rule of thirds, get the horizon straight or line up a central point in the frame.
Super Selfies? Look at the Camera!
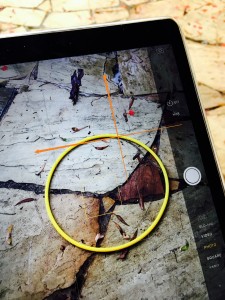
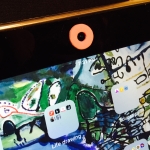
While it sounds easy enough, so many students (and others!) don’t look at the front-facing camera…and it is often because they don’t know where it is! Here’s a simple trick to help make it visible for young learners – stickers! An arrow works well, or a familiar so you can say ‘look at the star’, etc. I like using donuts of ring shaped stickers to really pin point and highlight the camera, as in the photos below.
Shoot In Burst Mode
The burst mode delivers a number of shots with one press. To get started, instead of giving the camera trigger one touch, push and hold. This action will deliver as many as 10 photos per second.
The burst mode is a useful tool to employ whenever there is movement or unpredictability in the image you’d like to capture, like a flock of flying birds, waves crashing on the beach or a sprinter launching off the blocks. You’ll have a good opportunity to capture a strong image, with a variety of shots to choose from. The images are grouped together in a cluster in the photos app so you can select one to keep, keep them all or delete the entire burst with touch.
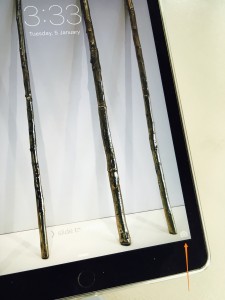
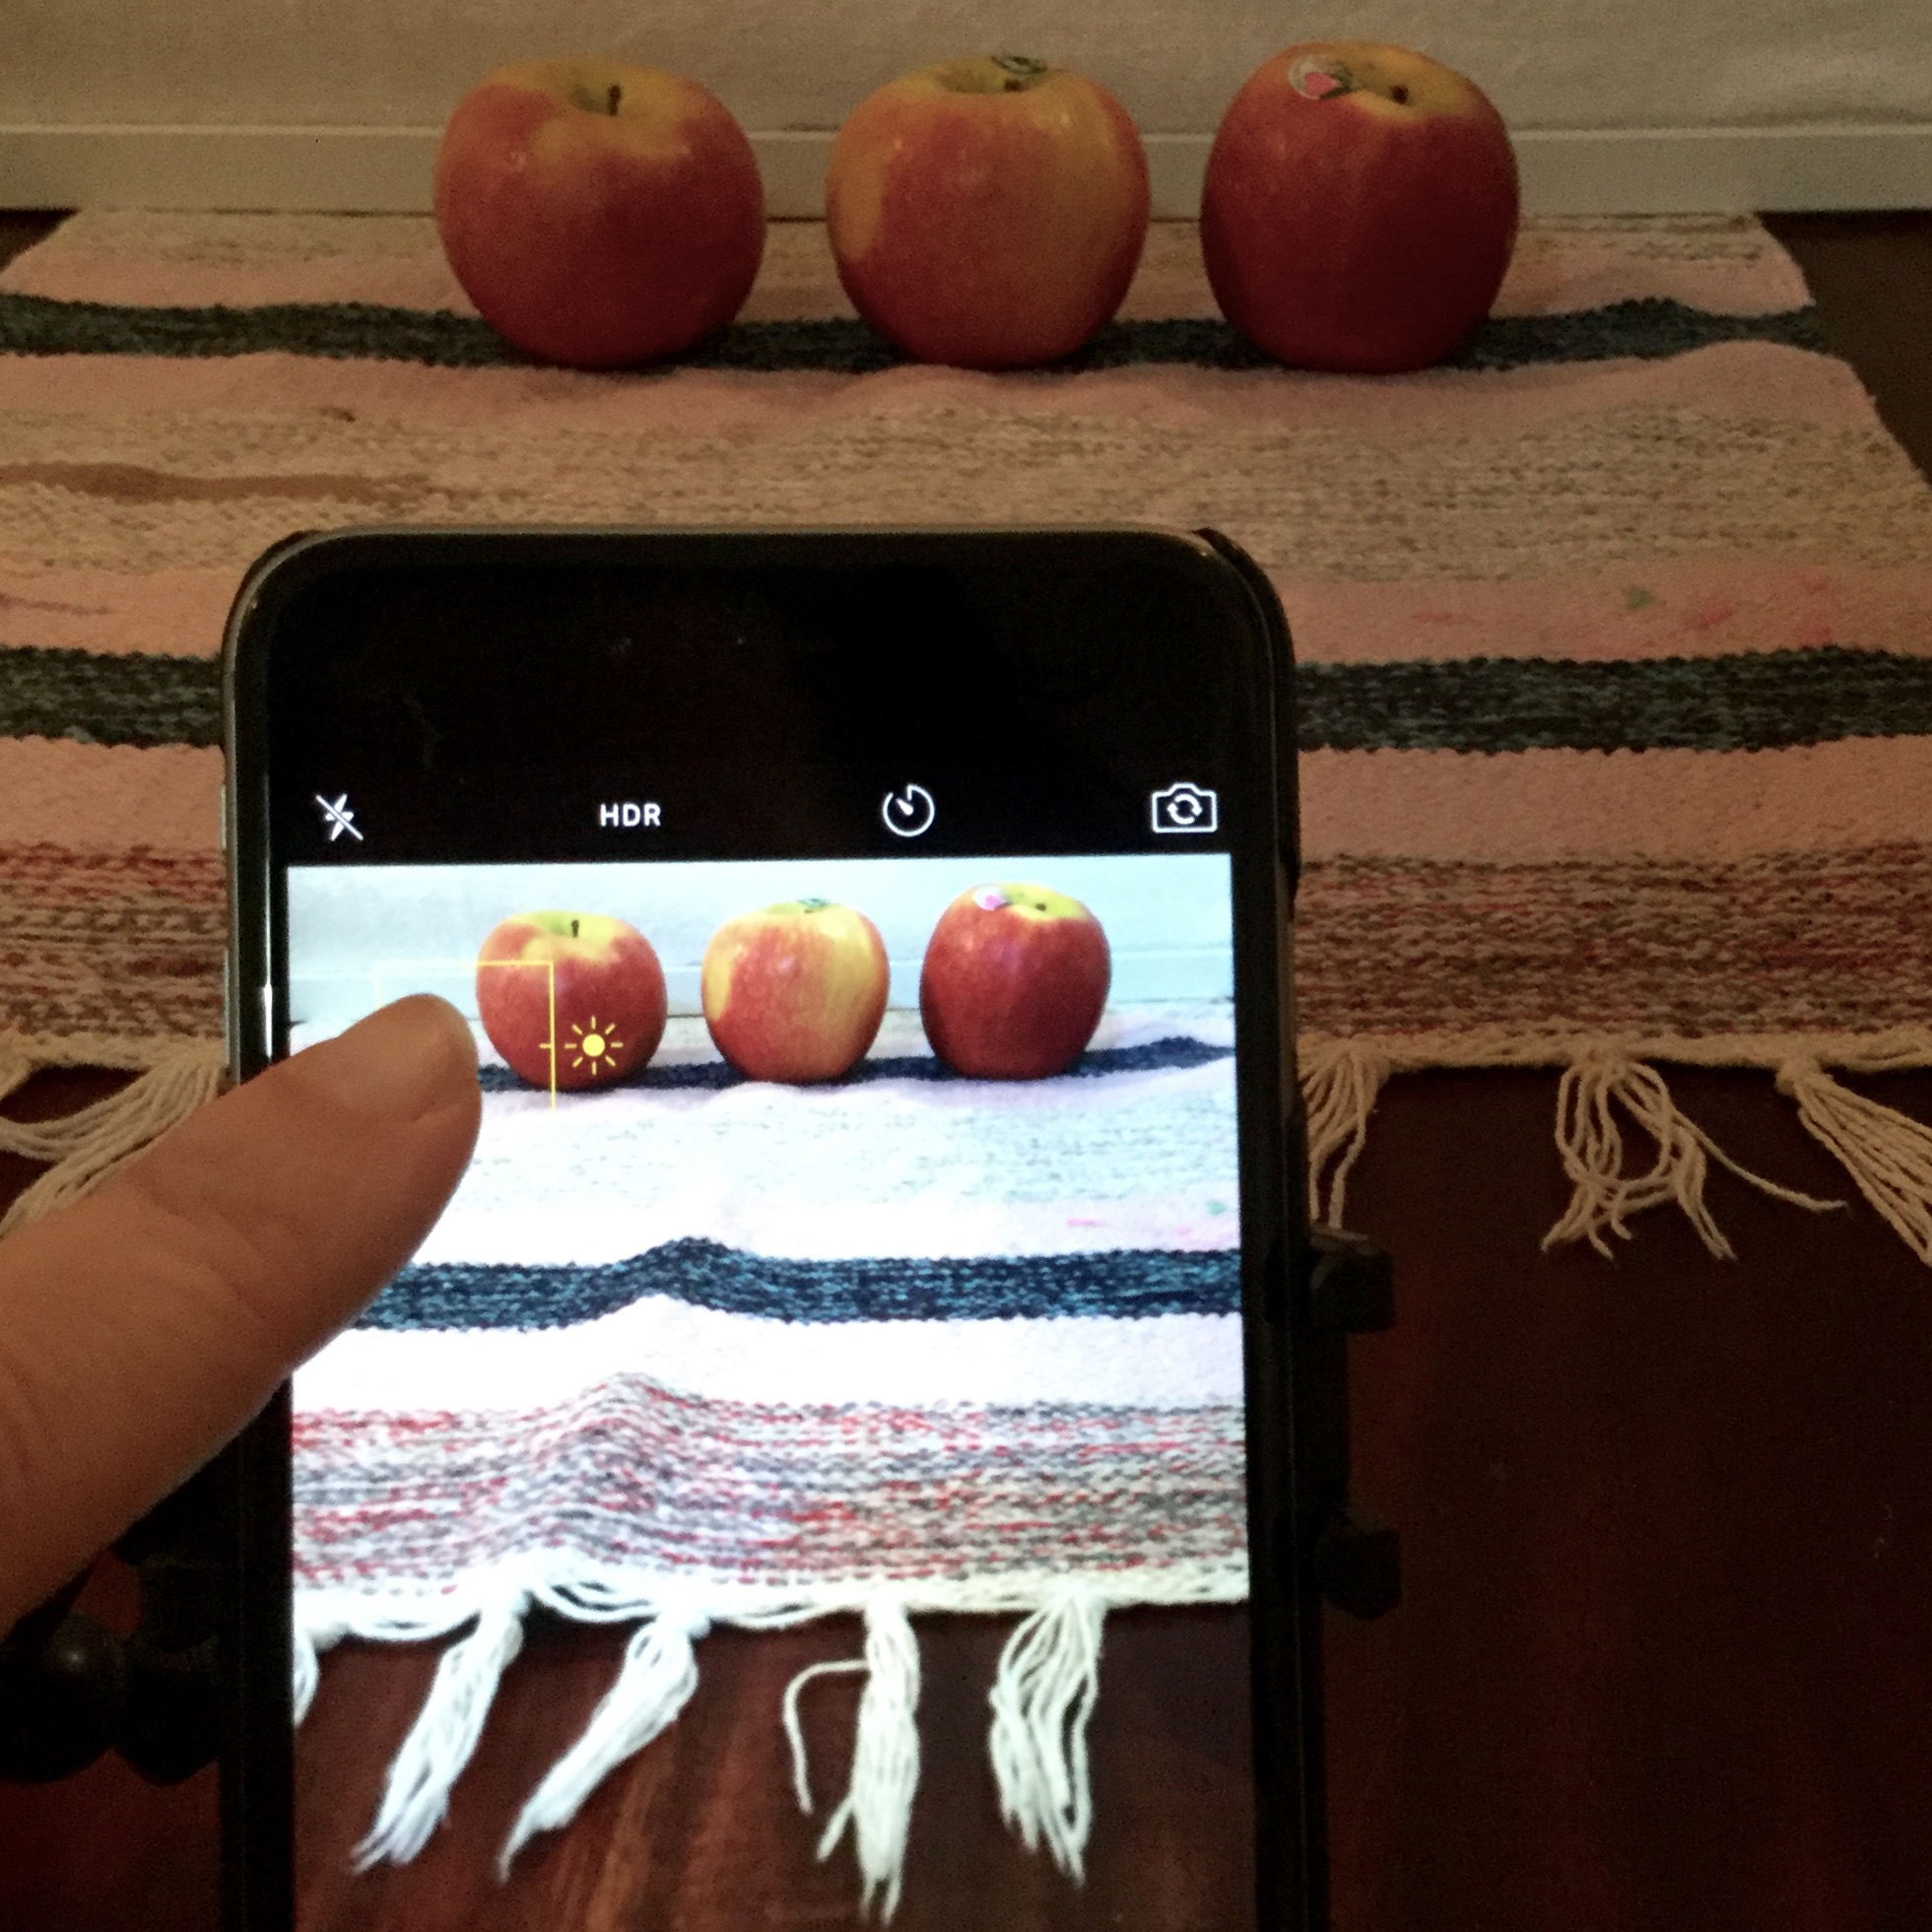
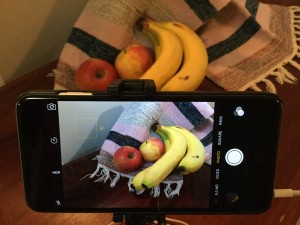
Set the Focus and Exposure with a Tap
If you don’t set the focus and exposure, you simply point and shoot with the camera, the iPhone will do that for you. Most of the time it does good job, and this is how the vast majority of camera-users create pictures. However, to ensure your photographs are clear and sharp, or to exercise more control over the imagery, you can set focus and exposure manually.
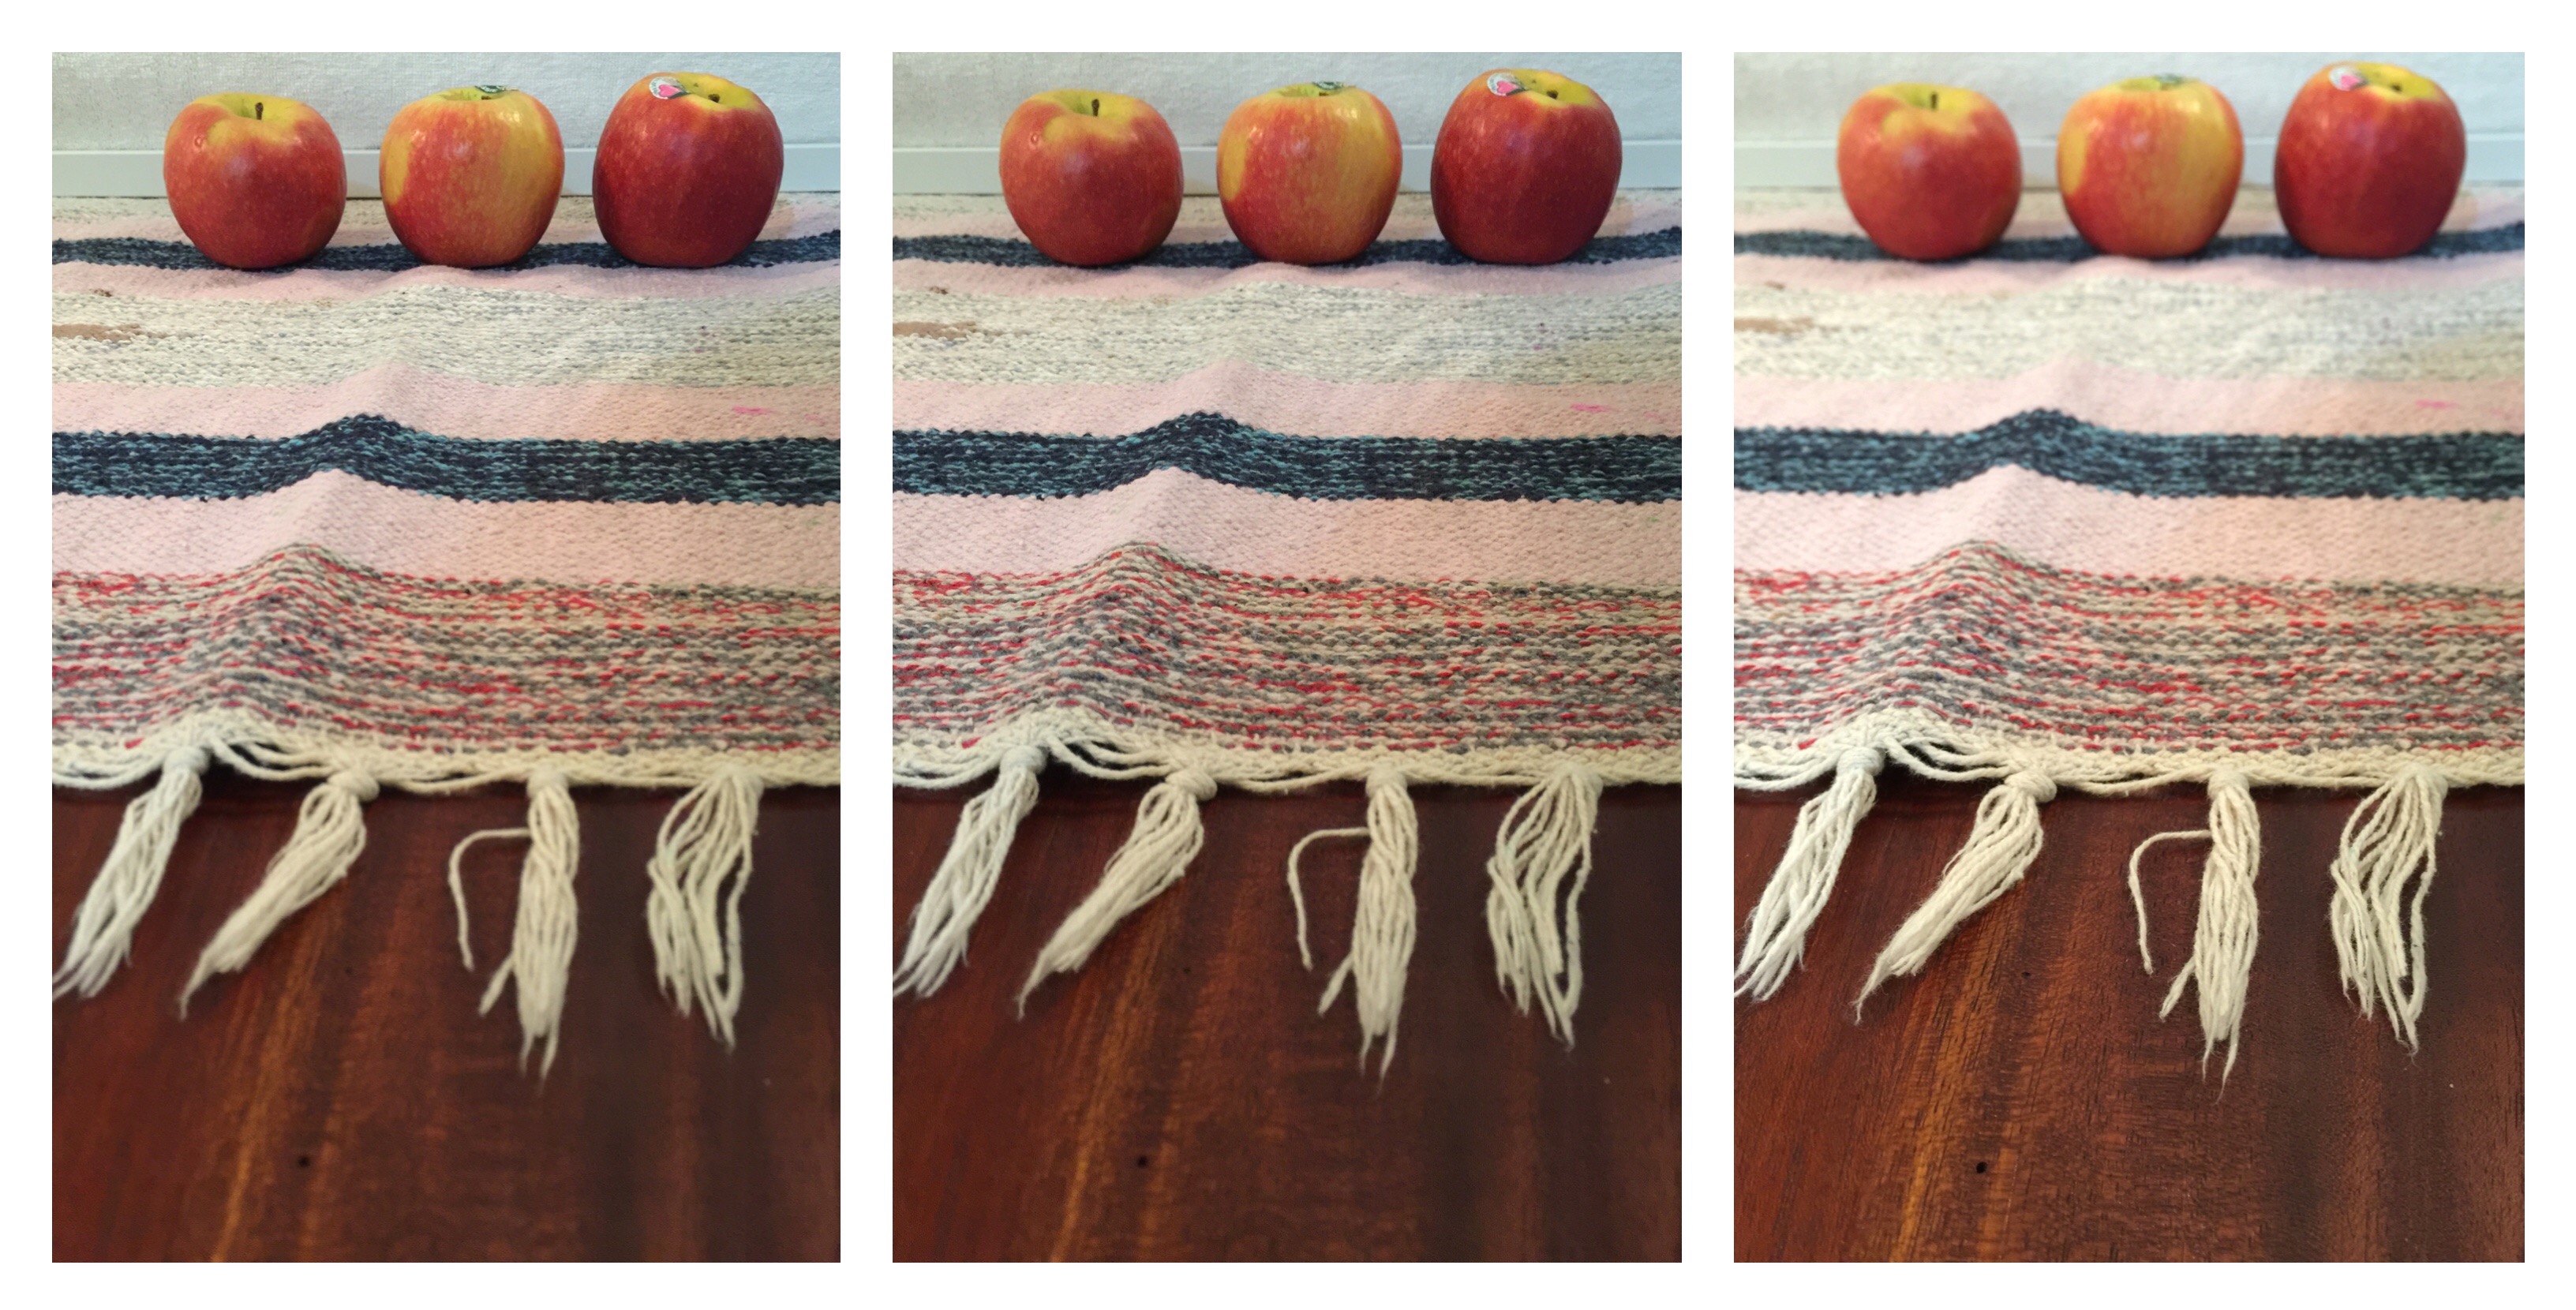
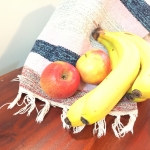
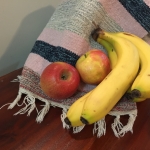
Simply touch the screen to elect the focal point. That’s it. Simple. But look at what a difference that selection can make by examining the three images below. With no tricks, special lighting or lens you’ll see that the first has a sharp apples in the background, the second image has a mid-range focal point, and the third has crisp threads in the foreground.
You can get really creative when you have this control, and I always tap the screen prior to taking shots to make sure that my images are razor sharp.
 At times, setting the focus and exposure by tapping on the screen results in the image appearing too dark (under-exposed) or too light (over-exposed). Shooting in difficult lighting conditions can also be problematic.
So, after you’ve tapped on the screen to set the focus, a small square box will appear and you’ll see a little sun icon beside it. Drag that sun up or down to toggle the exposure manually.

You can also lock the exposure and focus by tapping the screen where you want to set focus and exposure and holding it down until a larger square appears alongside a yellow AE/AF LOCK sign. Even if you move the iPhone or composition, the focus and exposure will remain unchanged.


